I learned the hard way that freezing your wedding cake requires more planning than expected. First, check if your cake is worth freezing. Dense chocolate or carrot cakes hold up well, but delicate sponge with custard does not. Right after the reception, box up the top tier immediately and assign a “cake captain” if possible. Pop it in the freezer unwrapped for about an hour to harden the icing, then wrap it tightly in plastic. Never let foil touch the frosting. Pull off sugar flowers and toppers before they get damaged. When your anniversary arrives, thaw it in the fridge for 24 to 48 hours, then let it sit out for 2 to 3 hours before eating. Sometimes ordering a fresh replica cake is the smarter choice, and there are several other factors to consider if you want that year-old slice to actually taste good.
Know What to Expect From Year-Old Frozen Cake
Why do we freeze wedding cake in the first place? I ask myself this every anniversary season, because we’re chasing tradition and sometimes a little magic.
What I’ve learned about year-old frozen cake: freezer burn is real. Modern frost-free freezers circulate dry air that slowly steals moisture, leaving your once-plush slice a bit tired. Texture change happens too. Delicate custards and fresh fruit fillings suffer most, while heartier cakes like chocolate, carrot, or nut-based varieties hold up with more dignity.
That first anniversary bite won’t taste exactly like your wedding day. Some bakers actually order replica cakes now, which is a practical solution. Consider pre-portioned slices for gradual enjoyment, or embrace imperfection together. You’re navigating this frozen tradition at your own pace.

Oil Resistant Material: the mini disposable ramekins are made of sturdy aluminum foil with a smooth, oil resistant surface; The baking cups can withstand temperatures up to 220 degrees Celsius/ 428 degrees Fahrenheit in the oven without having to be placed on a baking sheet or pan directly (Do not put the lid into the oven)

FULL 3D ROSE SHAPES WITH FINE PETAL DETAILS: Each cavity features a dimensional rose design with layered petals and defined textures. The detailed 3D shape captures the natural look of a blooming rose, helping create polished floral decorations that stand out on cakes, cupcakes, chocolates, and other desserts

Generous Molding Capacity: The set includes 2 Bow chocolate silicone molds, each with 6 different patterns and 36 cavities, allowing you to create up to 72 adorable bow-shaped chocolates or candies at once, making it perfect for large batches. With super cute bow shape, perfect for cake decorating
Check If Your Cake Is Worth Freezing Before You Start
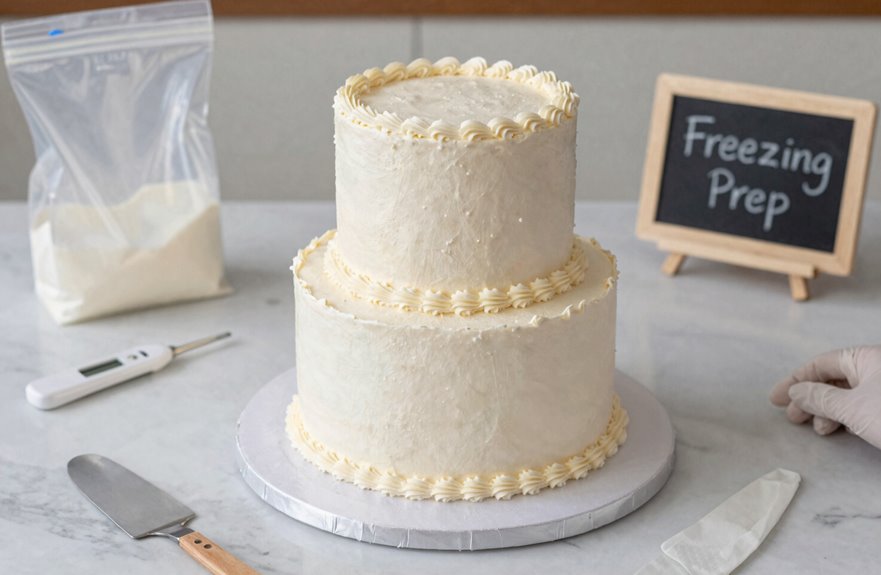
Not every cake’s worth the freezer space. Before you wrap a single slice, look at what you’re actually dealing with. Dense chocolate or carrot cakes will hold up, but delicate fruit fillings will weep and turn mushy on you, which ruins the taste at anniversary time. Twelve months in a frost-free box means some texture loss is pretty much guaranteed, and that’s a trade-off you need to accept.

SIZE - Each cake collar roll 8inch(W) x 32.8ft(L) /20cm(W) x 10m(L) , you can cut it into any length you need
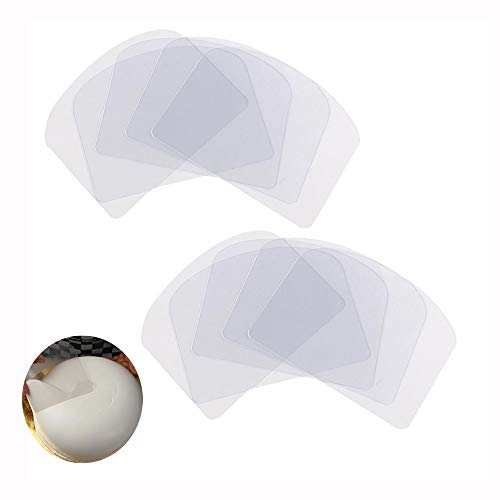
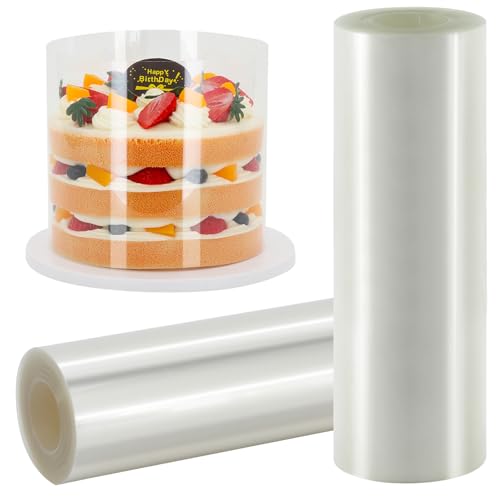
Easy to remove: High clear, non-stick and smooth surface facilitates easy demolding, there is a point that remove this after your cake has been in the refrigerator for a while, also pretty helpful in stacking the cake layers didn’t move at all
Cake Type Suitability
Before you wrap a single slice in foil, take a hard look at what you’re actually working with. Not every cake is built for long-term freezer storage.
Hearty cakes like chocolate, carrot, hazelnut, and almond are your best options. They hold up beautifully, even after a year. Delicate textures such as angel food and sponge cakes with custard deteriorate quickly and become stale. Fresh fruit fillings and custards lose their moisture and desirable texture.
Check these factors first: buttercream or ganache coatings protect your cake far better than thin glazes. Assess whether your cake can withstand a frost-free freezer’s drying air. Texture shifts are likely, so freeze only cakes you’re willing to serve in a potentially altered state.
Filling Texture Impact
How exactly do you know if your cake’s insides will survive a year in the deep freeze? Filling texture makes or breaks this whole preservation game.
Delicate fillings like custards, fresh fruit, and creamy options tend to lose their magic in the cold. They separate, weep, or turn mealy when thawed. Your chocolate, carrot, or nut-based cakes are the freezer’s best friends. But sponge with buttercream or fruit layers presents significant risk.
If your filling won’t cooperate with freezing, you have options. Some couples freeze a replica cake, or swap in a more stable filling for long-term storage. This is practical planning rather than compromise. Your anniversary bite should still feel like celebration, not disappointment.
Realistic Quality Expectations
Your filling strategy’s been sorted, and now I’m staring down the freezer myself, wondering what actually happens to cake after 365 days in the cold, dark void. Freezing changes things. That modern frost-free unit in your kitchen circulates dry air, slowly pulling moisture from your cake and affecting texture in ways you can’t fully prevent.
I’ve learned some cakes handle this better than others. Delicate angel food, custards, and fresh fruit suffer most. But hearty options like chocolate, carrot, hazelnut, and almond hold their quality stronger. Standard sponge with buttercream fares decently too.
Expect some quality loss. After a year, flavors won’t replicate exactly. That’s the reality of long-term freezing. Before freezing, strip decorations and mentally bookmark replica options. Your anniversary deserves accuracy about what’s achievable, not false promises.
Box Up the Top Tier Right After the Reception
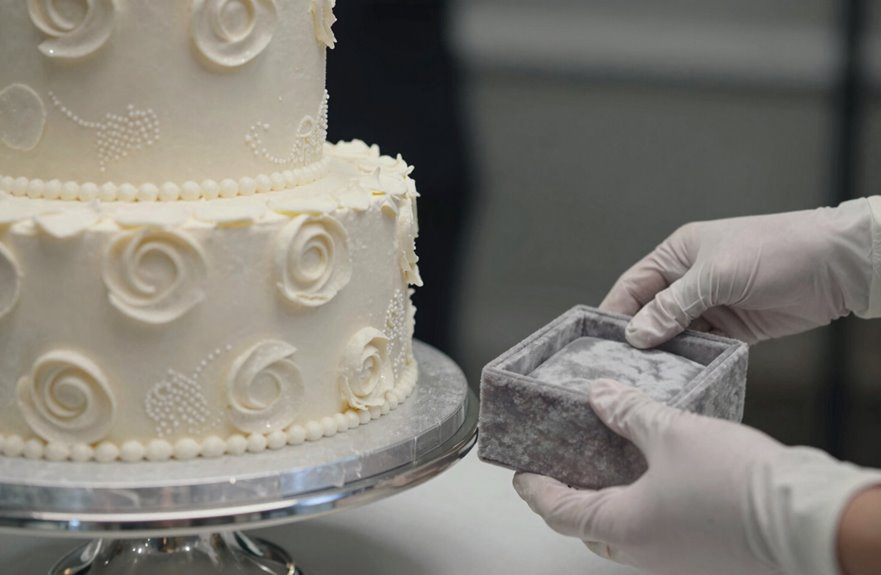
I coordinate with my catering team weeks ahead so they know to pull that top tier aside, then I ask someone I trust, my sister usually, to be my “cake captain” and get it home safe. Before anything goes in the freezer, I’m picking off sugar flowers and toppers since nobody wants a smashed fondant rose ruining the memory. A few hours in the fridge first keeps the buttercream from turning into a smudged mess when I wrap it. These small steps, taken right after the last dance, ensure that first anniversary bite stays fresh and presentable.

HIGH QUALITY & DURABLE: Holiday Season is here! Bring home this beautiful Cake Server is designed to store and serve!.This cake server accommodates up to 13 inch round cake

SWEET CARRYING: The Snapware Snap 'N Stack 2-layer carrier is perfect for transporting all manner of sweets with safety. Two cupcake holders can hold up to 24 cupcakes or cookies, and the stackable trays keep food items separate and organized..Special feature : Alcohol-Free

2 Pack - Rectangular plastic food storage containers
Coordinate With Catering Staff
Where exactly does your cake go once the dancing starts? Without a plan, your precious top tier might vanish into a catering van, never to be seen again. That’s why I always coordinate with the catering staff before the big day, making sure they know to box up the top tier right after we cut the cake, immediately, while everyone’s still cheering.
I pull aside the head caterer during cocktail hour for a quick, friendly check-in. I ask them to remove any sugar flowers first, those delicate little things that’ll tear right through fondant if you’re not careful, and then stash the box somewhere safe until my cake captain grabs it. This five-minute conversation prevents significant delays and complications later.
Appoint a Cake Captain
Once the catering team knows the plan, someone still needs to actually get that cake home, and that’s where a cake captain comes in. I chose my sister because she’s organized, reliable, and naturally takes charge in helpful ways. Your cake captain handles the top tier immediately after you cut it, since nobody wants leftover cake abandoned on a catering cart.
Here’s what makes a great captain:
- Someone who’ll actually leave the party early (sorry, dancing friends)
- A person with a clear car and zero plans to stop for midnight tacos
- A friend who reads instructions without rolling their eyes
- Someone who’ll text you “got it” so you’re not worrying
They’ll chill the top tier first, clear those fridge odors (no fish, please), and handle the boxing. Delegation removes stress from your evening so you can actually enjoy it.
Remove Decorations First
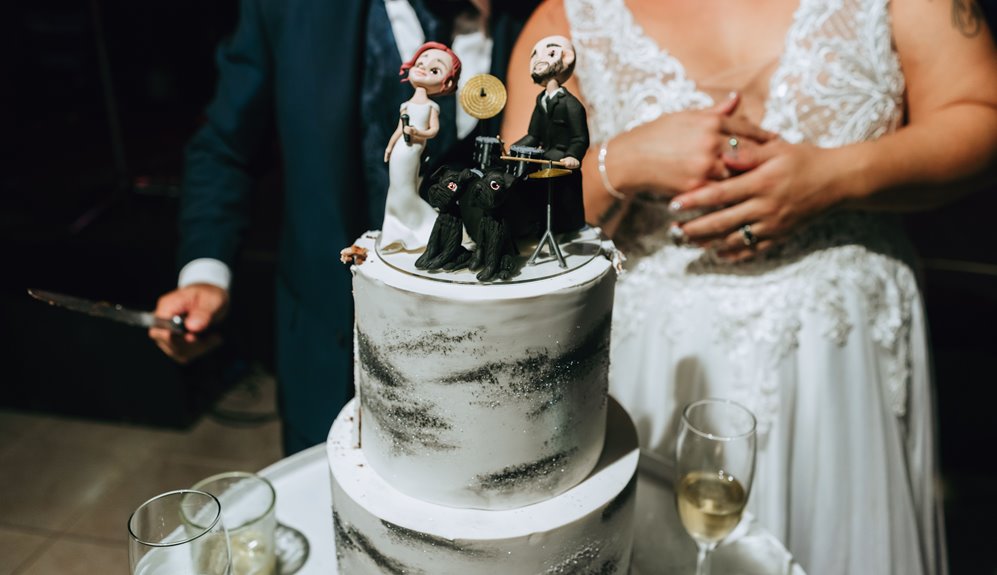
The big moment comes right after you cut that cake. Grab that top tier first. Those sugar flowers look gorgeous, but they will tear your wrapping if you leave them on. Gently pull everything off; the adornments, the figurines, whatever you have got. Chill that cake in the fridge first. The cold gets the icing hard. Otherwise it is like wrapping warm frosting, a total mess. Box it up tight, clear out any odorous items from the fridge beforehand, and have someone transport it home before the party starts.
Freeze the Icing First So It Won’t Smush
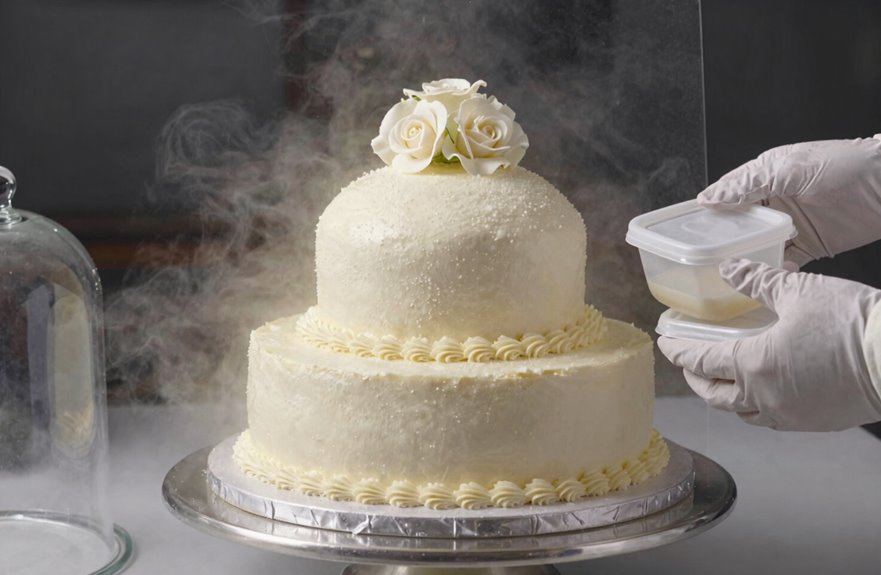
Why does wedding cake icing seem to smush at the worst possible moment? I’ve been there, staring at a gorgeous tier that suddenly looks like finger painting gone wrong. This trick prevents that problem every time.
Before wrapping touches your cake, freeze that unwrapped tier for about an hour. Let the icing get firm, almost like a thin shell, before you do anything else. The hardening step prevents icing damage during handling and transport.
- Freeze unwrapped for one hour to harden that beautiful icing
- Check it’s firm to the touch before you start wrapping
- Skip the foil direct contact; use plastic wrap first if foil’s your thing
- Wrap tightly in several plastic layers for a true barrier
No smushed swirls, no tearful disasters. The frozen icing layer protects your cake from damage.
【Quantity and Size】2 pack 12x12x8 inch cake boxes, 2 pack 12 inch cake boards for multiple uses, 12“thank you” stickers make your gift full of love. The classic and versatile white cake box is perfect for holding beautiful cakes.

Basic Information of tall Cake Box:This value set includes 1 tall cake boxes (10 x 10 x 12 inches) and 1 matching sturdy cake boards, providing full support for your cakes. Designed for 1–2 tier cakes up to 10 inches, the included cake boards add extra stability for safer transport.

NOTE: Due to packaging, the clear plastic panel may arrive with slight creases, which will diminish after assembly
Pull Off Sugar Flowers and Delicate Decorations
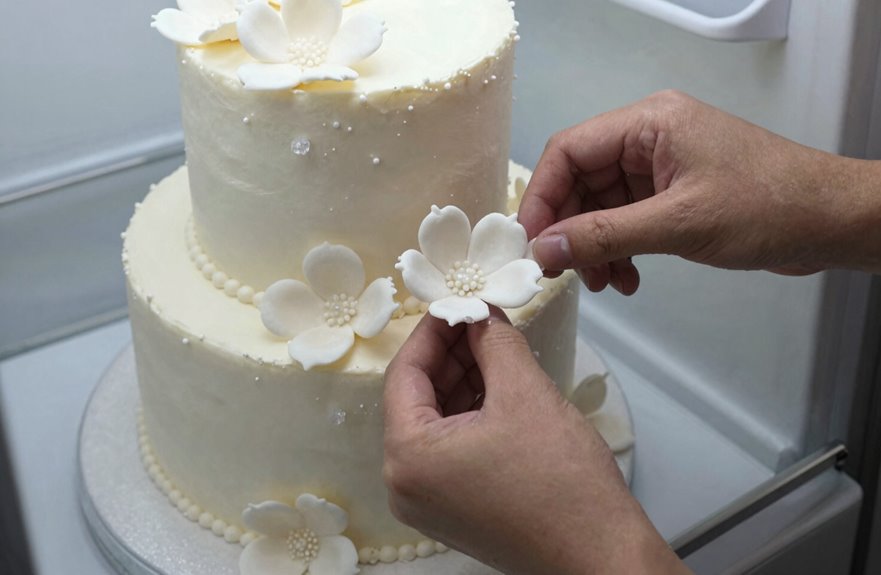
How do you keep those gorgeous sugar roses from turning into sticky, torn-up messes. You’ve got to pull off sugar flowers and delicate decorations before anything else touches that cake.
Wait until your icing firms up, then gently detach each piece. I use my fingertips, working slowly so nothing tears. Those sugar flowers are surprisingly fragile, and freezing can warp their petals or bleed their colors.
Here’s what I do: place edible decorations in a small sealed container and freeze them separately. Non-edible pieces go in a cool, dry spot, away from moisture so they don’t wilt. You’ll reattach everything later, fresh and perfect for serving. This method ensures your anniversary slice maintains its finished appearance through transport and serving.

【THAWING MADE EASY】Say goodbye to time-consuming thawing methods! The Blazin' Thaw Defrosting Tray's innovative design harnesses the power of premium-grade aluminium to safely and naturally thaw your frozen foods. No more compromises on taste or nutrition!

NEW UPGRADE: What if you forget to defrost your meat before cooking? Don't worry. YUNDOOG quick thaw defrosting tray new upgrade 6mm(0.24in) can miracle thaw. The thickness of the upgrade makes thawing process quicker than most defrosting plate for meat on the market.
✔ No Electicity & Rapid Thawing Technology – Neon-Pulse defrost tray for frozen meat is a revolutionary kitchen gadget designed to quickly and safely thaw frozen food. Made from high-density aviation aluminum with superior thermal conductivity, this rapid defrosting tray thaws meat, poultry, and seafood up to 3× faster than traditional methods, ensuring safe, even defrosting without electricity.
Wrap the Cake Tight in Multiple Layers of Plastic
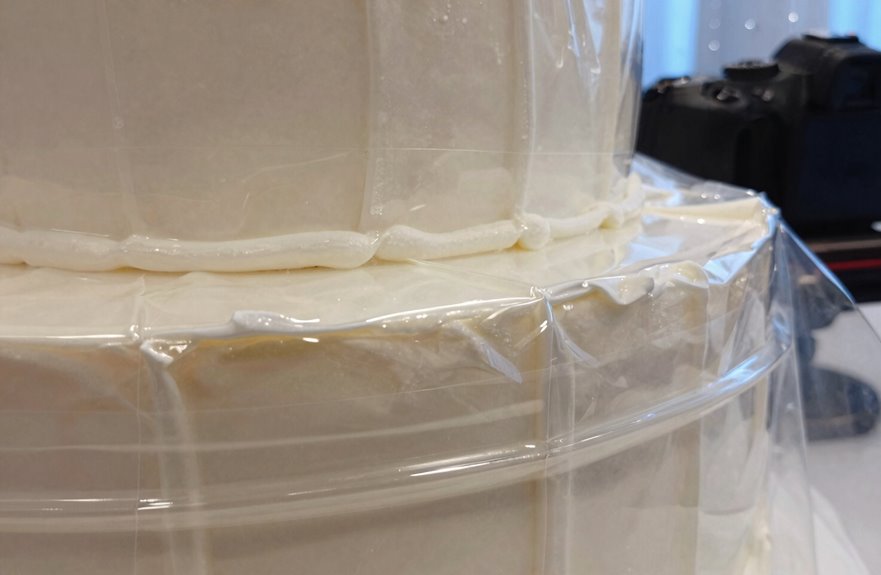
Once those sugar flowers are safely tucked away, I’m ready to tackle the main event: getting this cake wrapped up tight.
I grab my plastic wrap, yes, the clingy stuff that sticks to everything but the cake, and start wrapping. Here’s what works best:
- Wait for that icing to harden first
- Use several layers, pressing out every air bubble I can find
- Skip the foil directly on cake; if I want extra protection, plastic wrap goes down first
- Cover every single inch, because freezer burn ruins the dessert
Some folks use a box, then wrap that box in more plastic wrap. Others prefer an airtight container for backup. Either way, I label it with the date, find a quiet spot in the freezer, and let it rest undisturbed.

Perfect Size: 235ml (about 8oz) capacity, 4.3 inch top length with lid, 3.5 inch bottom length, 2 inch height with lid, perfect size to use to offer different kinds of desserts for single serving. Each cup comes with lid, and there are various colors options, provide more choices for you.
【Package Include】:The package comes with 1 pcs of Flower Fondant Molds,Rose Flower Silicone Molds color is blue.Rose Flower Fondant Silicone Molds are suitable for making various desserts such as candies, cookies, chocolates, adding fun and color to baking

Good Portion Size for Individuals:338ml (about 11.4oz) capacity, please check image for detailed size. These round dessert containers with lids are quite suitable for both personal and business use, offering a good portion size for various dishes. Whether you're baking or freezing, they provide the flexibility you need.
Lock It in an Airtight Container
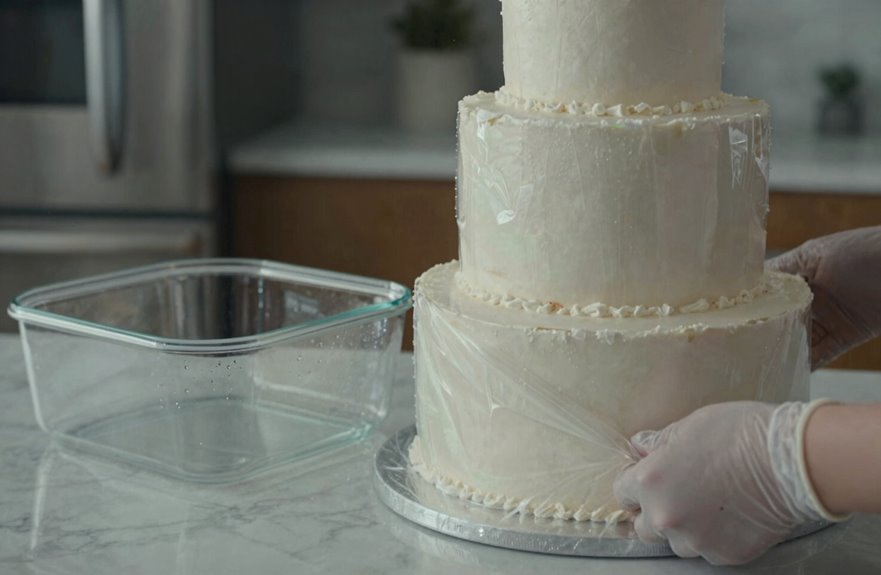
Picking the right container makes or breaks freezing cake. You want something that seals tight because air degrades your cake’s moisture and flavor. A proper airtight tub works best, but the original box wrapped in plastic and placed in a freezer bag is also effective. Label the container with the date. Freezer roulette is risky; you don’t want to guess whether that frozen item is your wedding cake or last year’s chili.
[Safety Material] The food plastic bowl covers are made of food-grade transparent and healthy PE material, safe to use, not easy to tear, and durable.

Elegant Precision: Achieve flawless cake edges and a transparent finish, elevating your dessert presentation to professional levels.
Container Selection Criteria
The right container can make or break your cake’s one-year freezer storage. Your freezer container needs to meet several key requirements to keep that top tier in perfect condition.
Look for these features:
- A truly airtight seal, because freezer burn degrades quality
- Rigid, freezer-safe material that won’t crack when temps drop
- Enough room for the wrapped cake without squishing decorations
- A surface you can label clearly, so you don’t forget what’s inside
If you can’t find the perfect fit, wrap your cake in plastic wrap first, then place it into the original box or a sturdy bag. This approach still provides effective protection for frozen cakes.
Maximum Moisture Protection
Because freezer burn compromises cake quality, I’m going to walk you through exactly how to lock in that moisture. I always place my wrapped cake inside an airtight container. This is your insurance policy against dry, sad slices later.
No fancy container needed. I’ve done the plastic-wrap-then-foil method, tucked everything into the original box or a large freezer bag, and called it a day. The seal absolutely matters; tight and intact, with layers guarding against sneaky air infiltration.
Label everything with the date, then nestle that container somewhere undisturbed. Your future selves celebrating year one deserve cake that tastes like celebration, not freezer.
Long-Term Storage Stability
Once you’ve locked in that moisture, the next step is making sure your cake stays perfect for the long haul. A whole year of storage is possible without freezer burn ruining everything.
Here’s how to keep things airtight and anniversary-ready:
- Grab a dedicated airtight container, your cake’s best friend for taste and texture
- No fancy container? Use the original box or a big freezer bag, then wrap multiple times
- Seal it tight and label with the date, then pop it back in the freezer fast
- Skip direct foil on the cake; nobody wants metallic-tasting memories
When your anniversary hits, move it to the fridge for a day or two, then room temperature for 2–3 hours. This thawing method prevents condensation and maintains cake quality.
Label and Stash It Somewhere Safe in Your Freezer
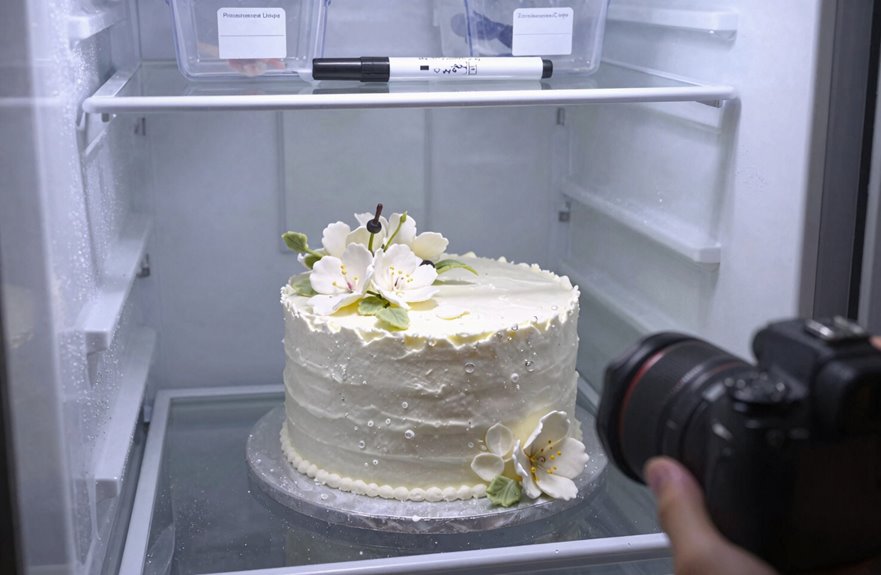
Where exactly should you put this thing so it doesn’t get forgotten? Mystery items in my freezer tend to stay mysterious.
First, I grab a label, nothing fancy, just a piece of tape and marker, and write the date clearly. You’ll appreciate this in eleven months when you’re wondering if that’s your cake or last year’s lasagna. I add a ribbon or tag too, something bright that clearly marks “anniversary cake, don’t eat.”
Then I nestle it in an airtight container, or a heavy wrapped box if that’s what I’ve got. The key is keeping that label visible even inside. I stash it way back, where it won’t get jostled, bumped, or partially thawed by curious hands. Find your quiet corner. Your freezer stays organized and you’ll know exactly what you have.

PERFECT SIZE FOR CAKES: Measures 12 x 12 inches with a 4.75-inch height – ideal for holding up to 10-inch round cakes without damaging decorations or frosting

Soft chocolate cupcakes with crème and a rich icing—individually wrapped for convenience!

PORTABLE & EASY TO CARRY - Say goodbye to cake disasters... With double strong carrying handles, this travel cake carrier makes transport safe and stress-free. The round cake carrier design is perfect for parties and picnics. Avoid those dreaded cake mishaps!
Defrost in the Fridge for 24 to 48 Hours
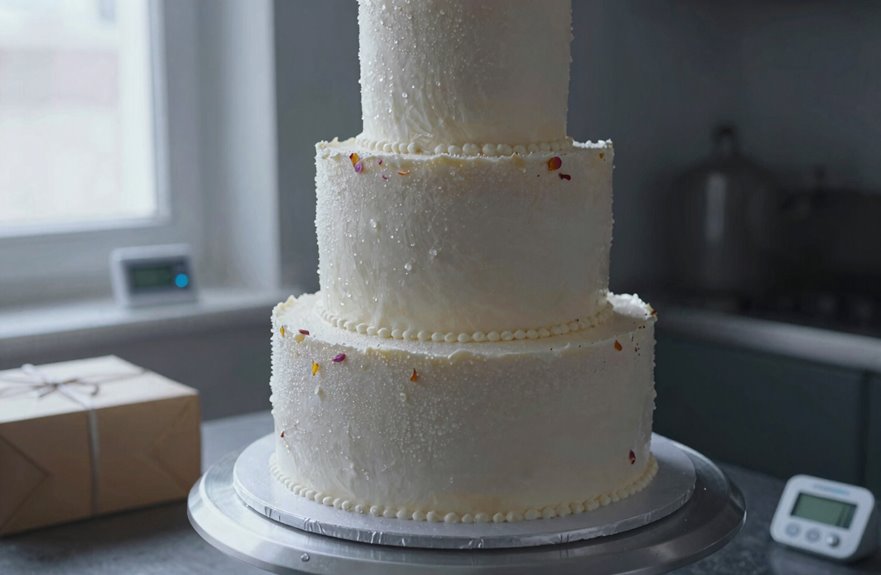
When your anniversary finally rolls around, you’ll need a little patience, perhaps more than you might expect.
Proper thawing matters just as much as freezing did. I move my cake from freezer to fridge two days before celebrating. Slow thawing prevents that dreaded soggy texture we all fear.
Slow thawing is the secret to preserving your cake’s perfect texture—patience pays off when you plan two days ahead.
Here’s what I’ve learned about timing this right:
- Give yourself 24 to 48 hours in the refrigerator for thorough thawing
- Plan backwards from your anniversary dinner so nothing feels rushed
- Remove outer wrappings before the final warming stage, but keep them on for now
- Check that your cake feels consistently soft, not cold or firm anywhere
Following this process ensures your cake maintains its proper texture and taste when you share that first bite together.

CREATIVE DIY PERFORMANCE - The cake tier can be filled with a variety of creative decorations to create stunning centerpieces. The fillable cake stand display box with Lid can be filled with colorful flowers, confetti, small toys, cookies, candies, balloons, confetti, desserts, or other creative and stunning decorations, etc., It is perfect for weddings, birthdays, party scenes, and more


DIMENSIONS: Large cake box measuring 10 x 10 x 10 inches, perfect for tall layer cakes and tiered designs.Set includes 10in white cake boxes with four windows
Let It Come to Room Temperature Before You Eat
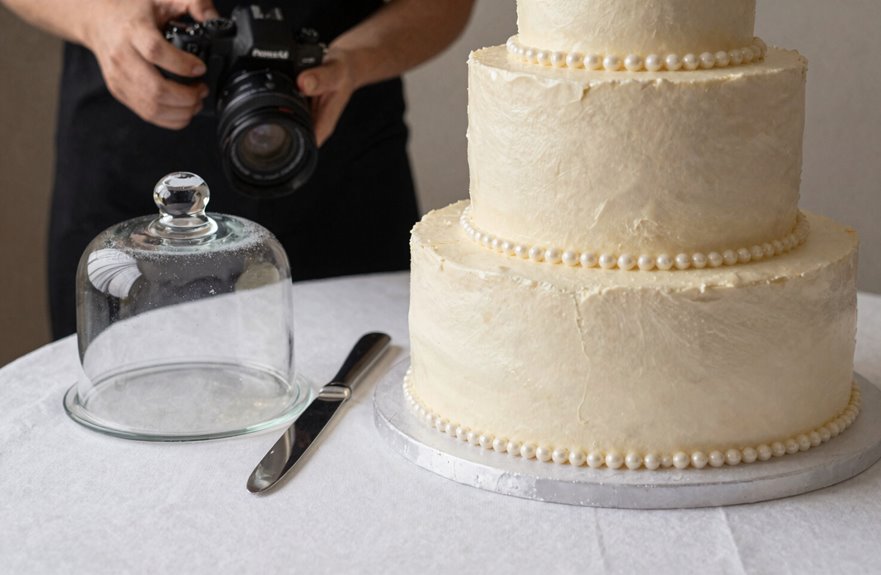
Why let it sit any longer after all that waiting? This step transforms your cake. After those 24 to 48 hours in the fridge, move yours to the counter for 2 to 3 hours of room temperature rest. Freezing firms things up, but this gentle warming brings back that soft, tender crumb you remember.
Plan this window carefully, as no one wants to cut their anniversary cake at midnight. If yours lived in an airtight container, unwrap it first, then re-wrap lightly while it warms. Those pretty decorations should wait until room temperature hits before you fuss over them; frostings soften and glazes clear up when warm. This patience produces better results. Your first bite will taste noticeably better.

Everyday Thawing Help: Designed for natural thawing of frozen meat and other flat frozen foods on the countertop for daily kitchen prep
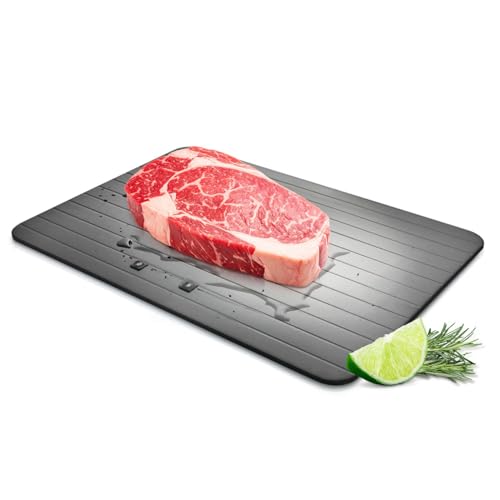
Quick Defrosting Tray for Frozen Meat – Crafted from high-quality, food-grade aluminum, this defrosting mat for frozen meat accelerates thawing through thermal conductivity—defrosting your meals up to 10 times faster than room temperature methods
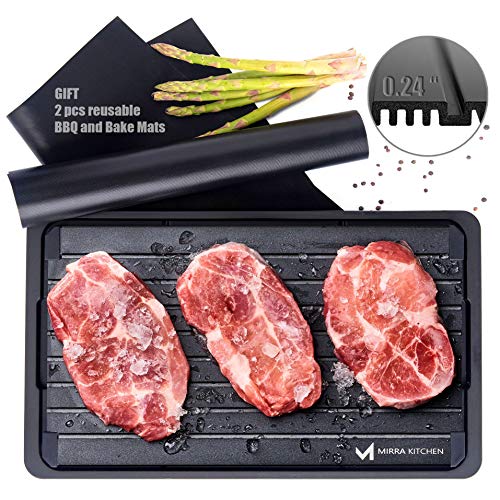
✅ WHILE OTHER DEFROSTING TRAYS ARE too thin, too small or less convenient, the Mirra Kitchen Defrosting Tray Set has a 0.24 inch EXTRA THICK THAWING PLATE with LARGE ENOUGH SURFACE of 14x8 inch for family use and comes with a DRIP TRAY. This means a FASTER THAW of your frozen food, LESS TIME wasted and MORE USEFUL than other brands on the market!
Skip the Freezer: Order a Fresh Replica Instead
How much easier would it be to skip the freezer drama entirely? I’ve stared at aluminum foil and plastic wrap, wondering if I’m doing this right.
A replica cake solves what I call the “year-later letdown.” Consider these advantages:
- You dodge freezing challenges like freezer burn and weird textures
- You get fresh flavor, not leftover taste from twelve months ago
- Your delicate fondant and fancy decorations stay perfect
- You schedule delivery right when you want to celebrate
My cousin tried freezing her tiered masterpiece. The ganache sweated, the flowers drooped, and it looked sad. I ordered a fresh replica instead, same bakery, same design. We ate actual cake on our anniversary. No thawing timeline, no quality loss, just us with forks in hand, tasting the moment exactly as we’d hoped.
Freeze Individual Slices for Monthly Mini-Celebrations
Some couples prefer stretching their celebration across a full year. You can relive that magic, month by month, together.
Freezing individual slices makes this possible. I portion the dessert carefully, wrapping each piece tight in plastic without shortcuts, then sealing it in an airtight container or freezer bag. Freezer burn ruins everything, so I’m careful about this step.
I label each one with the month and date, and store them flat. No squished frosting results from this method.
When your monthly mini-celebration rolls around, thaw the slice in the fridge for 24 to 48 hours, then let it sit out for 2 to 3 hours. The texture stays perfect, and that first bite brings back the original experience.