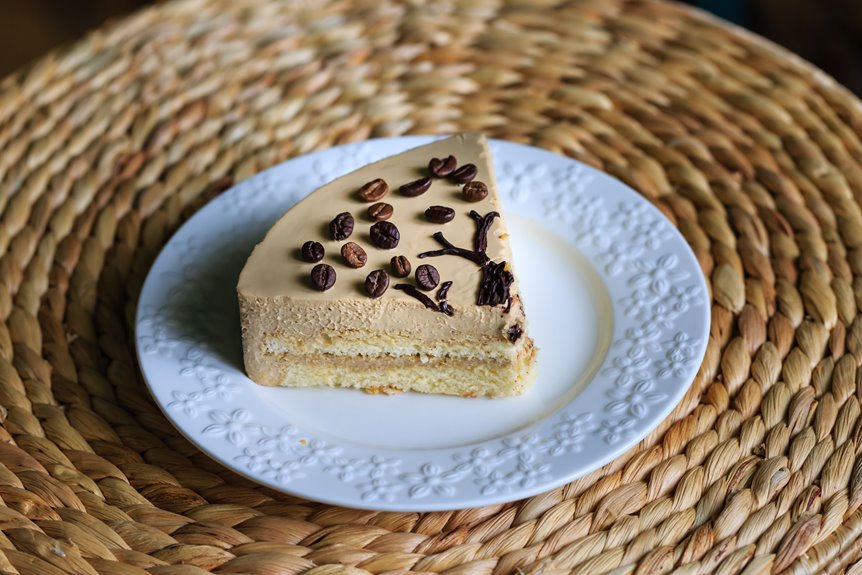
I freeze coffee cake by letting it cool completely first (two hours minimum), then wrapping it tight in plastic wrap plus foil, or I’ll flash freeze it uncovered for an hour if it’s got a crumb topping.
Whole cakes keep the crust pristine for company, but I’ll slice and wrap individual portions when I want grab-and-go mornings.
Three months tops in the freezer, and I thaw it in the fridge overnight or on the counter for a couple hours. Reheat at 300°F for that fresh-baked edge.
Cool Coffee Cake Completely Before Freezing
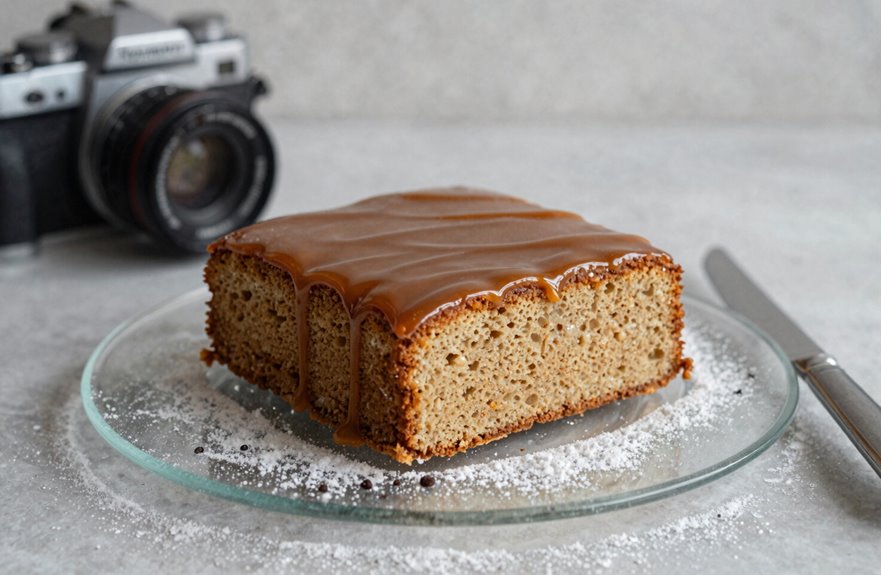
Rushing into freezing while the cake is still warm traps condensation inside your wrapping. That moisture turns into ice crystals, which means soggy cake later. Plus, that residual warmth can accidentally thaw neighboring freezer items.
I usually give mine a solid two hours on the counter, longer if I’ve got crumb toppings that need settling. Proper cooling locks in texture and sets me up for successful wrapping. Patience here prevents moisture loss and ensures your cake stays fresh.

PRESS'N SEAL PLASTIC FOOD WRAP: With a quick press and glide, this food wrap keeps food fresh with a leak proof, air tight seal making it the ultimate storage solution; packaging may vary

Plastic Food Wrap: Add our plastic food wrap to your household items to extend food freshness with a tight seal
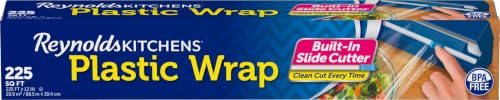
CLING WRAP WITH SLIDE CUTTER-Contains one roll of Reynolds Quick Cut Plastic Wrap with slide cutter, measuring 225 feet long by 12 inches wide (225 square feet)
Wrap Coffee Cake in Two Layers for Maximum Protection
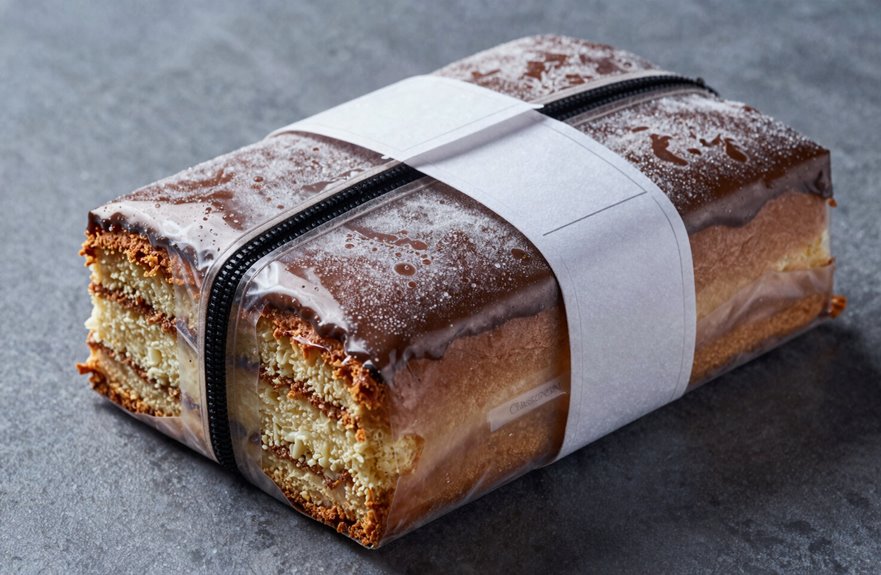
Once my coffee cake has cooled completely, I grab my plastic wrap and get to work. I pull it tight, pressing against every side: top, bottom, edges. Air causes freezer burn, resulting in dry, icy cake. If the cake has a crumbly topping, I slip some parchment paper over it first to prevent sticking or falling apart.
Then comes the foil, my second shield against freezer odors and frost. I wrap it snug, like a gift. For added protection, I pop the whole thing into an airtight container. Finally, I scribble the date on the outside, because after six months the contents become difficult to identify.

Crystal clear: Made with BPA free Tritan plastic for 360-degree clarity, keeping food fresh and secure

FREEZERWARE CRACK RESISTANT: GladWare FreezerWare containers are designed to resist cracking and brittleness in the freezer, maintaining their seal and integrity through repeated freeze and thaw cycles unlike standard plastic.
Air-tight, Leak-proof: Secure seal keeps food fresh and prevents spills
Freeze Whole or in Slices? How to Choose Your Storage Strategy
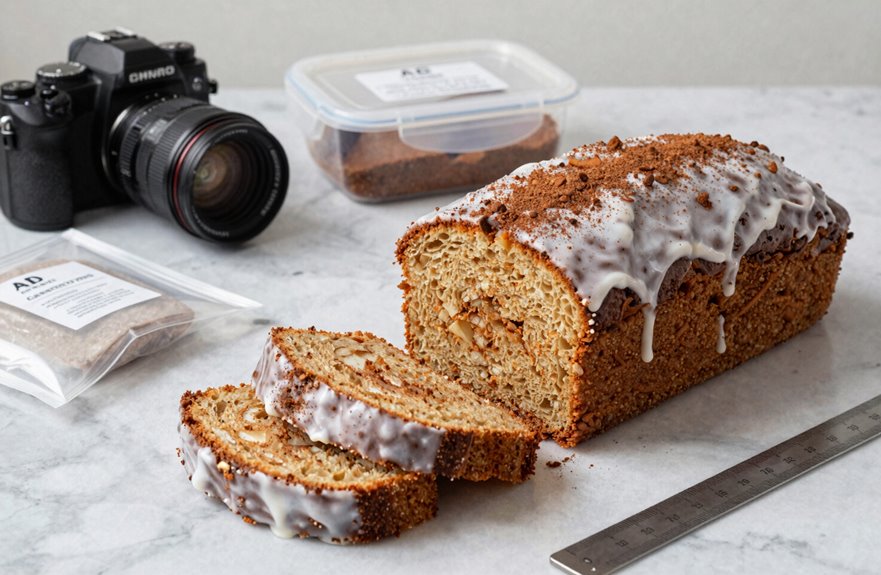
After wrapping my coffee cake tight as a drum, I stand there holding it, wondering whether to freeze it whole or slice it up first.
The choice depends on my plans. When I’m hosting friends soon, I’ll freeze the whole cake. It keeps that perfect crust and crumb texture, especially with double-wrapping using plastic wrap and then foil or an airtight container. No air gets in, and no freezer burn occurs.
When I want grab-and-go mornings, slices work better. Each piece thaws fast without disturbing the rest. I wrap every slice individually, label with the date, and store them.
Either storage strategy works if I seal it properly. Both options preserve the cake effectively; the choice depends on my schedule and how I want to use it.

【Unmatched Durability & Premium Protection】Made with high-quality insulated foil and honeycomb paper, these 12"x12" pre-cut sheets are greaseproof, leakproof, and waterproof, ensuring secure and mess-free wrapping for sandwiches, burgers, hot dogs, and more

Premium Insulated Design – Keep food warm and fresh with our insulated foil sandwich wrap sheets. These foil wraps for food act as aluminum foil insulation covers for food, locking in heat while resisting grease and moisture. Perfect for burrito wrapping paper, hamburger foil wrappers, and even hot dog foil.

Convenient Pre-Cut Sheets :Includes 80 pre-cut aluminum foil sheets, no cutting needed,just grab and wrap! Perfect for sandwiches, burgers, wraps, or takeout meals. Saves you time and keeps your kitchen workflow efficient
Flash Freeze Coffee Cake First to Protect Crumb Toppings
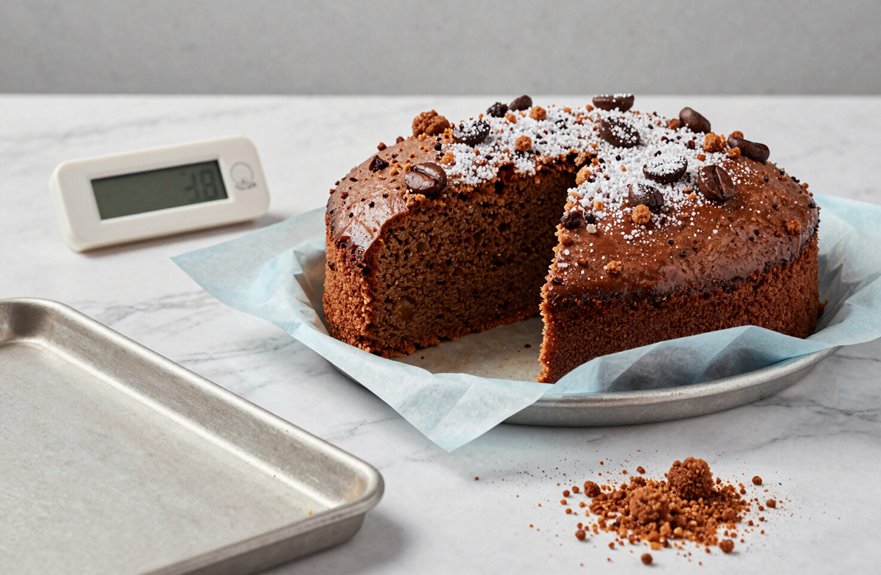
Because I’m obsessed with keeping that perfect crumb topping intact, I’ve learned to flash freeze my coffee cake before wrapping it up tight. I pop it in the freezer uncovered for about an hour, just until that gorgeous streusel hardens up. Once it’s set, I can wrap without fear: plastic wrap first, then foil, and sometimes I’ll slip parchment between the crumb topping and plastic for extra insurance. Without this step, that crunchy layer turns mushy, and nobody wants sad, soggy crumbs. The flash freeze locks in texture so your coffee cake emerges from freezer storage as inviting as the day you baked it. This extra hour prevents weeks of disappointment.
| Step | What I Do | Why It Works |
|---|---|---|
| 1 | Flash freeze uncovered | Hardens crumb topping fast |
| 2 | Add parchment if needed | Creates barrier for delicate crumbs |
| 3 | Wrap in plastic wrap | Seals against air and moisture |
| 4 | Add foil or container | Blocks odors, protects further |
| 5 | Label and store | Keeps freezer storage organized |

Delectable Topping: Streusel is a crispy, sweet crumb topping made from flour, fat, and sugar.

Homemade Crumb Topping!

How Long Does Frozen Coffee Cake Last?
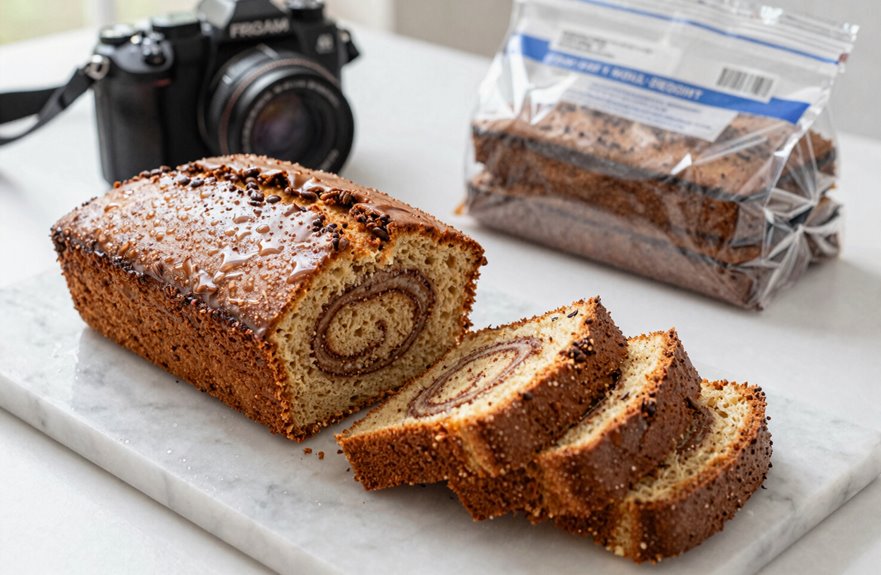
When I wrap up my coffee cake and tuck it into the freezer, I’m always wondering how long until this turns from treasure into tragedy. Most coffee cakes stay perfect for about three months. You can push to four or five, sure, but sooner tastes better.
Airtight wrapping is everything. I double-wrap mine with plastic first, then foil, because freezer burn sneaks in when air gets cozy with your cake. Nobody wants that icy, sad texture ruining the morning treat.
Whole cakes or slices, doesn’t matter. Just seal them tight. When thawing finally comes, patience pays off. I’ve rushed it before. The wait, though, is worth every minute for that first perfect bite with friends.

We have a vast Variety of Wrap in the market.For Width we have 12",16", 18" 24".For Length we have small roll and big roll like from 2000 feet to 5000 feet or over we have also variety specially used for meat film or mushoroom film.We have different variety For hand wrapper also for machine overwrap.

GREASEPROOF DELI PAPERS: These plastic deli papers feature a translucent greaseproof surface that helps preserve the quality and appearance of meats, cheeses, and baked goods during service

Package Includes: One (1) Reynolds Wrap Everyday Strength Aluminum Foil Roll measuring 30 feet long by 12 inches wide (30 square feet total)
Thaw Frozen Coffee Cake: Fridge or Counter for Best Texture?
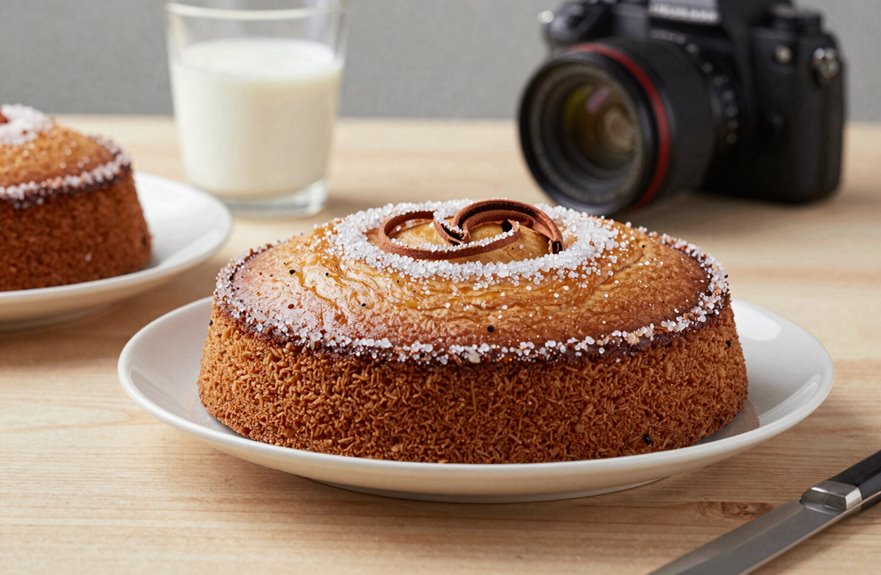
I’ve thawed coffee cake both ways over the years, and the approach really depends on how much time you have and what texture you want. Refrigerator thawing, keeping that cake wrapped tight while it sits overnight at a safe, even temperature, gives you the most consistent moisture throughout, which works well when you’ve planned ahead. If you forget until morning or have sudden company, you can set slices on the counter for a few hours, and they won’t suffer much if you’re careful about wrapping. The key, no matter which method you choose, is keeping the cake covered during thawing so condensation doesn’t turn your lovely top soggy. Uncovered thawing allows moisture to collect on the surface, making a crisp streusel topping turn sticky and damp.

Rubbermaid Brilliance 100% leak-proof food storage containers feature BPA-free Tritan lids and bases with 360-degree clarity; airtight seal and secure latches prevent spills and leaks and help keep food fresh and secure
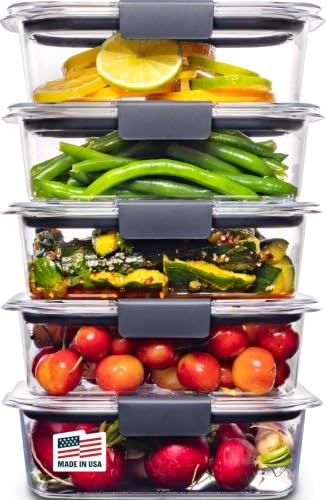
100% Leak-proof: Guaranteed no-spill seal and secure latches

Combination of 3 Different Sizes: Our 12 Pack freezer storage containers set includes 3 different sizes: 4 pack of 34 oz, 4 pack of 24 oz, 4 pack of 17 oz. Perfectly meets all your kitchen storage needs. Ideal for storing liquids and messy foods like soups, overnight oats, stews, sauces, fruits, leftovers, pasta, snacks and cereals.
Fridge Thawing Method
Thawing frozen coffee cake in the fridge is my favorite method for keeping that tender crumb intact. When you freeze coffee cake properly, fridge thawing becomes your best friend. The process is slow, gentle, and worth the wait.
Here’s how I do it:
- Keep it wrapped – don’t unwrap before thawing, since that wrap prevents moisture loss and protects your hard work
- Plan for 8 hours or overnight – patience pays off
- Leave frosted cakes sealed – nobody wants smudged frosting or weird condensation
- Let it sit out 15-30 minutes before serving – room temperature brings out that perfect softness
I always wrap mine tight to prevent freezer burn, and planning ahead feels like a little gift to my future self. The difference in texture and flavor is noticeable when you thaw this way.
Counter Thawing Method
Sometimes you just can’t wait eight hours, right? We’ve all been there, staring at that frozen slice with cream cheese frosting.
To thaw cake on the counter, keep it wrapped tight. Wrapping and freezing properly first sets you up for success. At room temperature, let it sit and check after about two hours. The edges soften while the center stays slightly chilled, which is the ideal texture. Condensation is the enemy here, so don’t unwrap too early. Unwrapping prematurely causes sogginess that ruins the cake.
Thawing this way requires patience. Keeping it wrapped prevents that sad, damp crust that nobody wants.
Texture Comparison Tips
When deciding between the fridge and the counter, consider what matters most that day: texture or speed. Freezing coffee cake is only half the battle; thawing texture makes or breaks that first bite.
What works:
- Refrigerator thaw (8–12 hours) keeps moisture locked in, giving you that tender crumb
- Room temperature thaw (1–2 hours) gets you there faster, though you’ll sacrifice a little softness
- Keep it wrapped until fully thawed. Condensation damages crumb preservation
- Pop slices in a 300°F oven for a few minutes if you want that fresh-baked edge back
There’s no wrong choice here. Both methods have distinct advantages depending on your priorities.
Reheat Frozen Coffee Cake: Oven, Microwave, or Toaster Methods
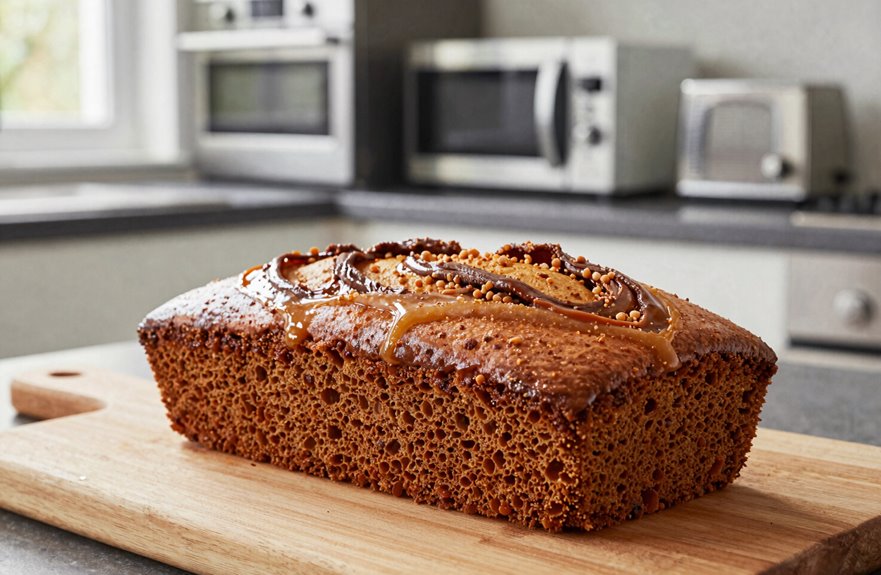
Now that we’ve thawed our coffee cake properly, whether you’re using the refrigerator or the counter method, it’s time to bring back that warm, just-baked quality. The oven method works best for whole cakes because it provides gentle, even heat. Cover cakes loosely with foil to prevent them from drying out. The microwave offers a quick option for busy mornings, and the toaster oven can create a crispy edge. Different schedules, budgets, and kitchen setups call for different reheating approaches.

5oz Cupcake Pans:Includes 25 foil pans and 25 clear lids, 25 individually wrapped spoons. The capacity of the mini cake pan is about 5oz/150ml,great little pans for making individual servings, food gifts, mini breads, mini brownies, mini cheesecakes, mini carrot cakes, creme brulee and more.A one-stop solution for your dessert making

Versatile Folding Table: Long, 6-foot folding table is ideal for outdoor dining, family reunions, and parties, and also serves as an ideal work table for your basement or garage

SPECIFICATIONS: Our single sheets aluminum foil measuring 9" x 10.75" or 12" x 10.75" come in a pop-up dispenser. With 200 or 500 individual precut aluminum sheets per box, these foil squares come in handy for cooking or storing food.
Oven Reheating Method
Why settle for soggy or dried-out cake when you can use a method that brings frozen coffee cake back to life. Oven reheating delivers that just-baked quality and is simpler than expected.
Here’s how to do it:
- Wrap and protect your cake before you freeze, so it’s ready to go straight from cold to warm.
- Thaw isn’t even necessary. Pop it in frozen, still wrapped, at 350°F.
- Wait 25–35 minutes, and let the gentle heat work its magic.
- If your cake went in unfrosted, unwrap it halfway through to revive that beautiful crust.
Keep the cake loosely covered with foil and watch so it doesn’t over-brown. This method preserves every crumb tender and moist, giving you cake that tastes freshly baked.
Microwave and Toaster Options
Rushing through my morning routine, I sometimes need that coffee cake warm in under a minute. The microwave is my go-to for speed, though I’ve learned a few tricks to keep things from getting soggy.
| Method | Time & Temp |
|---|---|
| Microwave (frozen) | 30–45 sec, 50% power |
| Microwave (thawed) | 1–2 min bursts |
| Toaster oven | 350°F, 8–12 min |
I always cover my slice with a damp paper towel when reheating in the microwave. That steam keeps the crumb tender. For that golden, crisp edge I crave, the toaster oven wins every time. I’ve found individual slices heat way more evenly than big chunks, so I freeze portions separately. Whether you prefer the microwave or toaster oven, both methods deliver consistent results depending on your texture preference.