I start by chilling my frosted cake for 20 to 30 minutes until the buttercream feels firm. That cold base is critical for controlling drips later.
Then I mix ganache using ¾ cup heavy cream per cup of chocolate chips, heating until steaming, pouring it over the chips, and stirring until glossy.
I always do a test drip first (learned that the hard way) to check consistency. Too runny means waiting five minutes; too thick needs 15 seconds in the microwave.
For applying, I grab a squeeze bottle or spoon, depending on what feels right that day, then gently squeeze while spinning my turntable to create those cascading edge drips with varied lengths.
Finally, I pour remaining ganache over the top and smooth it glassy before chilling again.
Each layer of technique builds on the last, with additional strategies available for troubleshooting those moments when drips misbehave.
Chill Your Cake to Set the Buttercream
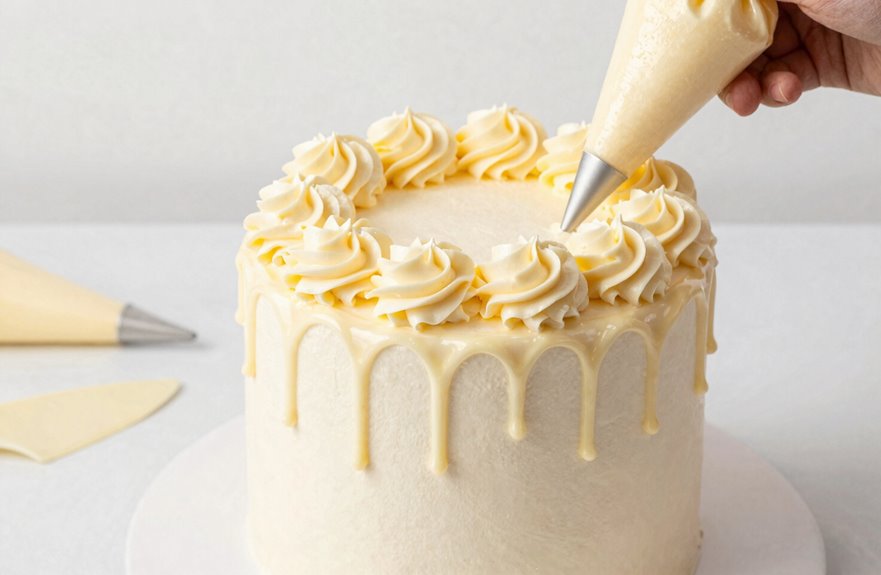
Before pouring the first drip of ganache, place your frosted cake straight into the fridge. This step prevents decorating disasters.
When you’re making a drip cake, cake chilling time isn’t optional; it’s your secret weapon. Smooth your frosting base first, because buttercream smoothness matters. Those little peaks will wreck your drip precision later. About 20 to 30 minutes in the fridge sets buttercream until it’s firm to the touch.
A cold cake controls ganache flow effectively. That chocolate drip stays exactly where you want it, instead of sliding down the sides in messy streaks. Chill cake until the frosting feels almost hard, then you’re ready for perfect drips.
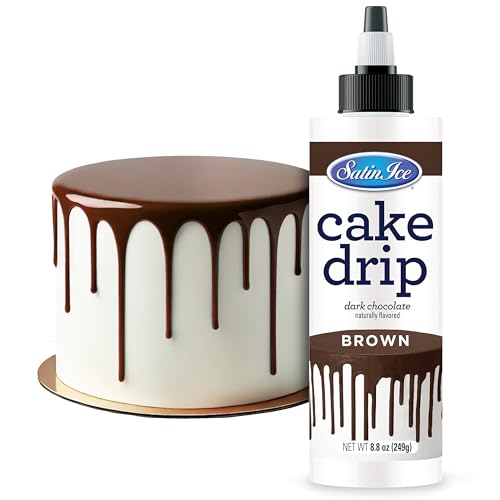
Satin Ice Cake Drip is fun and easy to use! Simply melt in the microwave, shake thoroughly, and you're ready to create stunning drip cakes or drizzle over desserts

USE: The soaking tube is ideal for moistening the sponge of your cakes evenly and without excess, as it has small evenly distributed holes creating a shower-like pattern when moistening the cake.

Even & Full Cake Moistening:Our cake moistening bottle features dense, precision spray holes for uniform syrup distribution. No more patchy or dry cakes, perfect for simple syrup, honey, rum, or flavored soaking liquid
Mix Ganache and Check Consistency With a Test Drip
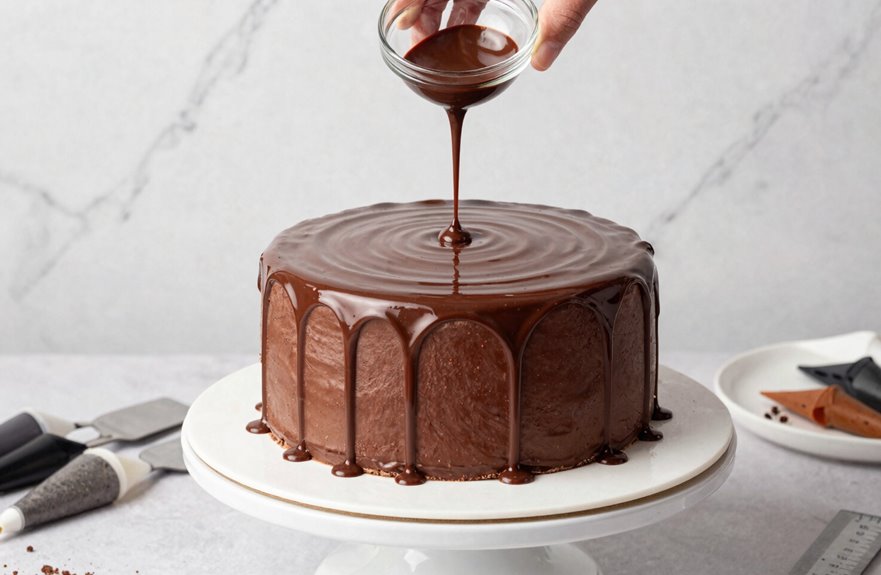
The ganache is where the magic happens, and patience here pays off. I heat heavy cream (¾ cup per 1 cup chocolate chips) until steaming, pour it over my chips, and let them sit for a couple minutes before stirring to glossy perfection. If lumps remain, I’ll microwave 30 seconds more. After mixing, the ganache needs settle time to thicken. Consistency is critical. Too hot, and your drips race down; too thick, and they barely move. I always do a test drip on something cold, my spatula or a spare plate, to check the flow before committing. Let it cool slightly. That’s where you’ll find controlled, beautiful drips.
| Problem | Fix | Result |
|---|---|---|
| Too runny | Let it cool 5–10 min | Controlled drips |
| Too thick | Microwave 15 sec | Glossy flow |
| Lumpy chips | Stir longer, add heat | Silky smooth |

Riccle Piping Bags and Tips Set, 11.8 Inch 100 Anti Burst Piping Bags, 124 Pcs Cake Decorating Kit with 16 Piping Tips, 1 Reusable Pastry Bags, 3 Cake Scrapers

PROFESSIONAL SILICONE PASTRY BAGS: Compared with others,ELK's piping bags uses the 60HA elastic silicone, which is the perfect material for the piping tips set. The slight elasticity ensures its reusability, allowing the viscous liquids to flow smoothly inside. It won’t blow out even if you knead the thick batter with it. Its high stretchiness means that all of the squeezing efforts you make gets transferred to bulging sides as it stretches out, instead of forcing the frosting out the bottom.

Essential Cake Decorating Kit: 16 numbered stainless steel piping tips, 100 disposable pastry bags, 1 reusable piping bag, 2 reusable couplers, 2 bag ties, and 3 cake scrapers. With just a few key decorating tools, you'll be able to make cake decorating a piece of cake.
Choose Your Method: Squeeze Bottle or Spoon
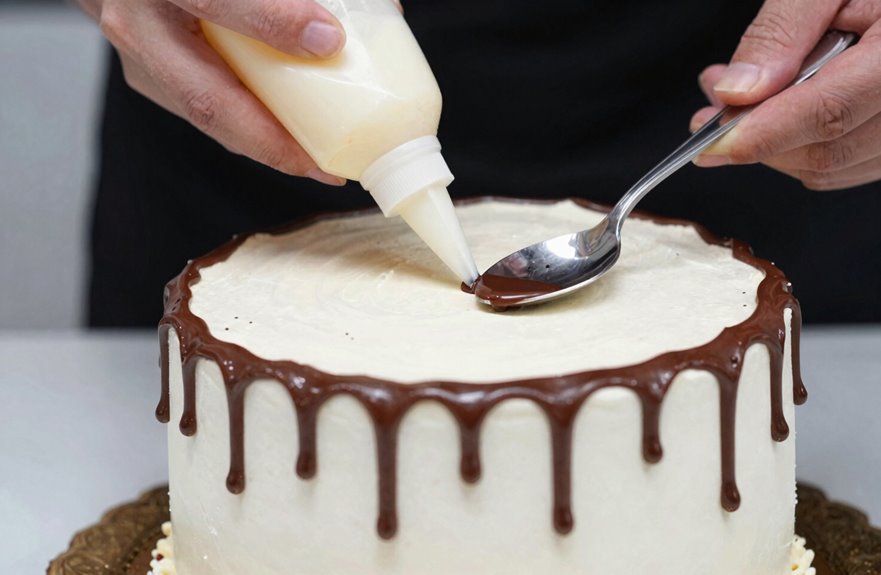
Once your ganache is ready, rested, glossy, and at exactly the right consistency (you did that test drip, right?), you’ve got two solid paths to get those drips flowing.
I like the squeeze bottle for control. Hold it a couple centimeters above the edge of cake, gently squeeze, and spin your turntable for even drips all around. It’s satisfying, like drawing with chocolate.
The spoon method works great too. Place spoonfuls along the chilled buttercream and let gravity do its thing. Repeat, and you’ll get that consistent edge we all want.
Either way, the ganache rest matters. About 10 minutes, not too hot, not too cool. Your drips behave better when your cake is cold and your ganache listens. Pick what feels right; both methods produce professional results.
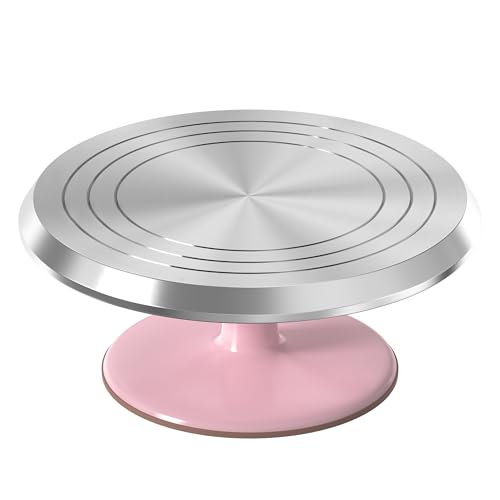
Premium Aluminum Cake Turntable: Built from professional-grade aluminum alloy, this heavy-duty rotating cake stand is designed to last through years of baking and decorating. Its solid cake base keeps it firmly in place on any countertop, providing steady, wobble-free rotation while you decorate your cake.

Complete Cake Decorating Supplies: This all-in-one baking kit includes a rotating cake stand, 24 icing piping tips, 2 cake spatulas, 3 cake scrapers, 50 disposable piping bags, 2 reusable pastry bags, 4 bag ties, and 2 couplers. Perfect for all your cake decorations.

Complete Cake Decorating Supplies: This all-in-one baking kit includes a rotating cake stand, 24 icing piping tips, 2 cake spatulas, 3 cake scrapers, 50 16 Inch disposable piping bags, 6 Cupcake Liners, 2 reusable pastry bags, 4 bag ties, and 2 couplers. Perfect for all your cake decorations.
Apply Edge Drips With Controlled Pressure and Varied Lengths
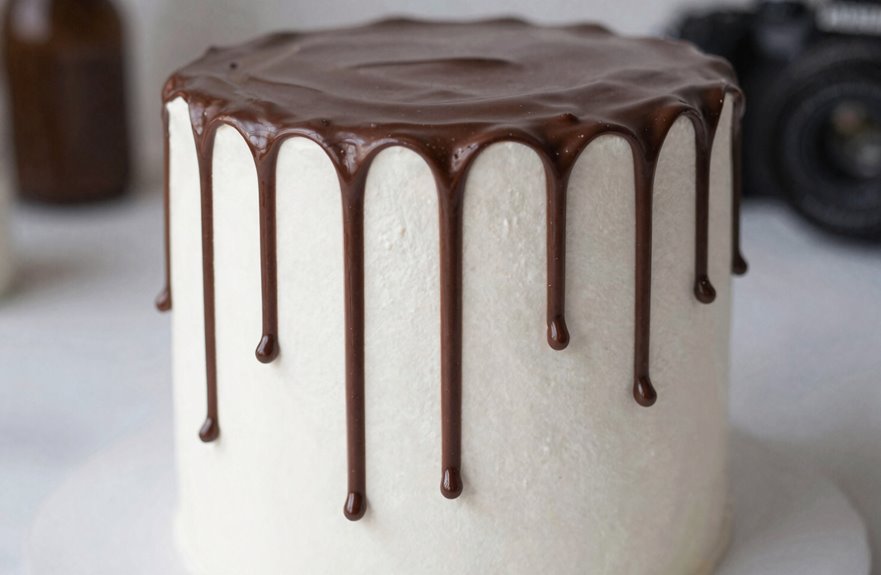
How exactly do you get those drips to look like they belong on a magazine cover. I hold my drip bottle at a slight angle along the cake border, letting each waterfall drip define itself with personality. I apply controlled pressure, steady and not squeezing too hard, to keep the flow even with no spurts or gaps. I start near the top edge, working my way around. The natural variation makes the difference: I vary my drip lengths by adjusting pressure and pulling back slightly in spots, so some drips cascade longer while others stay shorter. After I’ve got my edge drips just right, I use the remaining top ganache, then grab my icing spatula to smooth the edge for that seamless finish.

Two Professional Cake Decorating Spatulas: PUCKWAY offset spatula set comes in two different sizes: 6 inch and 8 inch blade. This is your best choice to decorate a cake perfectly.
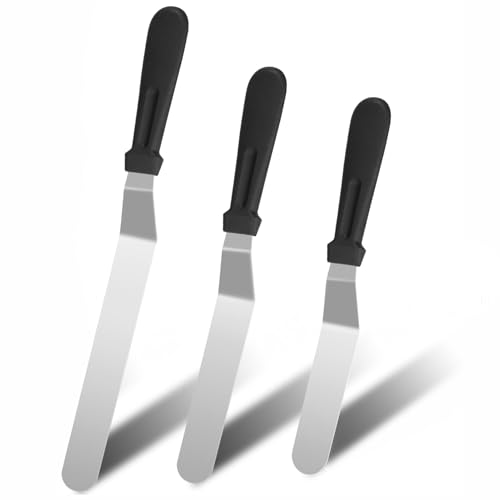
【MULTIPLE SIZES] Icing spatula set comes in Three different sizes 6, 8, 10 inches for different applications. It's great for icing cakes, cheese, pizzas, sandwiches, even cutting curds. This is your best choice to decorate a cake perfectly.

Small Offset spatula by Ateco
Fill the Top and Finish Your Drip Cake
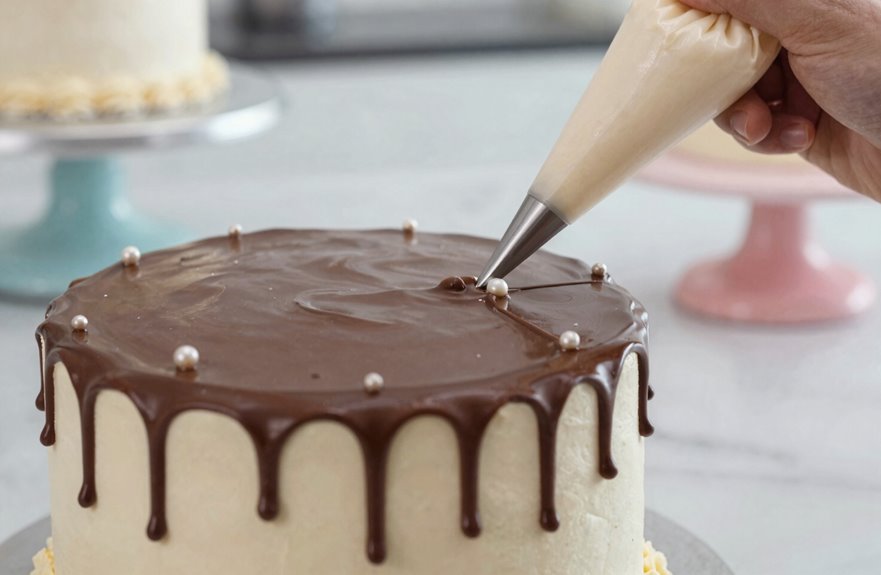
With the edge drips set, pour the remaining ganache over the top, spreading it until you have a smooth, glassy surface. Use an offset spatula to blend the edge drips into the top layer, working quickly before the chocolate sets. The goal is a smooth top that meets the drips without interruption and no awkward overhangs. Whether you’re using dark, milk, or white chocolate ganache, the technique is the same: pour, spread the top gently, and accept that perfection isn’t necessary.
Chill the cake for a minimum of thirty minutes to keep the buttercream frosting firm. Skipping this step allows garnish decorations to slide off the cake. Once chilled, add sprinkles, fruit, or leave it plain according to your preference.

3-PIECE: Set includes 1-qt, 1.5-qt, and 2.5-qt round glass bowls. This is the perfect set for all manners of prepping, baking and home entertainment.
MULTITASK: Prep, store, & serve food for every meal

MULTITASK: Prep, store, & serve food for every meal