
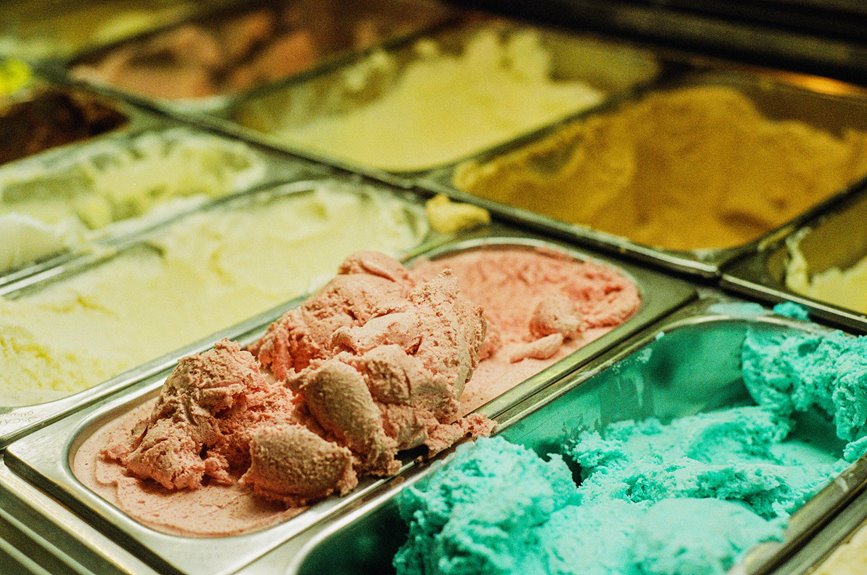
I keep my ice cream cakes frozen at 0°F, wrapped tight in plastic then tucked in an airtight container. One to two weeks is where they stay perfect. After that, you’re rolling dice on texture. Edges get dry, ice crystals sneak in, and it turns grainy instead of creamy. Store it way back there, away from the door, since kids will raid the freezer. If you see frosty patches, the cake is still safe, though the appearance suffers. You can push past week three if you must, but expect some trade-offs in quality.
How Long Ice Cream Cake Lasts: The Honest Timeline
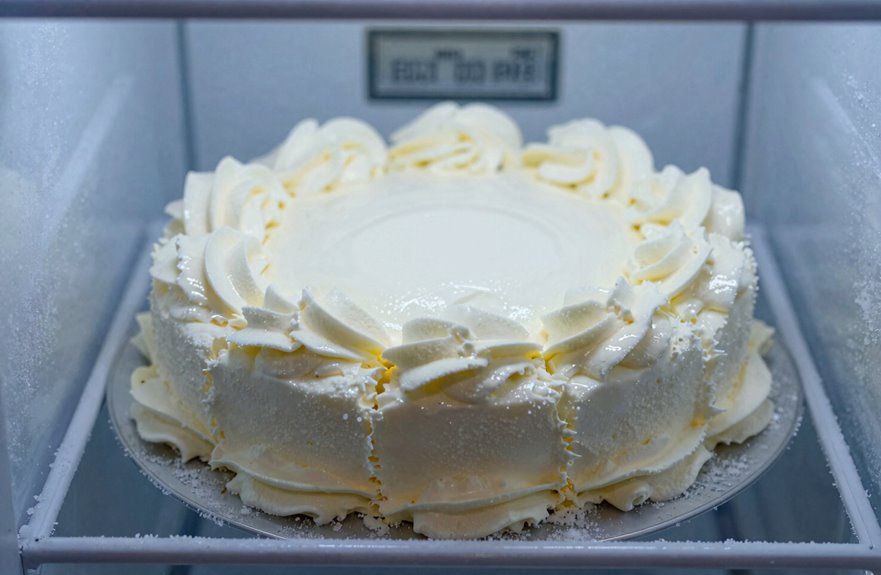
So, how long can you really keep an ice cream cake before it turns into a frosty disappointment? You’ve got about one to two weeks for that perfect texture. Push it longer, and you’re gambling with freezer burn.
What works best: wrap yours tightly in plastic, then place it into an airtight container. No gaps, no air sneaking in. Nestle it in the back of your freezer, away from the door, where temperatures stay steady. That spot preserves creaminess effectively.
Skip the thaw-and-refreeze cycle. Once it warms, ice crystals form, and that smooth bite disappears. Keep it frozen and sealed to actually enjoy your leftovers.

Perfect For Homemade Ice Cream & More: The ice cream tub set of 2 is a great way to freeze your yummy homemade ice cream, fruit sorbet & frozen yogurt! Not only is the ice container a gem for dessert lovers - it also works flawlessly for food storage - meal prep made easy!
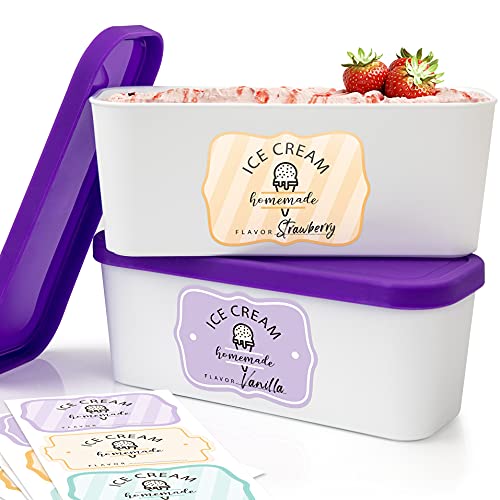
Perfect For Homemade Ice Cream & More: The ice cream tub set of 2 is a great way to freeze your yummy homemade ice cream, fruit sorbet & frozen yogurt! Not only is the ice container a gem for dessert lovers - it also works flawlessly for food storage - meal prep made easy!

Stylish Ice Cream Containers Reusable- Each homemade ice cream container holds 1 Liter (1 Quart) and measures 5.3” tall X 4.7" Wide. A set contains 4 ice cream freezer storage containers, eliminating the need for large ice cream pint containers! Great for storing & gifting your creations!
Fridge or Freezer? Why Room Temperature Ruins Everything
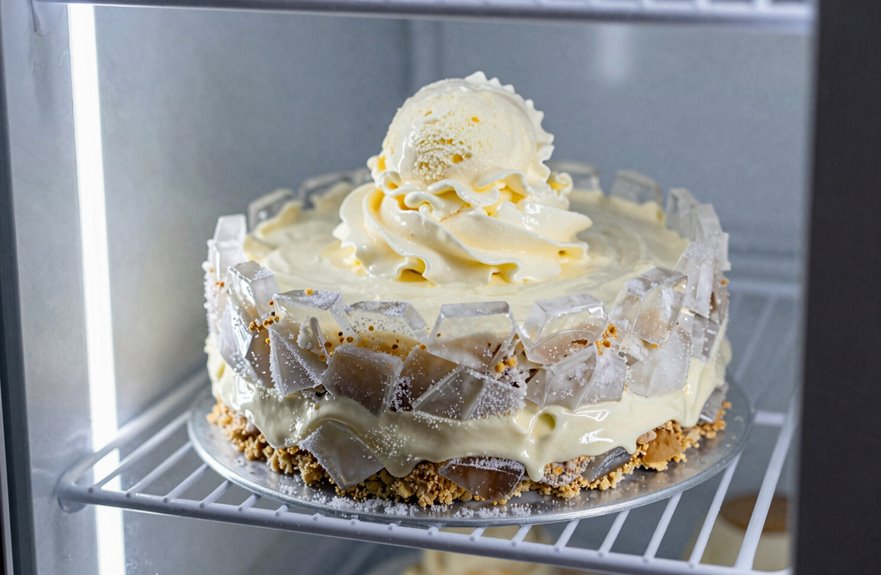
I learned the hard way that leaving ice cream cake on the counter for even 20 minutes turns it into a sad puddle of dairy regret. I’ve scraped enough sticky mess off my grandma’s birthday platter to know this firsthand. Room temperature isn’t just inconvenient; it’s a countdown timer where your cake goes from “perfect slice” to “soggy, separated, possibly unsafe” faster than you can find the cake server. That’s why I’m adamant about sticking to safe storage only. Understanding these temperature dangers means you’ll never have to apologize to your guests for serving something that’s more soup than celebration.

High-quality: The cake push pop containers with lids are made of food-grade PET plastic material, healthy and environmentally friendly. The cake push pops are thick enough to ensure not bend or crack. The cake push-up pop shooter is sturdy and durable, which can keep your cake fresh and clean.

**Unique Freeze-Dried Ice Cream Treat:** Enjoy crunchy, sweet freeze-dried ice cream cake bites with a delicious strawberry cake flavor. Perfect for dessert lovers who crave innovative, fun treats.

**Unique Freeze-Dried Ice Cream Treat:** Enjoy crunchy, sweet freeze-dried ice cream cake bites with a delicious strawberry cake flavor. Perfect for dessert lovers who crave innovative, fun treats.
Safe Storage Only
Where exactly should you stash that ice cream cake you just brought home. Only the freezer will work; nothing else is suitable.
Your freezer keeps that sweet masterpiece perfect for about seven days, which is typically sufficient time. After that, it’s still edible, but that dreamy texture starts deteriorating. I’ve pushed mine to two months when necessary, though only if there’s no fancy cream cheese frosting involved.
Here’s my trick: wrap that cake tight against every edge with plastic wrap, then nestle it into something airtight. I shove mine toward the back too, where the cold stays steady. Skip the refreezing if it softens; just commit and enjoy it.
Temperature Dangers Explained
Storing your ice cream cake in the wrong spot turns a celebration centerpiece into a sad puddle faster than you’d think. Room temperature causes rapid melting. The fridge won’t save you either, as it’s just not cold enough.
You need that stable freezer temperature, really cold at 0°F or lower. Proper storage requires:
| What happens | Why it matters |
|---|---|
| Low freezer temperature keeps things solid | No more sad, soggy cake moments |
| Steady cold prevents ice crystal formation | Your cake stays smooth, not crunchy and weird |
| Avoiding temperature swings stops freezer burn | That gross, dry, cardboard taste stays away |
| Back of freezer beats door storage | Less warm air hitting your precious dessert |
I stick mine way in the back, away from that door I open every five minutes. Your future self will benefit from this storage method when celebrating something special.
The Real Enemy: Temperature Swings, Not Time
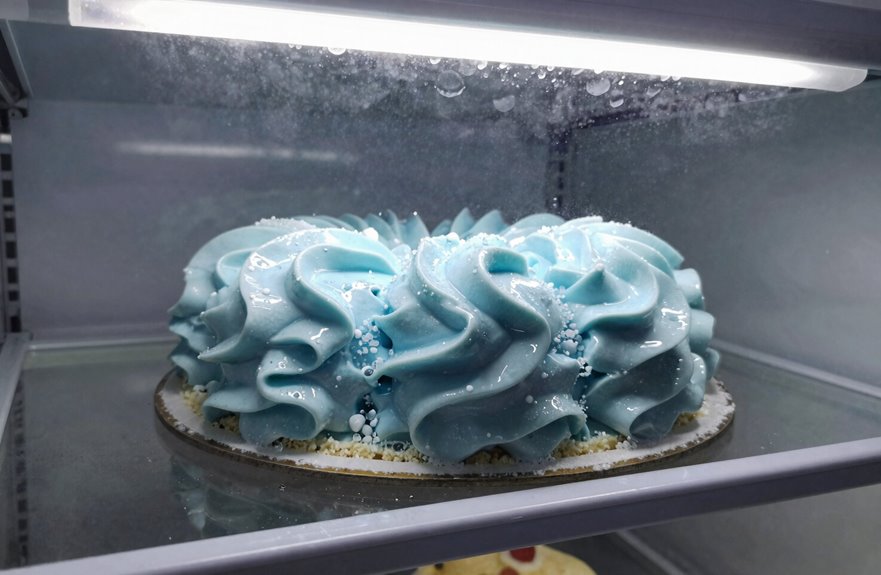
Why do we obsess over how many days something’s been frozen, when the real troublemaker’s hiding in plain sight? Temperature fluctuations destroy your cake far faster than time ever could.
What actually matters for proper freezer storage is placement and consistency. Keep your cake in the back, far from the door that gets opened too often. Every swing, even small ones, invites freezer burn and weird textures. A freezer with a tight seal makes a significant difference.
For leftovers, use airtight containment. No exceptions. Don’t let it thaw and refreeze; the texture turns grainy and becomes inedible. Consistent cold is what preserves your dessert.
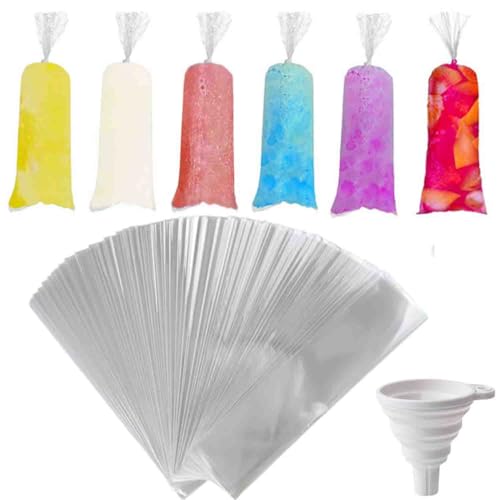
【What You Get】This set comes with 250 disposable ice lolly sleeves and 1 silicone funnel. The generous quantity ensures you have enough for repeated use, and the funnel helps make filling each bag with juice or water quick and mess-free.

Ice Ice --disposable ice sticks bags, great decorating accessories for your wedding, birthday party, cake pops, lollipop, candy making, Ice

Bags for ice storage:these ice bags are suitable for classifying different flavors of ice sticks for your taste,sealed bags for Ice Pop
Which Cake Ingredients Freeze Best (and Which Don’t)
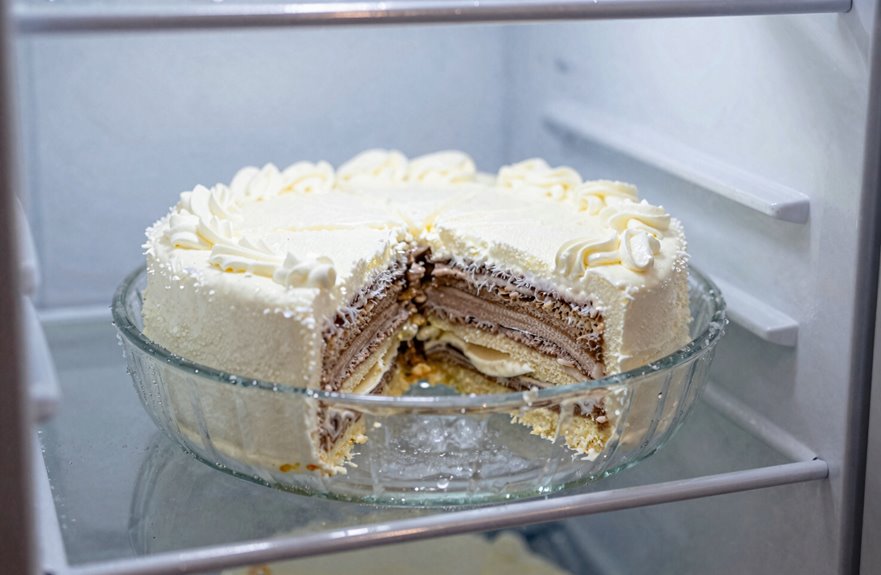
I’ve learned the hard way that not all cake ingredients handle the freezer equally well. Dense ice cream layers and simple sponge cakes freeze beautifully, staying fresh for up to two months when sealed tight, but buttercream, cream cheese, and whipped cream tend to separate or get weirdly grainy. I’ll walk you through which components hold up best and which ones to skip when planning to freeze a cake for later.

THE ORIGINAL ICE CREAM CANTEEN – We created the original insulated canteen made for ice cream and proudly brought it to life on Shark Tank. Designed for ice cream lovers who want dessert anywhere! No freezer, no problem. Newly updated Version 2.0 is out now and better than ever!

TRIPLE LAYER INSULATION: S’well 16oz Ice Cream Chiller. Triple-layered, vacuum-insulated stainless steel construction keeps ice cream frozen for up to four hours. Vessel is top-rack, dishwasher safe. Lid is hand wash.
Ideal Freezer-Friendly Components
What makes an ice cream cake actually survive the freezer without turning into a sad, icy mess? It all comes down to choosing freezer-friendly components that play nice with cold temperatures.
Here’s what works best:
- Dense, low-moisture cake bases that freeze solid without getting grainy
- Ice cream layers without heavy dairy toppings for firmer texture
- Proper airtight wrapping, pressed right against every edge
Double-wrapping is essential for success. Use plastic wrap first, then foil, since freezer burn degrades flavor and texture. Store your creation in the back of the freezer where temperatures stay steady. This approach prevents waste and ensures quality results with every slice.
Ingredients to Avoid Freezing
Not every cake ingredient freezes well. Dairy fillings like cream cheese, whipped cream, eggs, and buttercream lose texture stability, turning silky layers grainy within weeks. Fruit fillings with high water content separate, becoming soggy messes that ruin the bite. Without a proper moisture seal, ice crystals form and cause freezer burn that dulls flavors. Chocolate ganache and fondant hold up better, but delicate frostings crack during freezing. Skip the risky ingredients when freezing cakes. Your future self reaching for a midnight slice will appreciate the better results.
Pick a Container That Actually Seals
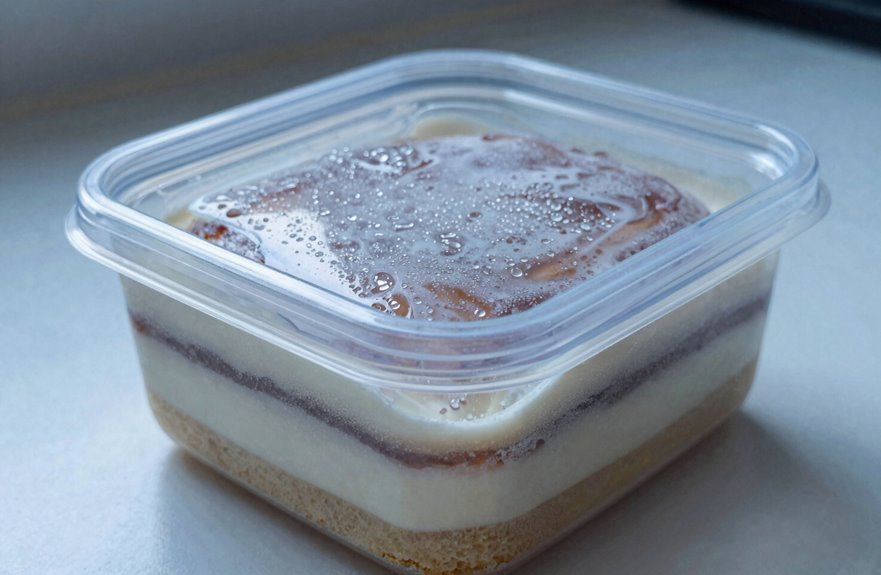
Why does freezer burn ruin everything it touches? Air is the enemy of ice cream cake. That’s why I always grab an airtight container with a sealing lid that actually clicks shut.
Here’s what works best:
- Skip the glass, it cracks when it freezes (learned that the messy way)
- Press that lid down until you hear the snap, no half-measures
- Label it with the date, because we all forget how long things sit
If your container doesn’t have a sealing lid, wrap it tight, pressing the wrap right against the cake’s edges. The goal is blocking freezer burn completely. Less air exposure means your cake stays creamy, not crunchy and sad.

Vanilla Pudding Ice Cream with Chocolate Sandwich Cookies & Chocolate Cookie Swirls Topped with Milk Chocolatey Ganache & Chocolate Cookie Crumble

Ben & Jerry's Strawberry Cheesecake Ice Cream with Strawberries & a Thick Graham Cracker Swirl

Cream cheese ice cream layered with crumbles of vanilla cake and a swirl of caramel-butterscotch sauce.
Plastic Wrap, Foil, or Vacuum Seal: What Actually Works
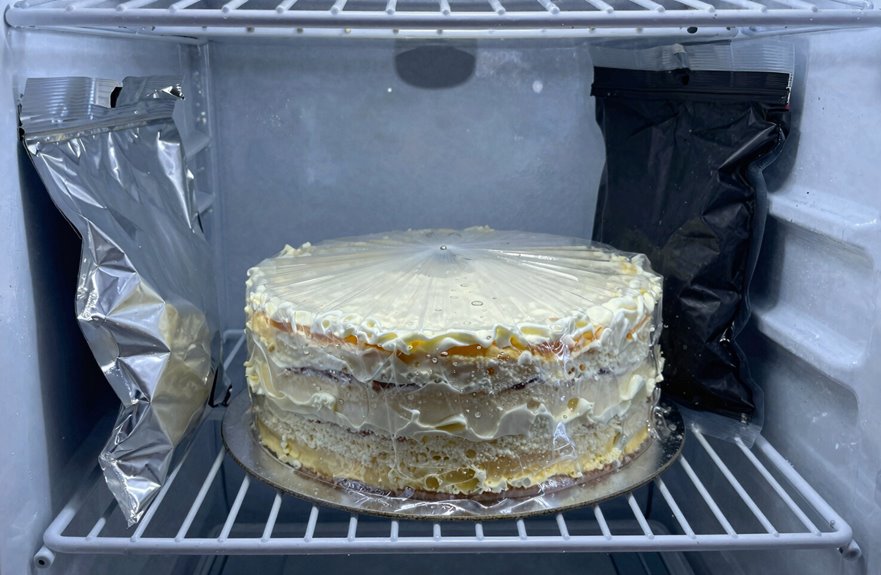
I’ve tried pretty much every wrapping method out there, and some of them are disappointing. Plastic wrap alone helps, but for long-term freezer storage of your ice cream cake, it’s not sufficient. Cut edges dry out fast.
Foil can work as backup armor. Sometimes I double up, wrap then foil, but it still lets air sneak in. The most effective approach is a true vacuum seal. This provides superior protection that keeps your cake fresh much longer without weird icy patches ruining the texture.
My method: press plastic wrap tight against cut edges, then vacuum seal if you have the equipment. Label everything with the freezing date, because you will forget when you froze it otherwise.

Premium Ice Cream Storage Container: Crafted from food-safe, BPA-free materials, the ice cream container set prioritizes your relish and the preservation of your frozen creations. Trust in the top-notch ice cream freezer tubs that melt ice cream lover’s hearts

Non-Melting Ice Cream: Creamy, crispy freeze dried ice cream bites made for snacking anywhere without melting

Package includes 24 pcs 5 oz(160 ml) food storage jars with white screw lids.
The Back of Your Freezer Is the Only Spot That Works
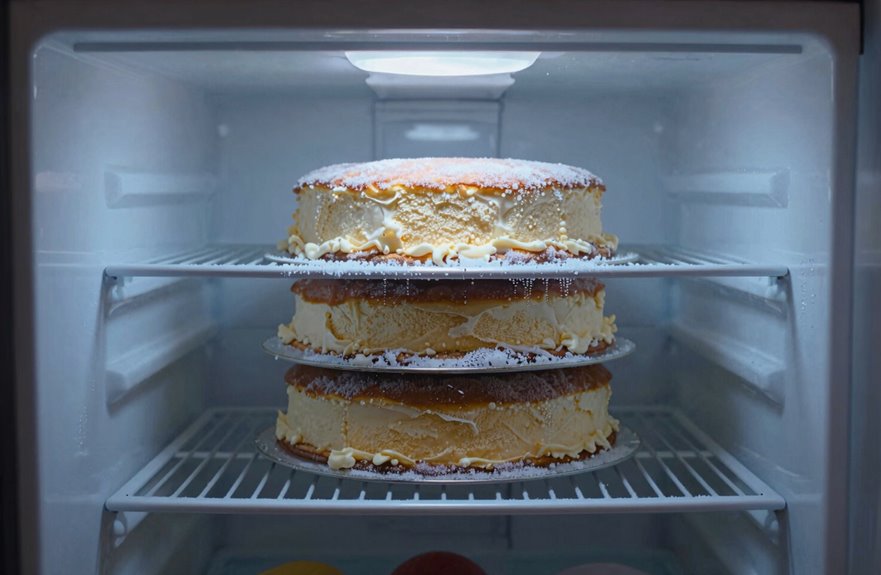
Once you’ve got your cake wrapped up tight, where you put it matters just as much as how you wrapped it. I learned this the hard way after finding my ice cream cake, the one I’d saved for my sister’s visit, turned icy and sad near the door.
Here’s what I’ve figured out about freezer temperature:
- The back of the freezer stays coldest, away from that rush of warm air every time someone grabs frozen peas
- Your ice cream cake keeps its creamy texture longer when it’s not fighting temperature swings
- Consistent cold means better flavor
I always slide mine way back now, behind the vegetables nobody eats. It’s become my strategy for celebrations that actually taste like celebrations. Your future self will benefit from this approach.

FOOD-GRADE MATERIAL: We put your health first, and made this cake carrier with food-grade PP material, ensuring you and your food stay healthy, fresh and safe for all your friends and family!


Never Refreeze: The One Storage Rule You Can’t Break
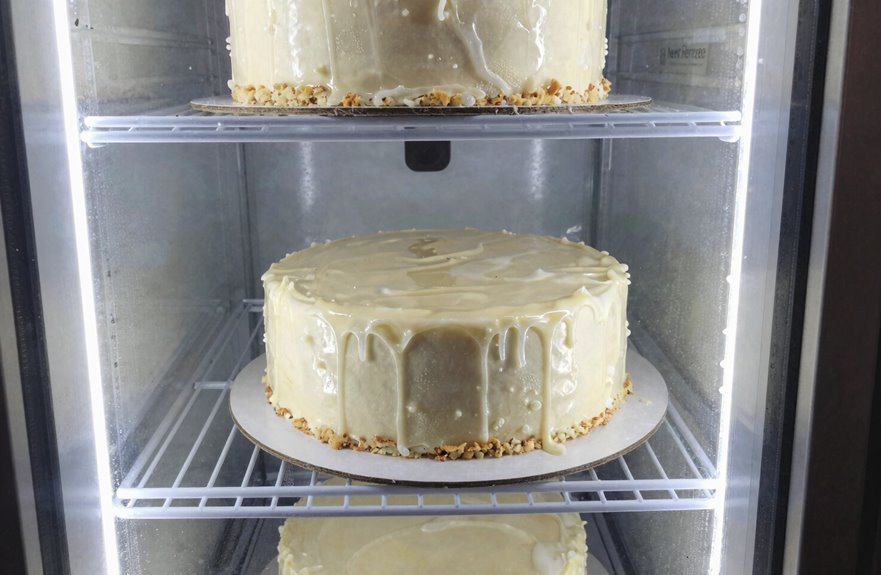
I left my niece’s birthday cake on the counter too long, thinking I could just pop it back in the freezer. Once an ice cream cake melts, even a little, refreezing turns it into a grainy, icy mess that nobody wants to eat. You’ve got to serve it at just the right temperature instead. Keeping it solid from start to finish is the only way to protect that smooth, creamy texture we all love.

Fridge ice cream bags:disposable ice sticks bags, great decorating accessories for your wedding, birthday party, cake pops, lollipop, candy making,reusable ice pop

Ice pop sleeve:used for freeze , candy, cookie, keep the food and treats fresh for longer life and fridge ,ice Ice Pop mold bags

Ice cream bags freezer:you can seal it by a hot sealing machine or a time, or even make it open like our photos display,ice bag
Never Refreeze Melted Cake
Because I’ve learned this lesson the hard way, I need to tell you about the one storage rule I never break: never refreeze melted ice cream cake. I once tried saving a soupy slice, and the texture was heartbreaking.
Here’s what we need to remember about proper freezer storage:
- Once it’s melted, it’s done; no second chances with refreezing
- Brief softening for serving is fine, but keep it cold otherwise
- When in doubt, throw it out rather than risk the icy, weird consistency
Nobody wants to waste dessert. But melted ice cream cake just doesn’t bounce back. The water crystals reform all wrong, leaving you with something nobody wants to eat. Keeping this rule sacred protects both your treats and your taste buds.
Texture Damage Risks
Texture damage is the silent killer of ice cream cake, and I’ve seen it ruin more birthdays than I care to count. When you let your cake thaw, then attempt refreezing, you’re basically signing up for icy disappointment. Those delicate ice crystals melt, then refreeze into chunky, grainy blocks that no one wants to eat.
Freezer burn is your other enemy here, creeping in when air hits exposed surfaces, even with good wrapping. The real trick is keeping things steady. Avoid temperature fluctuations. Thaw only what you’re serving, when you’re serving it. I use a warm serrated knife for clean cuts, which produces better results. One thaw-refreeze cycle and that smooth, creamy texture you paid for is gone.
Proper Serving Temperature
Never refreeze an ice cream cake once it’s thawed. I learned this the hard way after one ruined birthday and an icy, soggy mess.
For freezer storage and getting that perfect slice:
- Move your cake to the counter 10–15 minutes before serving. This gives you just enough time for clean cuts without the cake becoming too soft.
- Warm your knife under hot water, then dry it. The blade glides through the cake more smoothly this way.
- If it softens too much, place it in the fridge briefly, but don’t leave it sitting out for extended periods.
Serving temperature is critical for ice cream cake. Too cold and you cannot cut it cleanly. Too warm and it becomes liquid. Finding the right temperature makes the difference between a presentable dessert and a ruined one.
Slice Before You Freeze for Easier Serving Later
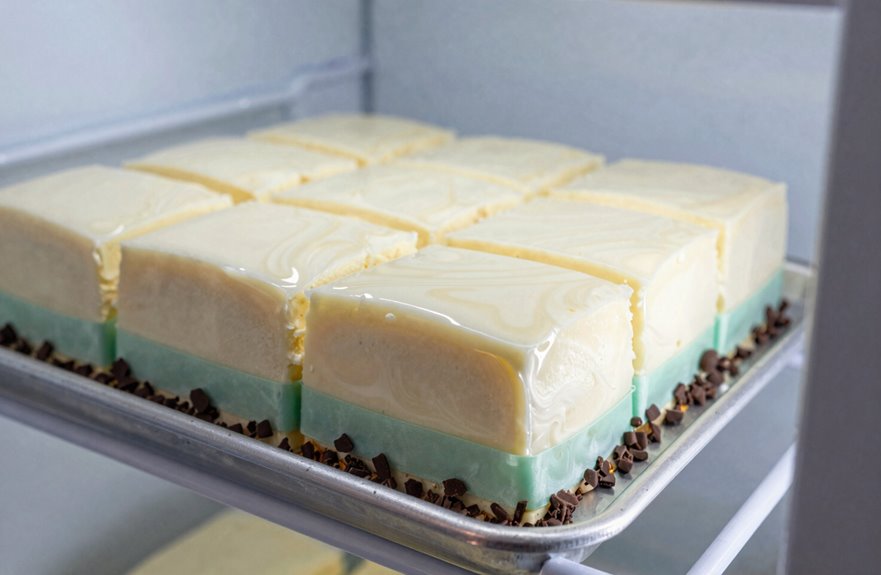
Why wrestle with a rock-solid cake later when a few minutes of prep now saves you significant hassle? I slice my ice cream cake before freezing, and it eliminates the struggle. You get even exposure, easier portioning, and no stuck-together disasters. Just cut clean pieces, arrange them with equal wrap contact, and seal them in dry containers. No flavor mixing, no freezer burn.
Here’s what you’re protecting:
| What You Keep | What You Avoid | How You Feel After |
|---|---|---|
| Perfect texture | Stuck slices | Relieved, smart |
| Individual wraps | Freezer burn | Proud, prepared |
| Quick serving | Messy hacking | Like a host pro |
| Fresh flavor | Weird odors | Celebrated, relaxed |
Pre-slicing means faster thawing and minimal handling. Your guests will notice the difference. Proper storage keeps every piece ready to serve.
How to Thaw Without Turning It Mushy
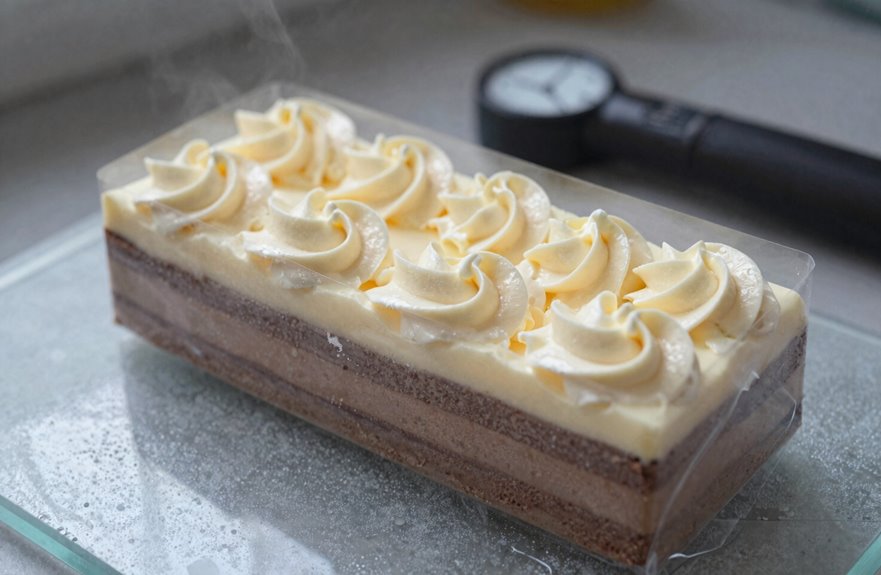
How do you get that perfect slice without a melty mess? Thawing an ice cream cake requires patience and proper technique. After freezer storage, remove the cake 10–20 minutes before cutting. This window hits the sweet spot: soft enough to slice, firm enough to hold shape.
Keep these practices in mind to avoid a slurry disaster:
- Plan for room-temperature rest time, not longer
- Work on a cool surface, away from warm ovens or sunny windows
- Serve slices immediately after cutting
If the cake softens too much, avoid refreezing, as that creates icy, unpleasant textures. Instead, adapt by serving smaller portions.

Imagine taking a REESE'S Peanut Butter Cup and transforming it into the most scrumptious frozen dessert bar

Buttercream frosting, golden cake, and a rainbow of sprinkles.

Ice Cream Cake, Confetti and Carvel Crunchies—ideal for ice cream birthday party decorations
Serve With a Hot Knife: Clean Slices, No Meltdown
I grab my longest serrated knife and run it under hot tap water for about 15 seconds. This is the technique that transforms cake slicing results. You want that blade warm, almost slippery, so it glides through the cake like butter instead of snagging or cracking the frosting shell. Pull the cake out about 10 minutes early, no more or it gets soupy, and rewarm that knife every two cuts. There’s nothing worse than watching your perfect wedge turn into a melty mess.
Hot Water Method
Ever curious about achieving bakery-quality ice cream cake slices. The hot water method delivers clean cuts without the melting mess.
Here’s my go-to routine:
- I fill a tall glass with hot tap water, not boiling (don’t want to warp my blade)
- I dip my long, serrated knife for about 10 seconds, then wipe it completely dry
- I cut one clean slice, rewet, re-wipe, and repeat every few cuts
That hot blade glides through freezer-firmed layers smoothly. No dragging, no crumbling, no torn edges. I learned this after too many lopsided birthday disasters. Now my guests consistently ask for the technique, and I enjoy sharing it. This method transforms homemade cakes into impressive presentations.
Timing the Cut
A few minutes can make all the difference between a tidy slice and a sloppy puddle. Set your timer for ten to fifteen minutes of thawing time before cutting. This is the sweet spot where the knife glides without fighting through rock-hard layers.
Start with a long serrated knife, warmed under hot tap water or briefly dipped. Wipe it dry, then push through in one confident motion. The heat melts just enough to prevent tearing. After every few cuts, rewarm the knife; otherwise you’re basically sawing.
Move the cake from freezer storage to counter only when you’re ready to serve, and plan your sequence so guests get perfect wedges before the window closes.
Serrated Blade Choice
Why does the right blade matter so much? I’ve learned, through many messy slices, that a serrated blade transforms everything. Those jagged teeth grip and saw through frozen layers without crushing the delicate structure underneath. It’s like the difference between tearing wrapping paper and cutting it clean.
Here’s what I’ve figured out about knife warming and cutting technique:
- Dip your blade in warm water for 10-15 seconds before that first cut
- Wipe, slice, then reheat every 2-3 pieces to keep edges pristine
- Match your pattern to the cake: triangles for rounds, squares for rectangles
I used to hack away with whatever was handy. This approach of warming between cuts and letting the serrations do the work produces bakery-quality slices with clean edges and intact layers.
How to Tell If Frozen Ice Cream Cake Has Spoiled
So how do you know when that cake in the back of your freezer has gone from “maybe tonight” to “absolutely not”. You can identify ice cream cake spoilage through visual inspection and taste testing.
First, look for texture changes. If the cake layer has become dry and crumbly, or the ice cream looks more like soup than solid, these are clear warning signs. Freezer burn appears as frosty patches and crystals, which compromises flavor even if it remains technically safe to eat.
Also watch for the melt-and-refreeze situation, when the edges get icy and the center becomes sunken. This indicates the cake should be discarded. Prolonged heat or light exposure degrades taste quality. Keep your cake consistently frozen to avoid these deterioration issues.
Freezer Burn: Ugly But Usually Safe
Freezer burn might look scary, but it’s not the villain we make it out to be. Plenty of ice cream cakes with frosty patches are still completely safe to eat. Freezer burn occurs when air sneaks in and forms ice crystals. While unpleasant, it poses no health risk.
Freezer burn looks scary but isn’t dangerous—those frosty patches on ice cream cake are still safe to eat.
What works for texture preservation:
- Wrap your cake airtight using plastic wrap, then foil, or a sealed container
- Store it in the back where temperatures stay steady
- Avoid frequent door openings, especially with kids around
A quality freezer also helps. The seven-day guideline concerns peak freshness, not safety. That slightly frosty slice is still your delicious cake and safe to consume.
Pushing Past 2 Weeks: The Real Trade-Offs
I get it, you’re staring at that half-eaten cake from your kid’s birthday, wondering if week three is pushing your luck. We’ve all been there, right. That ice cream cake won’t poison you, but freezer storage beyond two weeks involves real trade-offs.
You’re trading convenience for quality, plain and simple. Ice crystals start forming, turning that creamy dream into something grainy, maybe a little dry around the edges. The cake layers can get crumbly and deteriorate. It’s still safe, technically, but texture changes occur rapidly after day fourteen.
Want to stretch it. Keep that cake buried deep, back where temperature stays steady. Label the date so you’re not playing freezer archaeology later. I’ll push mine to three weeks, maybe, but the result will show visible degradation in texture and appearance rather than maintaining its original quality.
Storing Leftover Ice Cream Cake Without the Icy Texture
Leftover ice cream cake requires careful freezer storage to maintain its creamy texture.
What actually works:
- Press plastic wrap directly against cut edges, then nestle everything into an airtight container
- Skip glass containers (they freeze slower and might crack) and stick with plastic freezer options
- Tuck your cake in the back of the freezer, away from that constantly opening door
Keep yours fully frozen without thaw-and-refreeze cycles, as these create ice crystals that degrade texture. For best results, finish leftovers within seven days. Beyond that, double-check your wrapping stays tight. Freezer burn will compromise taste and texture. Proper storage ensures your next slice tastes as good as the first.