I’ve shipped dozens of cakes, and this method works. Start with a dense pound cake or chocolate cake, not fluffy varieties. Freeze it solid for 24 hours, then wrap it tight: parchment, plastic wrap, foil, and three layers of bubble wrap. Pop it on a sturdy cake board, tape that board to your inner box so it can’t slide, and surround it with two to three inches of padding on all sides. Double-box with insulation and gel packs for temperature control, and ship two-day priority. Overnight shipping costs more without providing additional benefits for cake transport. If it arrives damaged, photograph everything before you touch it. Proper preparation prevents the majority of shipping failures.
Which Cake Types Can Actually Survive Shipping?
Picture this: you’re staring at your kitchen counter, wondering if that gorgeous layer cake you spent three hours decorating will survive a cross-country trip to your sister’s birthday party. Not all cakes are created equal for shipping.
Dense, sturdy pound cakes are your best option. Their tight crumb holds together beautifully, even with bumpy roads ahead. Pair them with firm buttercream, none of that whipped cream, and you’ve got a solid foundation.
Chocolate cakes with high cocoa content work well too. The structure stays intact, especially when buttercream sets up hard.
Freezing helps enormously. A cold cake is a stable cake. Packaging matters just as much as the cake itself. Skip the fancy fondant decorations; they will likely be damaged during transport.

The bundt cake bag size:16*14 Inches. The clear plastic cake wraps are suitable for 8" Cake and toast bread.

The bakery bags are brand new and high quality.
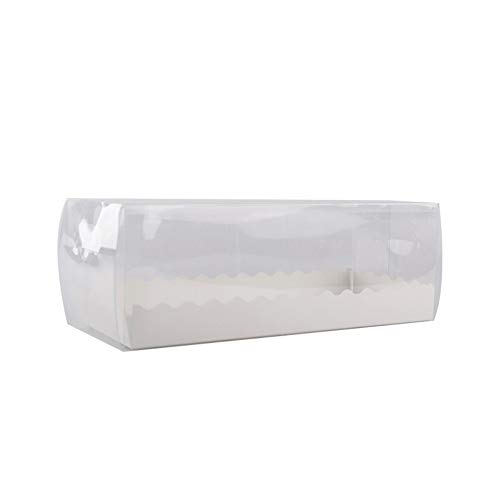
BBJ WRAPS Rectangle Cake Box Long Swiss Pumpkin Roll Cake Containers Transparent Bakery Packaging, 5 Sets, 11(L)X4(W)X3.7(H) Inch
How to Prep Your Cake: Freeze, Wrap, and Board It Right
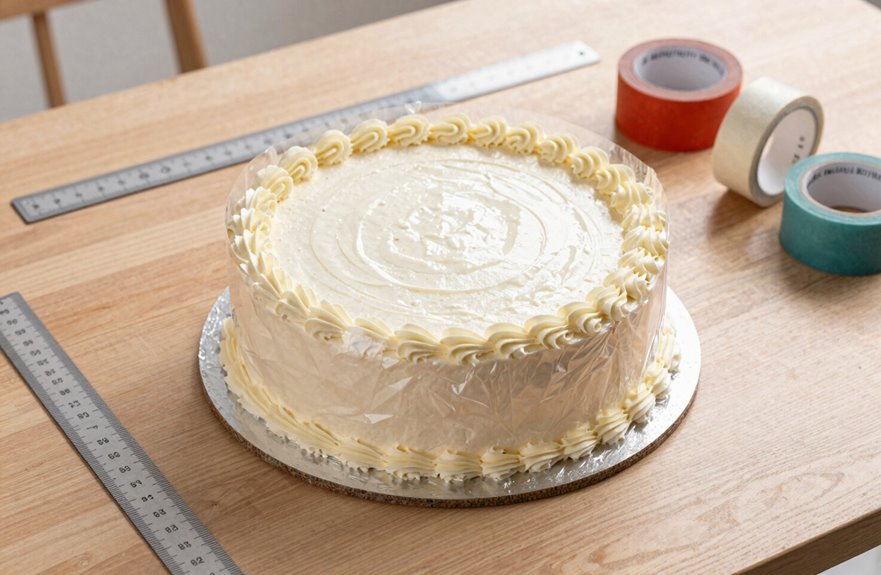
Once you’ve picked a sturdy cake that can handle the ride, the real work starts. You can’t just pop it in a box and hope for the best. Here’s my foolproof routine:
- Chill completely first. A very cold cake prevents that annoying condensation from ruining everything.
- Freeze for 24 hours if it’s traveling far. Your cake stays intact this way.
- Wrap it like precious cargo: parchment, then cling film, then foil. Triple protection provides complete coverage.
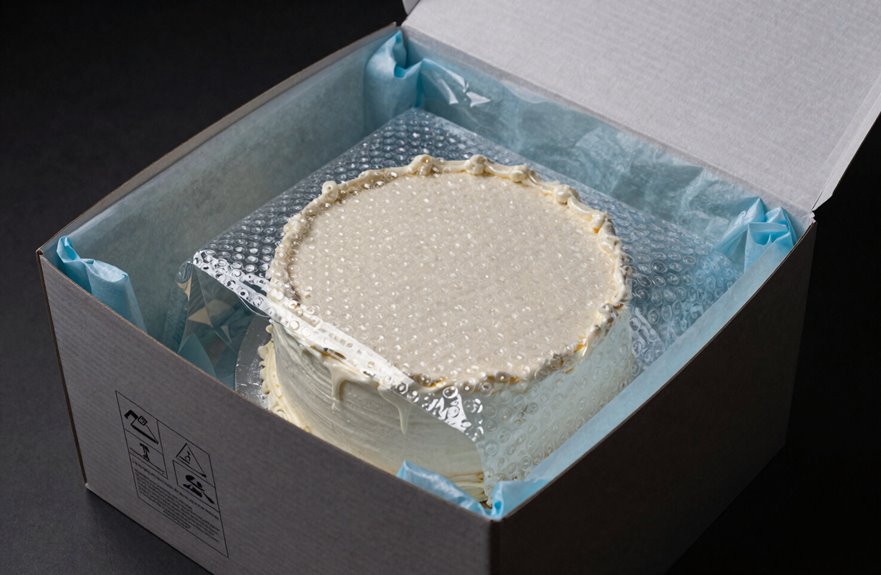
- Add three layers of bubble wrap minimum. Many beautiful cakes arrive as crumbs without adequate cushioning.
Don’t forget a solid cake board underneath. Your cake will arrive safely with proper preparation.

Enhanced Temperature Control: Keep cakes, pastries, and baked goods fresh with cooler bags insulated for superior insulation, plus efficient cooling from ice pack sheets—ensuring optimal temperature during transport.

NOTE: The item is NOT CO2 - NOT DRY ICE - NO SMOKE EFFECT! They are just bulk ice packs to keep your frozen food or perishables cold and fresh for a long time. Placing a layer of frozen ice packs on the bottom and top of any food or meltable items in a cooler or insulated shipping box to keep it cold for up to 72 hours. Dry ice packs for shipping frozen food, ice packs for shipping perishables. Dry ice packs for coolers, ice packs for shipping

Enhanced Temperature Control: Keep cakes, pastries, and baked goods fresh with cooler bags insulated for superior insulation, plus efficient cooling from ice pack sheets—ensuring optimal temperature during transport.
Build a Bombproof Inner Box: Padding That Prevents Movement
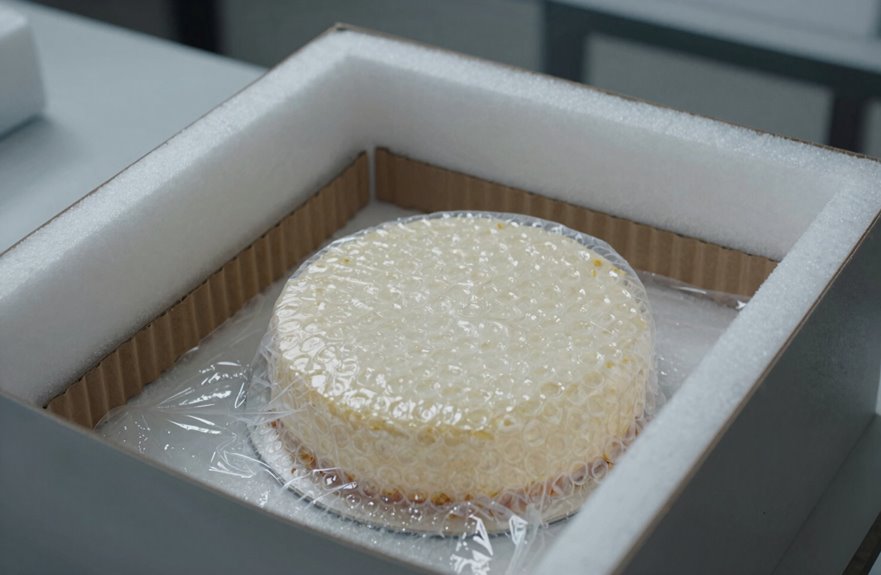
I learned the hard way that a wobbly inner box causes problems. My sister’s birthday cake arrived looking like abstract art. Now I’m careful about picking the right container, cushioning it properly, and securing that dessert like fragile cargo. I’ll walk you through choosing a sturdy box that fits your cake snugly with no extra space, the best padding materials I’ve tested, and my go-to tricks for stopping every jiggle and bump. Once you nail this part, you’ll actually feel confident when you hand that package to the courier.


CAKE BOARD SET: You will receive 6 pieces of cake boards, each approximately 10 inches in diameter, perfect for 6-9 inch cakes. Sturdy quality to meet your various baking needs.The 10 inch cake boards can not only be used as cake bases, but also the best choice for displaying the desserts you have made.
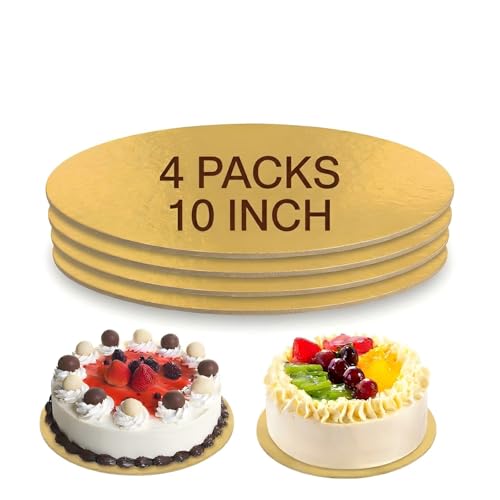
PACKAGE CONTENTS: Set of 4 gold round cake boards measuring 25cm Almost 10-inch in diameter, fit for 6-9 inch cakes, perfect for displaying cakes, pizzas, and other desserts
Inner Box Selection
Why does a cake survive one shipment but arrive as crumbs in another? The difference lies entirely in your inner box selection.
- Snug fit matters. Your inner box should hug that cake tightly with no wiggle room for movement.
- Build cushioning layers with bubble wrap, at least three rounds, plus that rigid cake board underneath for structural support.
- Lock everything down with tape, because a sliding board causes damage during transit.
- Seal tight for moisture control, keeping condensation out so your cake stays fresh.
Bakers who master these techniques ship cakes successfully every time. These skills directly reduce damage during delivery.
Padding Materials Guide
You’ve got your inner box picked out, but padding deserves serious attention rather than being treated as an afterthought. Many bakers underestimate its importance, eager to seal packaging and move forward. However, three layers of cushioning serve a critical protective function.
Start with parchment or cling wrap hugging your cake directly. Then comes bubble wrap, minimum three to four centimeters thick; flimsy material won’t provide adequate protection. Finally, foam or packing paper fills every gap as outer cushion. Position your cake dead center, never touching the sides, with foam dunnage isolating it from box walls. The double-box method involves placing an inner container snug inside a larger outer box with reinforced corners and insulation between layers. This approach significantly reduces the risk of damage during transport and handling.
Movement Prevention Techniques
How do you stop a cake from sliding around like it’s got somewhere better to be? Preventing motion starts with building a sturdy inner box.
Here’s my go-to checklist:
- Secure your cake to a sturdy board, using dowels for layered cakes, then tape that board firmly to the box bottom.
- Line with padding inside, bubble wrap first, then foam or crumpled paper for snug, motion-absorbing protection.
- Wrap with cling film and foil, sealing out air gaps that could damage your creation.
- Surround with 2–3 inches of padding on all sides, double-box, and mark “Fragile” clearly.
Proper securing and padding methods ensure your cake arrives intact.
Keep It Cold: Ice Packs, Liners, and Container Setup
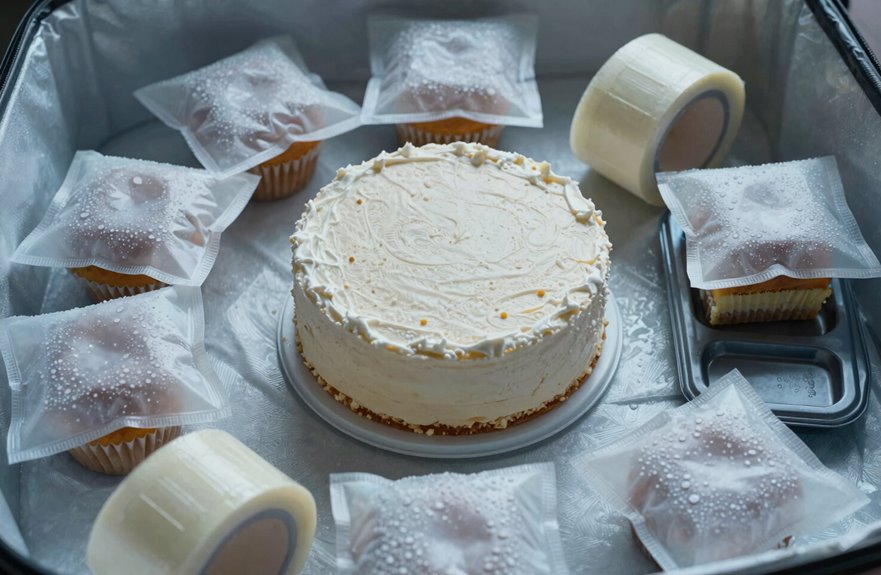
When I’m sending a cake across the country, keeping it cold is essential for maintaining a gorgeous dessert rather than ending up with a sad, soggy mess. I freeze my cake for a full 24 hours first, which helps it stay stable and cuts down on condensation inside the container. Then I nestle it into an insulated cooler, surround it with gel packs (I like Nordic Ice or Polar Tech), and layer in thermal bubble wrap and liner materials to lock that chill in place. I always wrap and line the cake in plastic first, then bubble wrap and parchment, so moisture stays out and movement stays minimal. Don’t forget to label everything perishable and fragile. This ensures your cake arrives in the condition you intended.

COMPLETE INSULATED KIT: Includes a pre-assembled 200#/ECT-32 white corrugated carton, molded EPS foam container and fitted lid.
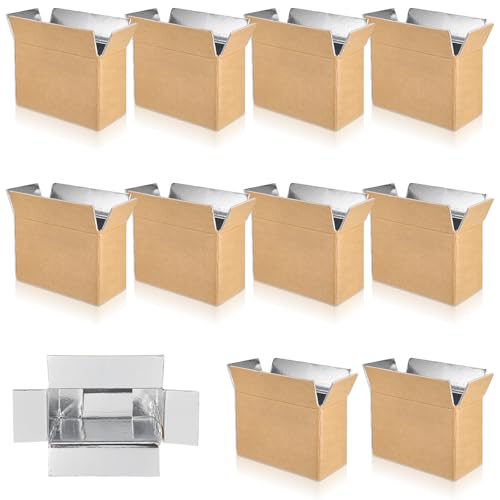
Package Content: you will receive 10 pieces insulated shipping boxes, which contain an internal thermal insulation layer, making the quality of the product will not easily change during transportation, enough quantity to meet your use and replacement needs

Package: this pack includes 2 insulated shipping boxes, 2 insulation bags, and 10 reusable ice packs, providing everything needed for secure temperature regulated transport; These ice packs are applied in conjunction with insulated bags or coolers to increase cooling efficiency and maximize the shelf life of items
Choose Your Shipping Speed and Carrier Wisely
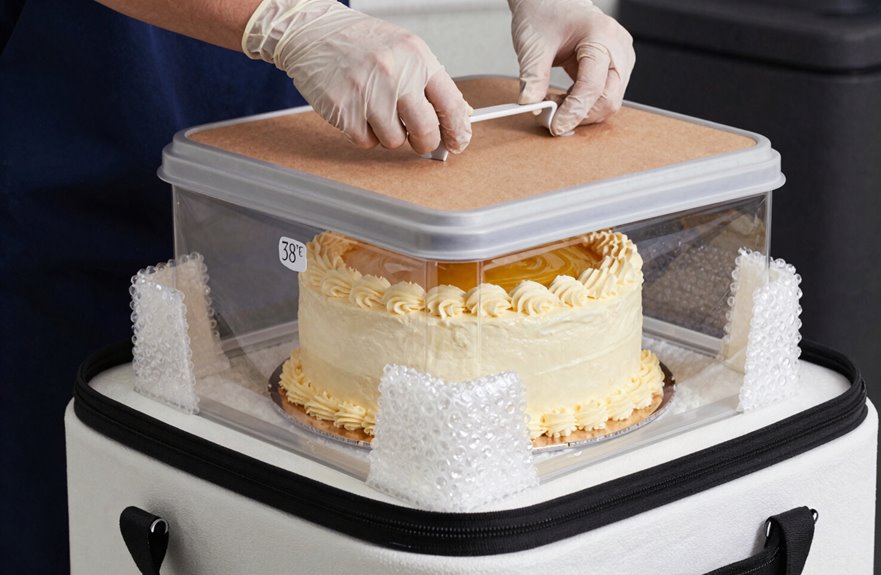
Once my cake is packed tight and staying cold, I need to figure out how fast it needs to get there and who’s going to deliver it in one piece.
I usually go with 2-day priority. It’s that sweet spot. Overnight shipping offers excellent quality, but the cost is significant, especially with insulated packaging and ice packs for long hauls. Flat-rate boxes help, and I’ve learned that cutting big cakes smaller saves money too.
What I’ve figured out:
- Priority Mail works great for most cakes, balancing speed and cost
- Double up on insulated packaging when summer hits, or you risk melting
- Pack extra ice packs. I’d rather toss unused ones than deal with melted frosting
- Match shipping speed to distance. Cross-country shipments need faster service than local deliveries
I always check whether someone will be home, considering weekends and holidays, and plan accordingly.

SMALL BUBBLE CUSHIONING WRAP: Features small size bubbles; small bubbles allow for easy conformability around delicate and valuable items; use bubble cushion to fill empty spaces in boxes and add instant padding for fragile items

SMALL BUBBLE CUSHIONING WRAP: This cushion wrap features small size bubbles; small bubbles allow for easy conformability around delicate and valuable items
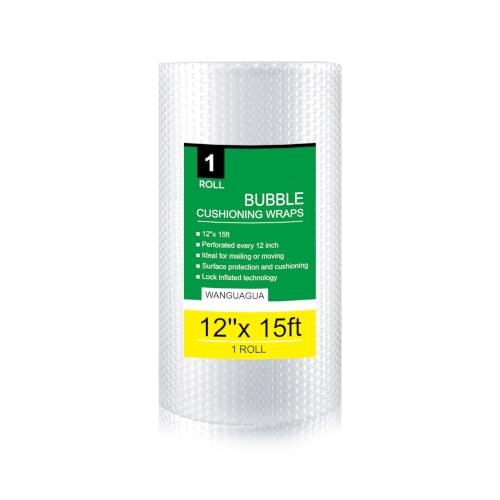
【Inflated and lasts longer】WANGUAGUA bubble air lock technology keeps bubbles inflated longer
What to Do When Your Cake Arrives Damaged
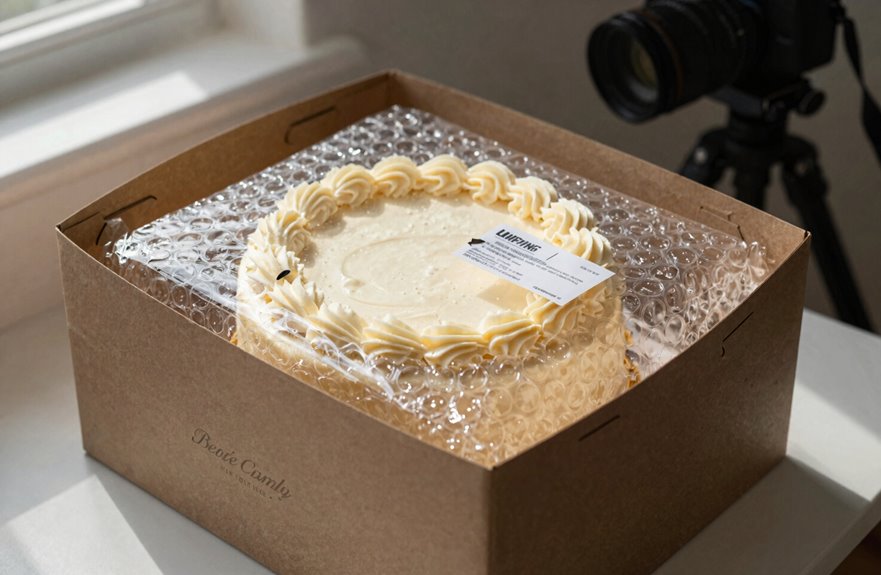
I’ll check the box the second it lands on my porch, snapping photos of any dents or leaks before slicing in. Once I’ve seen what’s salvageable and what’s not, I’ll keep every scrap of packing material, because that crushed corner or melted ice pack documents what happened. Then I’m on the phone or email within a day or two, asking for my money back or a replacement cake, and I specify exactly which part of the packaging failed so they can prevent the same problem with future deliveries.

Specialized Long Gift Box Design: Our rectangular long gift box, measuring 11(L) x 4(W) x 3.7(H) inches, is designed specifically for swiss rolls and other similar desserts, showcasing them perfectly


Complete Package: The package includes 20 sets of transparent bakery boxes, each with a base, lid, and integrated handle. This complete kit provides everything needed for professional-grade packaging, eliminating the need to source components separately and ensuring a consistent, tidy presentation for your baked goods
Assessing Damage Severity
How frustrating is it to unwrap a package and find your carefully chosen cake looking like it lost a fight with the delivery truck? I’ve been there, staring at crushed frosting and wondering if anything’s salvageable. Here’s my damage assessment routine that helps me decide my next move:
- Inspect the packaging — tears, dents, or water stains tell a story about what happened in transit
- Document everything — I snap photos from every angle before touching anything, since I’ll need this for my claim
- Compare to what was promised — missing layers, collapsed tiers, or melted buttercream? I check against the original description
- Preserve all evidence — I keep every box, label, and packing peanut until the claim resolves
This quick evaluation saves me from panic and points me toward either a successful repair or a justified refund.
Documenting Package Condition
Where do you start when your cake shows up looking like it went through a tornado? Good documentation saves everything.
First, grab your phone and photograph the outside of the box before touching anything. Crushed corners, moisture stains, torn tape, and those “Fragile” labels that got ignored are all evidence. Then snap pictures as you peel back the packaging, showing every layer: the bubble wrap, the ice packs, and the cake collar that maybe didn’t do its job.
Compare what you’re seeing to what the shipper promised. Did they say double-boxing? Where’s the padding? Jot down the delivery time, tracking number, and exactly how it looked. If damage happened, keep every scrap of shipping material and report within 24 hours. Document with photos first.
Resolution and Prevention
Once I’ve got my photos and notes squared away, I’m ready to actually fix this mess. I contact the seller right away, order number in hand, and describe what’s gone wrong so we can start a claim or reshipment. Here’s what works for me:
- Keep everything — that outer box, padding, ice packs, and cake container are my evidence, so I don’t toss a thing
- Don’t eat the damage — I skip tasting and ask for my refund, replacement, or credit instead
- Speak up fast — the sooner I report, the better my odds of sorting this out fairly
- Push for better next time — I request tighter wrapping, double-boxing, extra insulation, and live tracking so we’re all accountable
For damage prevention, I’m now selective about shipping details and packaging standards.
Cake Shipping Cost Breakdown: Budget for Success
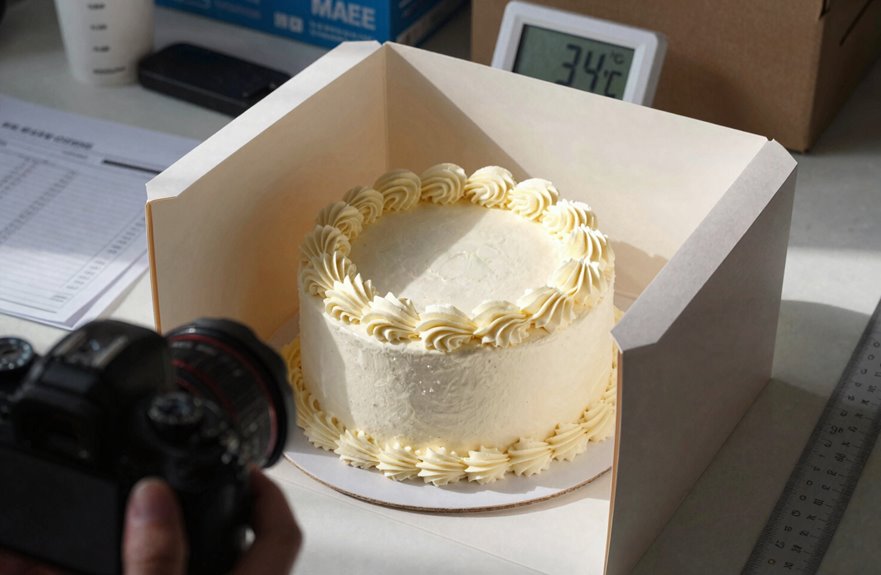
The first time I shipped a cake to my sister across three states, I stared at the FedEx quote of $58 for overnight and considered driving it myself instead. Shipping costs for perishable items add up fast, but several strategies can reduce expenses.
| Shipping Method | Typical Cost |
|---|---|
| USPS Priority Mail flat-rate | $14.90+ |
| USPS with handling fee | $46.40+ |
| FedEx/UPS overnight | $58+ |
I always check if my cake fits flat-rate boxes first. That packaging choice alone saves $20 sometimes. Dense cakes, like pound cake or devil’s food, ship cheaper because they’re sturdier. Factor in ice packs and double-boxing as well. Overnight shipping costs more, but it prevents melted frosting and damaged cakes during transit.

Enhanced Temperature Control: Keep cakes, pastries, and baked goods fresh with cooler bags insulated for superior insulation, plus efficient cooling from ice pack sheets—ensuring optimal temperature during transport.

Complete Cake Transport Set: Perfect for bakers and event planners, the set includes a cake box, cake board, cooler bag, and ice packs reusable to ensure cakes stay fresh and protected. Includes all essential items in one package to meet your needs.

NEW Cooling Technology: Our 4" x 5" cooler ice packs are equipped with the New Cooling Technology, keep your food and drinks cold for 24 to 48 Hours, they'll stay colder and last longer than ice, Flexible cooler packs for lunch boxes, backpacks, travel & dry ice packs for coolers, making them ideal for keeping your food and drinks chilled longer