
I start by removing the top tier, usually for the couple’s anniversary, and boxing it up safe and sound. Then I pull out any hidden dowels with needle-nose pliers, which feels a bit like dental work on a giant dessert.
I score a circle two inches from the edge, slice one-inch pieces from the outside in, and dip my knife in warm water between cuts so the frosting stays pretty. There’s a rhythm to it, and once you find yours, the rest just clicks into place.
How to Cut a Wedding Cake: The Complete Guide
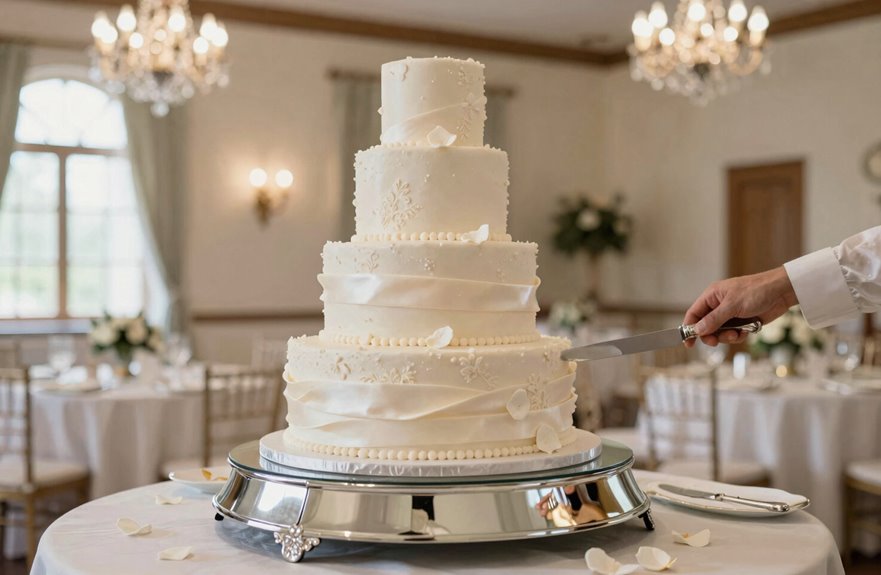
Why does cutting a wedding cake feel so intimidating when it’s really just cake with better lighting. I’ve been there, sweating under chandeliers while 200 guests watch me saw through buttercream like it’s performance art.
Wedding cake cutting is simpler than tradition makes it seem. Start by removing that top tier first, slipping your knife underneath and lifting straight up into a bakery box, so the anniversary tradition is preserved with dowels exposed. Then work in a bullseye pattern on round tiers, scoring frosting first so your 1-inch slices stay neat. Warm water is the secret weapon; dip your knife between cuts for clean edges. For party servings, aim for 4-by-2-by-1-inch slices, generous enough to feel celebratory and practical enough to feed everyone. With these steps, you’ll execute a clean, professional cake cutting.
Gather Your Essential Tools First
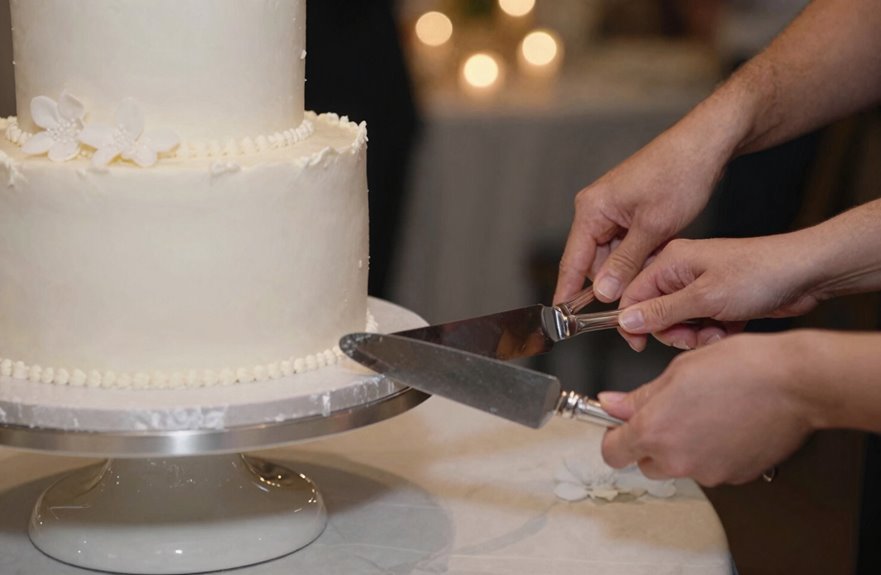
Before I touch a single crumb of frosting, I lay everything out like I’m prepping for surgery. The patient is cake and I’m not a doctor. For smooth Wedding Cake cutting, you’ll need an 8-inch sharp chef’s knife, a separate cutting board, and needle-nose pliers for those sneaky dowels. I grab gloves and paper towels too, plus hot water to wipe my blade between cuts. Smeared buttercream mixing with vanilla and chocolate tiers ruins the presentation.
First, I remove toppers and sugar flowers, wiping stems clean and tucking decor safely in a box for the couple. I free the top tier from its dowels, nestling it in a bakery box for their anniversary. Those wooden skewers, plastic tubes, or straws get pulled out with pliers so my cuts stay clean and portions remain even.
Calculate Servings Before You Start
I always start by counting my guest list twice: once on paper, and once in my head while I’m standing in the kitchen, because there’s nothing worse than a beautiful cake that runs out before Aunt Linda gets her slice. Next, I pick my portion style. I usually go with the smaller wedding slices (about 2 by 1 inch, and 4 inches tall), but if I’m feeding my college friends, I’ll bump up to Standard Servings (roughly 4 inches tall by 3 by 1½) or even Generous Servings (4 by 4 by 2) so nobody’s eyeing the buffet later. Knowing your numbers upfront prevents that panicked moment when you’re halfway through cutting and can’t remember if you counted the kids as full portions. I always seem to lowball by about five people anyway.
Estimate Guest Count
How many guests are you actually feeding. Start here because it prevents the panicked moment of staring at too much cake or, worse, way too little. For wedding cake cutting, you work with smaller slices than party style, which means you get more servings from the same tiers. When calculating, look at your numbers twice, maybe three times, because you want everyone to feel included, not just the folks who rush the dessert table first. Use that 1.5 multiplier if you’re feeling generous, or stick closer to standard if your crowd prefers “I’ll just have a bite” about sweets. Getting this right means nobody’s left out of the celebration.
Determine Slice Size
Why guess when you can know exactly what you’re working with? Figure out your serving sizes before touching a knife, and it saves significant stress. For weddings, go with Event-Style portions: about four inches tall, two inches across, one inch wide. These are smaller than expected, but they keep everyone happy without waste. Standard Servings run bigger, around four-by-three-by-one-and-a-half, and Generous ones are four-by-four-by-two, for when folks really want to indulge. Use your thumb edge to eyeball that inch mark; it works every time. For cakes ten inches or bigger, cut toward a six-or-four-inch center first, creating wedges you can slice cleanly. Also plan which tier comes down when, with the top first usually, alternating flavors, so nothing sits too long. These practices eliminate guesswork from your cake cutting.
Choose a Stable, Shaded Location
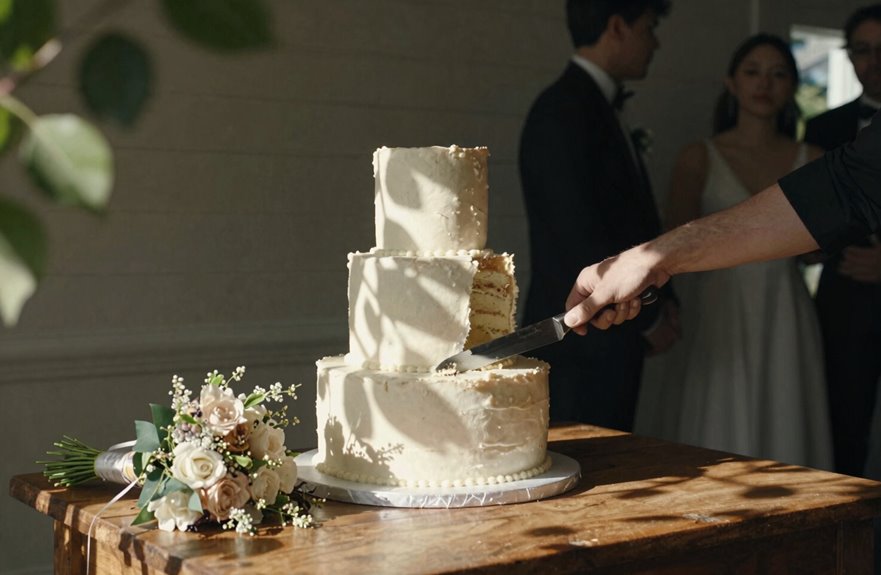
Before you pick up that knife, scout out the perfect spot. Wobbling cake tables create disaster, and the bride’s expression will stay with you.
Wedding cakes need a setup that keeps everyone calm and confident. Here’s what to check:
- Solid ground with space for two people to stand comfortably together
- A stable surface, no wobbles allowed
- Shade from direct sunlight, so buttercream doesn’t melt into a sad puddle
- Positioned away from edges, because nobody wants a cake on the floor
Keep hot water nearby for clean slices, and have a spatula ready. You’ll be prepared.
Remove Decor, Toppers, and Flowers
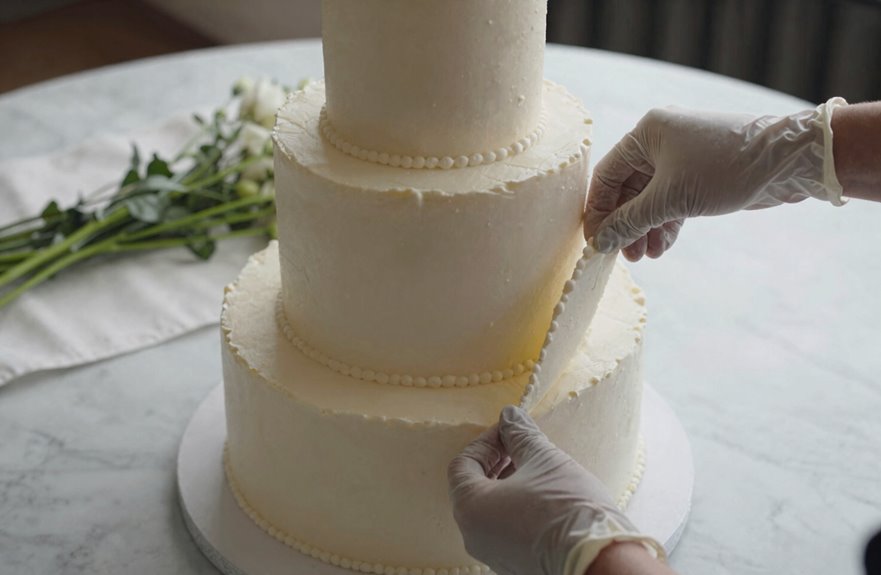
I’ll walk you through getting those decorations off safely. I’ve seen a gorgeous sugar peony accidentally stabbed by an eager server, and nobody wants that on their conscience. First, I’m going to take a careful look at what’s actually stuck on there: fondant figures, fresh flowers, those pricey handmade sugar blooms the couple probably wants to frame, you name it. I’ll gently pull each piece, wipe any sticky stems with a paper towel, and tuck them into a box, keeping them safe for that moment when the newlyweds inevitably tear up over their preserved topper.
Safety First Approach
How do I start cutting this gorgeous cake without sending a sugar flower flying across the room? I’ve learned through a few near-misses that safety comes first, which means clearing the deck before I even touch the knife.
My go-to checklist for keeping things smooth:
- Gently lift off cake toppers, setting them aside for the couple
- Remove fresh flowers, wiping stems with a paper towel
- Carefully detach handmade sugar flowers for safekeeping
- Store everything in a box to hand off later
This prep work keeps my blade from snagging on wires or petals, which means cleaner slices and no awkward fumbling in front of guests. When I hand that box of treasures to the newlyweds at night’s end, I’ve ensured their keepsakes are protected and properly preserved.
Keepsake Preservation Steps
With the area cleared and my safety checklist done, I’m ready to tackle handling someone else’s carefully chosen details. I start with top tier removal, since that’s where the most precious keepsakes usually live. I gently lift sugar flowers, those delicate handmade treasures, and wipe their stems clean with a paper towel. Cake toppers come next, then fresh flowers, each piece placed carefully in a box for the couple.
| Keepsake | Handling Tip | Storage |
|---|---|---|
| Sugar flowers | Lift by base, not petals | Sturdy box, tissue padding |
| Cake toppers | Two-handed grip always | Original packaging if possible |
| Fresh flowers | Check for hidden pins | Water tube or cool area |
| Ribbon accents | Unpin slowly | Flat, unfolded |
| Custom signage | Wipe clean first | Between cardboard sheets |
Rushing this step risks damage that creates problems for everyone involved.
Clean Surface Prep
Where do I even start with a cake this gorgeous? I’ve learned to pause, breathe, and clear the canvas first because nothing ruins a slice like nicking a heirloom topper with your cake knife.
Here’s my go-to checklist for clean surface prep:
- Gently lift cake toppers straight up, no wiggling
- Free sugar flowers at their stems, then pat dry with a paper towel
- Stash keepsakes in a small box for the couple’s happily-ever-after
- Sweep away stray petals or foliage that’d block clean cuts
I’m always a little nervous doing this part. Those handmade blooms deserve respect. Once I’ve got a smooth, edible surface, my cake knife glides exactly where I need it. This five-minute ritual prevents cringe-worthy slips that could damage the presentation and disappoint your clients.
Box the Anniversary Tier for Later
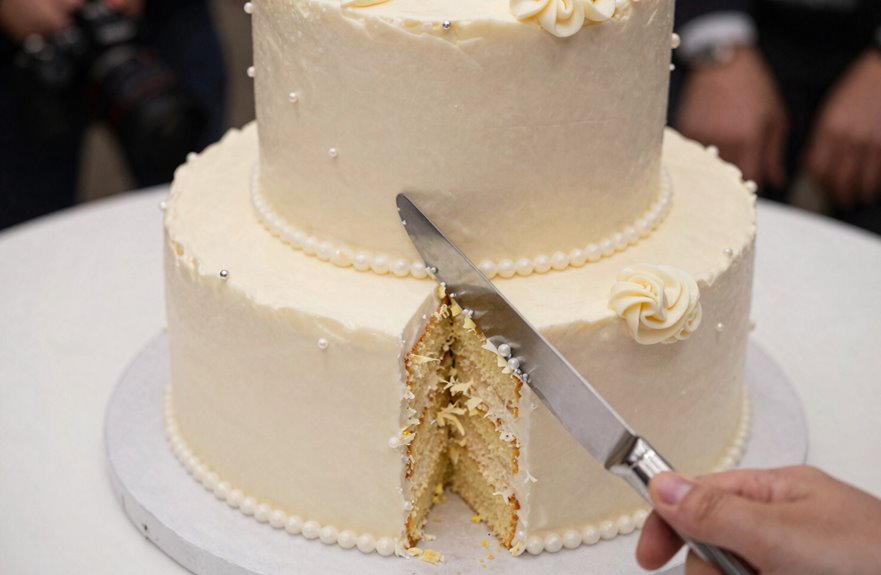
The top-tier tradition is a sweet ritual where I set aside the smallest cake layer for the couple’s future anniversary celebration. First, I remove any decorations like flowers and toppers, then slide my knife underneath for gentle support. With one hand steady on top, I lift straight up without tilting. The bakery provides a special box for this purpose, so I nestle that top tier inside securely. Before moving forward, I double-check that all internal dowels are removed to prevent the cake from shifting. Then I place the boxed tier in a quiet corner or give it to a trusted friend. One year later, they’ll taste this memory again.
Find and Remove Internal Dowels
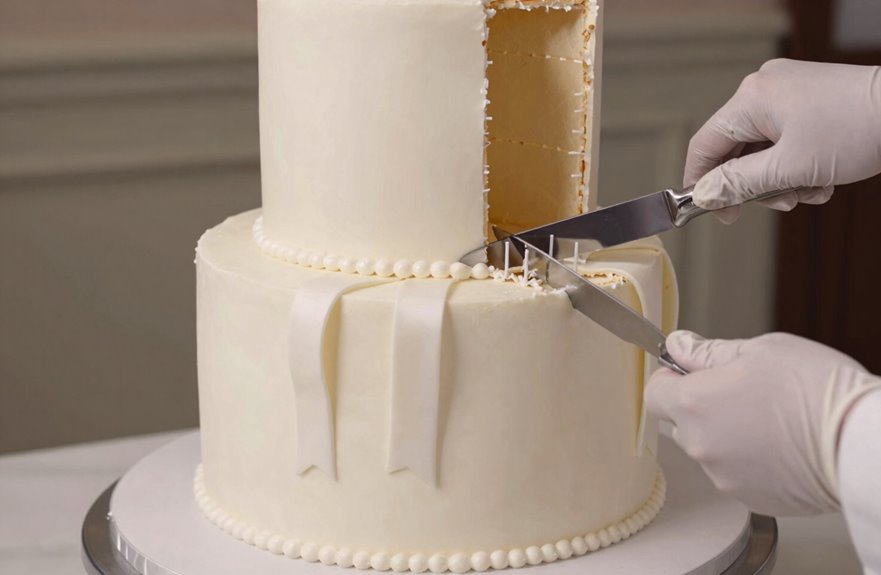
I always take a deep breath before this part, because spotting those hidden supports feels like a treasure hunt with a delicious prize. I’ll scan the top of each tier, gently pressing with my fingertips to find wooden skewers, plastic tubing, or sturdy straws, whatever the bakery used inside to hold everything together. Once I’ve located them, I grab needle nose pliers if they’re handy, or just use my fingers if that’s what I’ve got, and pull straight up to free each tier so I can cut clean, even slices without any crunchy surprises.
Locating Hidden Supports
You’ve stared at this gorgeous tiered masterpiece long enough. Now comes the part nobody warned you about: those sneaky dowels are hiding in there, and you need to find every last one.
Every bakery does things differently. Look for:
- Wooden skewers poking through like tiny fence posts
- Thick plastic tubing that feels almost industrial
- Straws disguised as harmless decoration
- Any pattern that seems too perfect, too symmetrical
Press gently, like you’re testing a ripe avocado, until you hit something hard. Once you’ve mapped your dowel territory, grab needle-nose pliers (fingers work in a pinch) and tug them free. Each tier loosens, ready for the next step. Slicing gets actually easy.
Safe Extraction Methods
Pulling out those hidden supports is where things get interesting, almost like a sugary game of Operation, minus the buzzing alarm. You’ll spot those dowels right away: wooden skewers, thick plastic tubing, or sometimes just sturdy straws. Each bakery does it differently, and that’s totally okay.
I grab needle-nose pliers for speed, though my fingers work fine when I’m feeling patient. Pull them straight out with no twisting needed. Remove the top tier and its dowels first, which makes slicing so much cleaner without awkward resistance when serving guests. Once those dowels are free, slide the cake onto a cutting board and reach for your sharpest knife. Place that precious top tier straight into its bakery box for safekeeping, ready for your anniversary tradition.
Mark a Two-Inch Guide Line
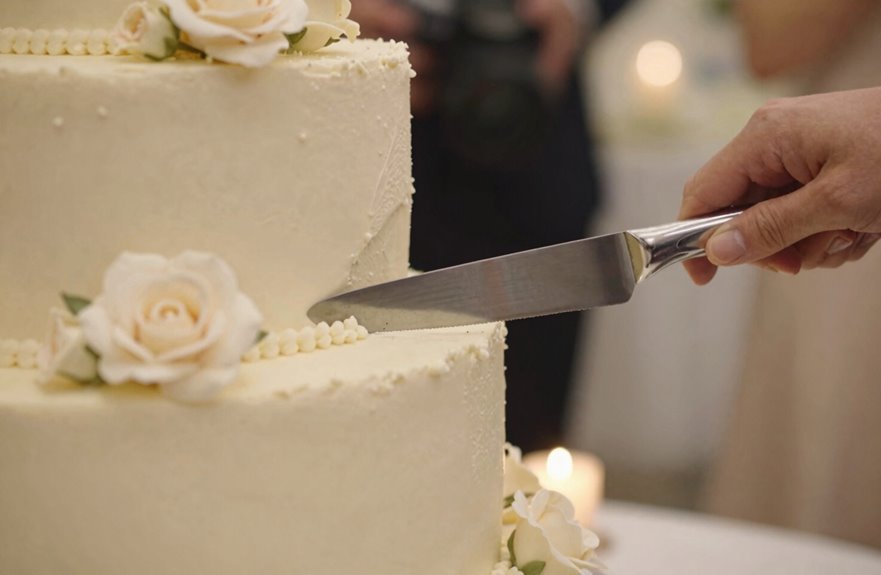
Where exactly do you start slicing something as precious as a wedding cake? A round cake needs a friend, not a frenemy, and that friend is a simple guide line.
Here’s how to keep your hand steady in the moment:
- Grab your ruler and measure two inches from the outer edge
- Score a light circle in the frosting, like a whisper of where to go
- Check and double-check that your circle feels centered, adjusting if you’re off (most people are on the first try)
- Remember this little ring is your roadmap and buddy for what’s next
That scored circle steadies your hand. It’s like drawing training wheels before the real deal. You’ll appreciate the precision when guests start lining up to see the cake.
Cut Half-Circle Wedges on the Outer Edge
How do I actually get that first slice out without disaster. I’ve been there with shaky hands, a beautiful cake, and total panic. This method works when cutting the cake.
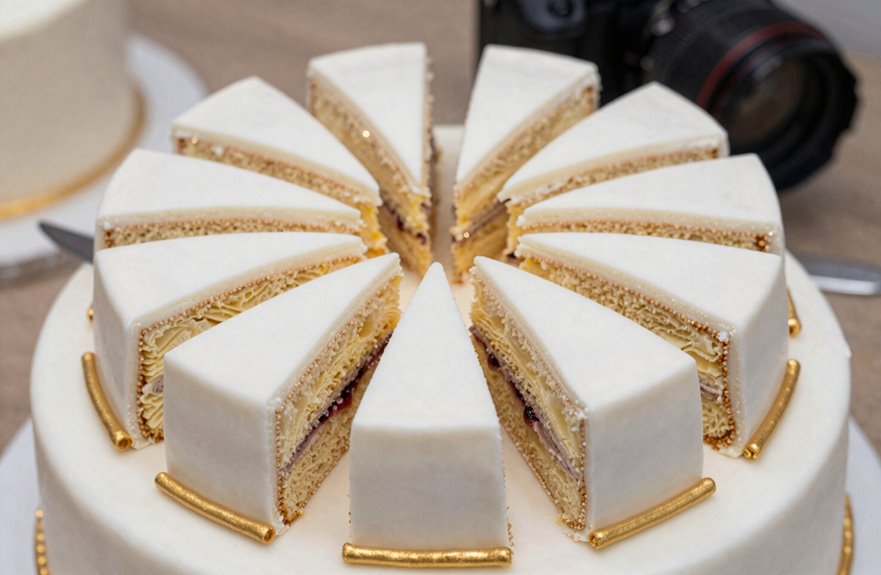
I start by cutting a half-circle along just half of that two-inch guide line I scored earlier. This gives the cake some stability. Then I trim from the outer edge, working my way around with one-inch slices. I serve those half-circle pieces first, guests love getting that picture-perfect wedge. Once I’ve cleared one side, I finish the other half-circle and grab the remaining edge pieces. This outer-edge approach keeps everything neat with no crumbling tiers or lopsided servings. The method produces professional-looking results.
Cut Inward Circles to Reach the Center
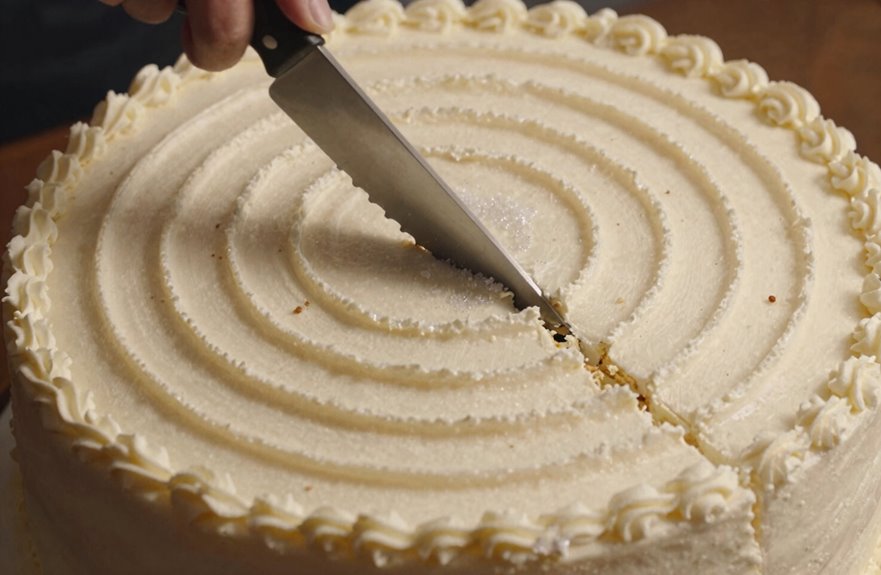
I’ll show you how I move from the outer edge toward the middle using three simple tricks I’ve picked up. First, I measure two inches in and score a circle in the frosting, which acts as a guide line to prevent uneven wedges. Then I use these gentle half-circle cuts along that score, which keeps everything stable and prevents the cake from shifting, before slicing one-inch pieces from the outer ring until I’ve served that whole half. Once that’s done, I flip and repeat on the other side, working my way inward with fresh scores on smaller rings until I’m left with that perfect center piece. This method produces clean, uniform slices from edge to center.
Circle Scoring Technique
Why stress about cutting a perfect slice when you can just draw yourself a little roadmap first?
I call this the circle scoring technique, and it’s saved me more than once at crowded receptions. I lightly trace a circle two inches in from the outer edge, right there in the frosting, just a gentle guide, nothing fancy. Then I cut a half-circle along one side of that score line first, which gives the whole thing some stability before I really get going.
What this approach accomplishes:
- Creates a foolproof center alignment guide you can’t miss
- Lets you cut 1-inch slices from the outer edge without wobbles
- Helps you serve evenly portioned pieces every single time
- Keeps that gorgeous round cake looking picture-perfect as you work inward
I finish one side, serve those outer pieces, then tackle the other half-circle. The method is clean and efficient.
Half-Cut Stability Method
Where do you even begin when the whole wedding cake feels like it’s staring back at you? Start by scoring a circle two inches in from the outer edge. That little groove allows you to make adjustments if needed, since nobody wants lopsided slices at a celebration. Make your first half-circle cut from the outside, which gives you a solid, stable base to work from. Complete the second half-circle to reach the center, and everything lines up. This method keeps round cakes structurally sound while you transition inward. Pair it with full outer-edge slices, working your way toward that exposed center until every portion is fair and properly portioned.
Center Wedge Finish
How do you actually land in the center without everything falling apart? I used to wonder that too, until I tried this inward-circle trick.
Here’s exactly how I’m doing it now:
- I measure two inches in, scoring a light circle first so I can nudge things if I’m off, because nobody’s perfect.
- I cut a half-circle along just one side, which adds stability.
- I slice one-inch pieces from that outer edge until it’s gone, then tackle the other half toward the middle.
- I keep following my scored guide as I move inward, finishing with balanced center wedges everyone grabs.
That score mark is my reference point. I adjust as I go, and soon enough, we’re all gathered around, passing plates of perfect center wedges like we’ve done this forever.
Cut Small Wedges From the Center
When exactly should you start cutting from the middle? I remove the top tier first, setting aside a small piece for the couple’s anniversary, then I clear those dowels away. Now I’m ready for the next step.
I grab my sharp serrated knife and slice off that outer edge, maybe an inch or so, just to create a flat, clean surface. Then I score the frosting about two inches in as a guide, and cut a little half-circle along that line. This anchors everything nicely.
For the center wedges, I cut inward, making one-to-two-inch wedges, working my way through that middle section. Keep an eye on those supports though; you don’t want any surprises. Uniform pieces ensure even distribution to guests.
Portion Slices on a Cutting Board
A cutting board is your best friend once those center wedges are ready to go. When you cut a wedding cake, this surface becomes your staging ground for turning those big pieces into perfect portions everyone will love.
Here’s what works for me:
- I measure two inches from the outer edge, score a circle, then slice 1–2 inch sections right onto the board
- I remove dowels and top tiers first, then divide that large initial slice into smaller, manageable pieces
- I wipe my knife between cuts with a damp towel first, then dry, so nothing sticks and edges stay clean
- I use the board as a stopping guide for multi-tier cakes, keeping every portion even and consistent
The board gives you control, and your guests get slices that look as good as they taste.
Transfer Slices With a Serving Spatula
Once those neat portions are sitting on my cutting board, I’m ready to move them without any heartbreaking crumbling incidents. The kind that turn a perfect slice into a sad pile of frosting and regret.
I grab my serving spatula, that trusty tool that lifts even the chunkiest piece without drama. I slide it under from the edge, then inward, supporting the whole slice before gliding it onto a plate. I keep the spatula clean and dry between moves, because nobody wants sticky crumbs smearing the next portion.
Since I’m plating for a crowd, I’ve got a second spatula ready. This saves time and keeps things flowing. A quick wipe with a damp towel, a fast dry, and I’m back in action. Clean transfers preserve the appearance of each slice and ensure your guests receive perfect portions.
Plate and Serve Each Tier
Because I’ve got guests waiting and a multi-tiered masterpiece in front of me, I tackle this one level at a time. I start by carefully lifting off the top tier with the box ready so it stays safe, and I pull out any dowels hiding inside. Cake cutting is easier when you’re not fighting hidden supports.
Here’s how I keep it smooth:
- I discard that thin outer edge slice, the one that’s mostly frosting and crumbs
- I cut 1–2 inch rectangles, working from outside toward the smaller center
- I transfer big pieces to my cutting board before portioning onto plates
- I wipe my knife with a damp, then dry towel between cuts to prevent a sticky mess
I use my cake server to place each slice with care. Everyone gets their perfect piece.
Move to the Next Tier and Repeat
What’s the next move when that top tier’s finally out of the way? I slide my knife straight underneath, lift it in one clean motion, and set it aside for safekeeping, perhaps for your anniversary if you observe that tradition.
Next, remove those dowels. I grab my needle-nose pliers, which you shouldn’t skip, and pull each one out quickly, like pulling weeds from a garden. The cake is finally free with no hidden supports left behind.
For the next tier, that thin initial slice is essential. It gives me a flat edge so every cut after looks professional rather than hacked. I slice, plate, and repeat. Each tier gets the same treatment and care. By the end, you’ll have mastered the multi-tiered cake-cutting technique.