I’ve cut enough wedding cakes to know that a solid setup away from sunlight with room for two makes all the difference. I grab my sharp 8-inch knife, a pitcher of hot water around 120°F, and a damp towel. I separate tiers, pull out every dowel, and make that ceremonial slice from the bottom. Then I score a bullseye grid two inches in, cut 1-inch slices, wipe my blade between cuts, and serve buffet-style so guests can taste everything. The details ahead reveal the techniques that produce professional results.
Set Up Your Wedding Cake Cutting Station
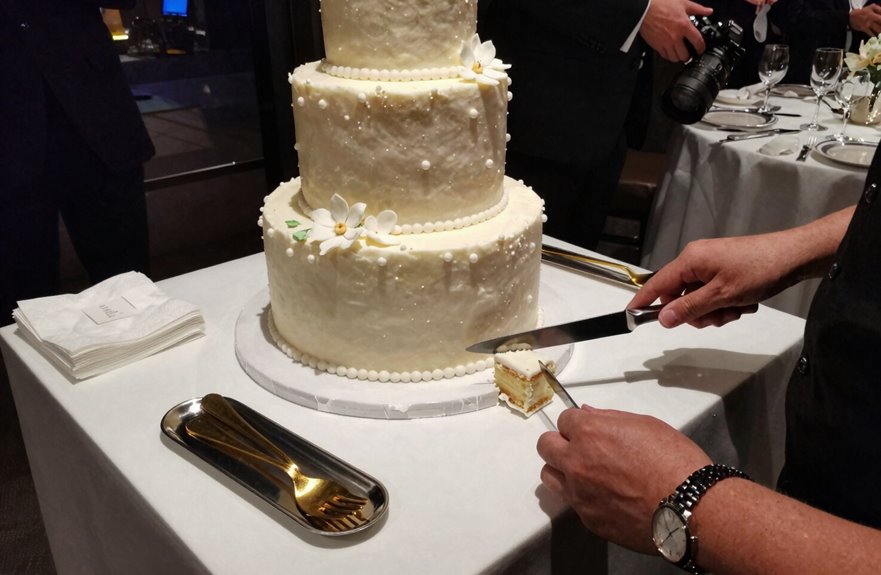
Where exactly should you cut your first slice of cake? The key is setting up properly first. Pick a solid surface away from windows where sunlight won’t beat down, with enough room for two people to work comfortably. Keep the wedding cake away from edges to prevent accidents at the reception.
Gather an 8-inch sharp knife, your primary tool, and place a damp-then-dry towel nearby. Wiping between cake slices keeps the edges clean. Have hot water in a pitcher and a spatula ready. When it’s time to cut, slice small portions from the bottom tier. If your guests are impatient, you can move the entire cake to the kitchen for slicing.

Well Design: Thickened and widened handle, smooth and rounded edges, elegant and modern silver appearance, brings better experience. And the ergonomic handle makes it easier to cut your cake

MASTERFUL SERVING MADE SIMPLE: 13-inch extended cake cutter features evenly serrated blades for effortlessly cutting larger cakes, complemented by a 10.39-inch cake server with a wider surface to prevent dropping during transfer; Ideal for everything from tiered cakes to deep-dish pizzas

【Weeding Cake Knife and Server Set】1 piece cake pie pastry knife (9.3in) and 1 piece cake pie pastry server (8.9in),the ideal length and weight, providing a comfortable grip and effortless cutting motion.
Ready Your Knife, Hot Water, and Plating Tools
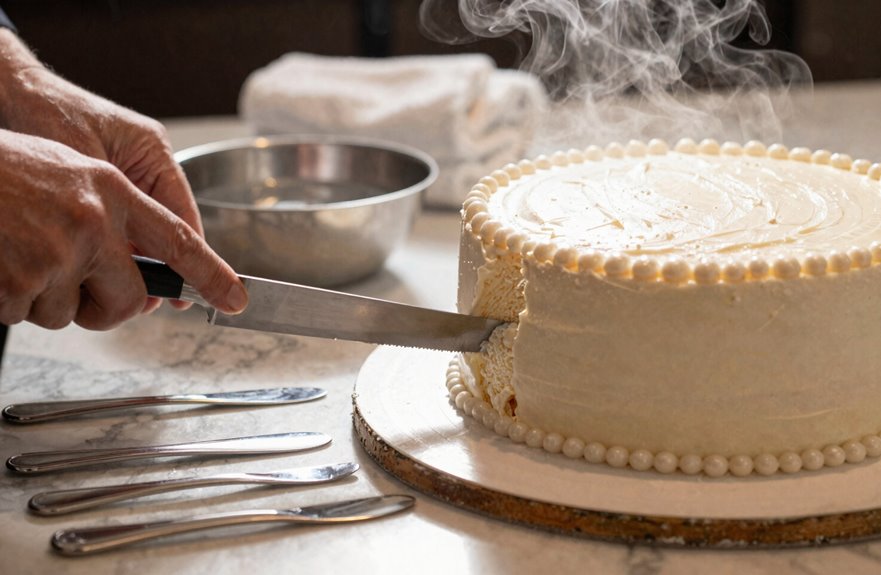
I grab my trusty 8-inch knife. Dull blades just smoosh the frosting everywhere, so a sharp blade is essential. I keep a pitcher of hot water nearby, around 120°F, because that warmth works like magic for getting those clean slices that don’t fall apart on you. You’ll also want a spatula ready for each plate. It keeps things smooth when you’re trying to serve 150 guests without dropping a tier on the floor.
Before I start cutting, I always double-check that each tier is separated. No one wants to hit cardboard or a dowel mid-slice. I like to whisk the cake off to the kitchen after that first photo-worthy cut, because the pressure of performing surgery in front of everyone is less enjoyable than doing the work behind the scenes, though it does make for great stories later.

Cake Assembly: Cake plastic support dowels are made easily with these Wilton rods and caps, designed for quick and easy cake assembly. They may also be used with center core rods (sold seperately).

Start cutting your dowels the easy way with the Loyal Cake Dowel Cutter

6-Piece Set for Every Cake Size: This cake arch guide tool includes six different templates (mini, standard, wide, and flat) to help you create uniform arches and drapes on round, square, or irregular cakes. A must‑have among cake decorating tools for bakers of all levels
Select Proper Knife
Why is the knife situation so easy to overlook until you’re standing there with a cake knife in hand, realizing it’s the same dull blade you use for weeknight quesadillas? It’s a common oversight.
For the ceremonial cutting, you’ll want a sharp 8-inch knife. Nothing fancy is required, just something that actually cuts. That decorative knife they gave you looks gorgeous for photos, but you’ll need a real blade for clean slices. A chef’s knife with some heft works well because a dull knife tears the cake and creates a crumbly mess.
If you’re not a knife person, keep this simple. One good blade is all you need. Your future self, standing in front of 150 guests, will appreciate the difference a sharp blade makes.
Prepare Hot Water
The secret weapon nobody talks about? Hot water, plain and simple. I learned this the hard way at my cousin’s wedding, watching frosting smudge every slice until a caterer friend stepped in with a pitcher of steaming water. Now, I never skip this step.
For proper knife preparation, I fill a pitcher with hot tap water, not boiling, just hot enough that you’d pull your hand back after a few seconds. Between each cut, I dip my blade in, wipe it clean with a damp kitchen towel, and slice again. That warmth melts through buttercream like butter. No dragging, no crumbs, no sad, crumbling corners. Keep that towel handy too; sticky knives ruin everything. This little ritual produces visibly better results, with cleaner cuts and intact frosting edges.
Gather Plating Tools
Once that water’s steaming, it’s time to get your gear in order because nothing kills the vibe like hunting for a spatula while guests wait. When you’re handling wedding cakes, every second counts, and Cake Decorating demands precision.
Here’s what I always set out:
- An 8-inch sharp knife — your main tool for clean, even ceremony slices
- Two towels — one damp for wiping, one dry to stop sticking between cuts
- A sturdy spatula — for smooth plating and happy guests
Keep that hot water pitcher close and remember to separate tiers carefully, dodging dowels and cardboard. Your cake stays beautiful, you stay calm, and everyone feels like they belong at something truly special.
Separate Tiers and Pull Out Dowels
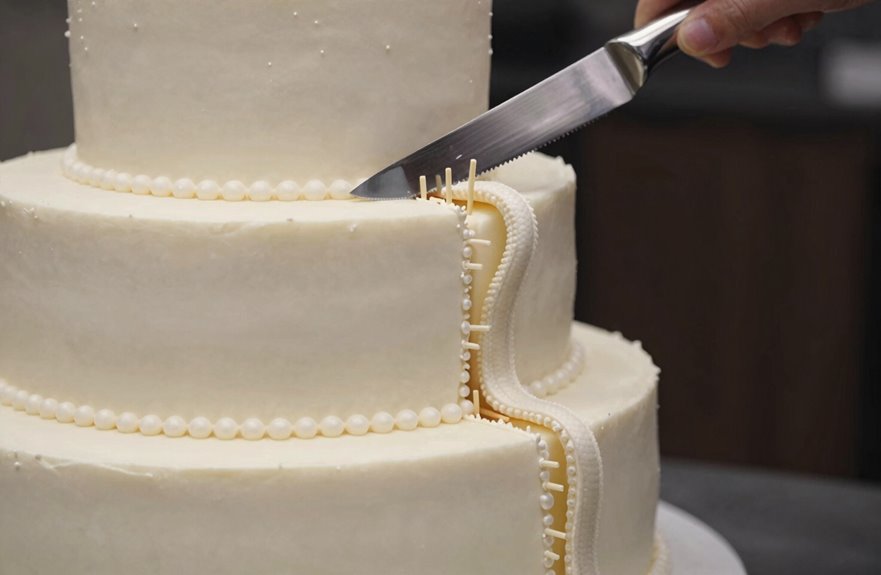
Before slicing into the cake, separate the tiers and remove the dowels. Gently lift each tier using a cake board as a guide to avoid cutting into hidden cardboard or supports. Watch for dowels as you separate each tier and pull them out, since guests should not encounter wood pieces. Cut the outer edges first, which makes handling the smaller center portion easier. If there are multiple flavors, plan your slicing order now by alternating tastes while keeping everything stable on your level table. Taking your time during this step prevents structural failure and prevents the cake from collapsing during service.

Large Capacity for Versatile Use: The glass pitcher holds 68 oz or 2 liter, which is exceptionally practical and versatile for parties or everyday use. Suitable for water, iced tea, homemade lemonade or juice, sangria, coffee, wine and so on. The size and slim shape is great to fit into the most fridge.(NOTE: If you need to put it in the refrigerator, please make sure that there is enough space in your refrigerator for this pitcher)
BROAD USAGE GLASS PITCHER - This glass pitcher with lid has a 68oz or 2 liters large capacity. It is enough for everyday use or party serving. It’s suitable for water, tea, juice, coffee, milk, wine, and other DIY beverages. The size is great to fit into the fridge.

【With Long Handled Cleaning Brush】. 1.7 Liter/58oz Glass Pitcher with Lid Water Carafe Jug with Spout Handle for Hot/Cold Water Tea Beverage
Make the Ceremonial Cut From the Bottom Tier
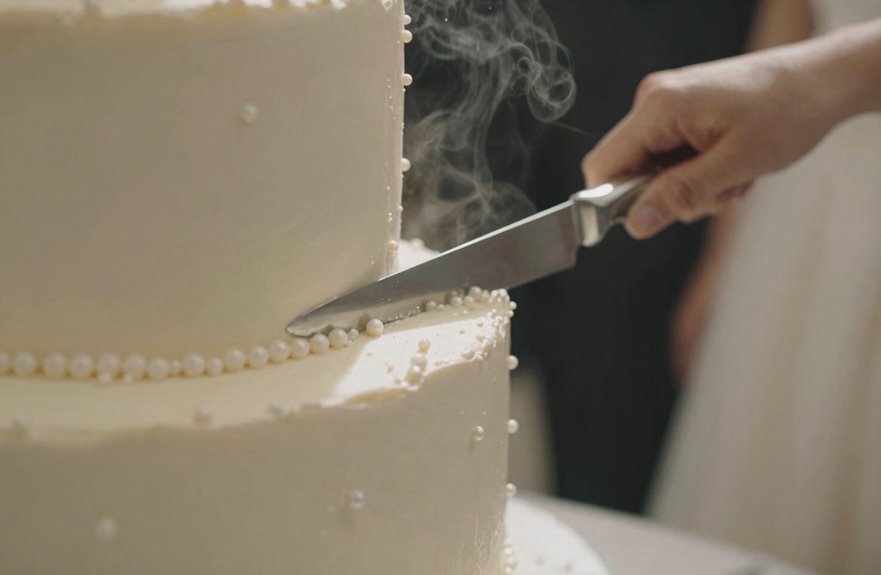
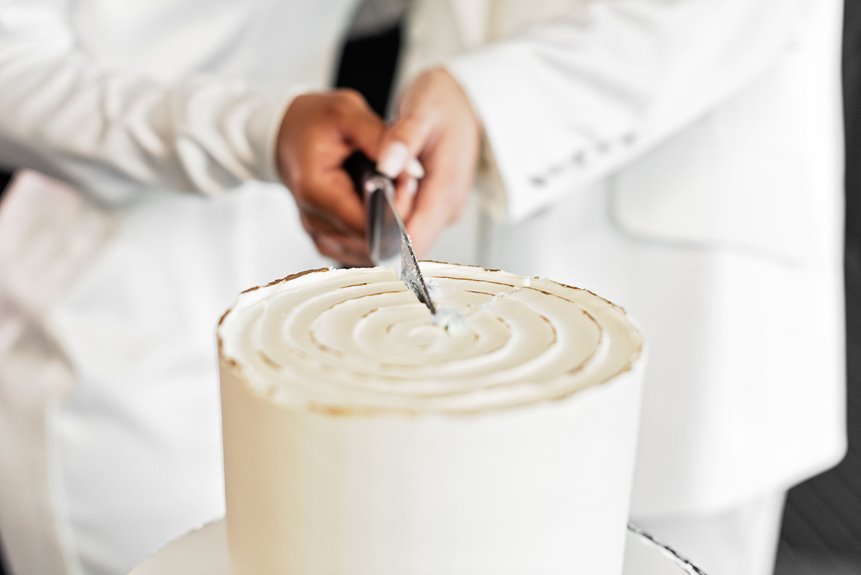
Why start anywhere else? The ceremonial cut belongs to the bottom tier, that sturdy foundation holding everything together. This moment requires attention, because awkward cake-cutting photos are common, yours won’t be one of them.
Here’s how to make it seamless:
- Grab an 8-inch sharp-bladed knife, not that pretty but useless keepsake one
- Slice a small piece together, smooth and confident, before the cake disappears to the kitchen
- Keep a spatula ready, because presentation matters even in the chaos
If someone else steps in, gently remind them that technique matters more than tradition. Clean slices preserve the cake’s structure and appearance. The bottom tier deserves this respect, and so do you.

Vintage silver cake knife and server. This sturdy and vibrant cake utensil is suitable for wedding day, anniversaries, birthdays or shower parties, and will add an elegance style to your party setting. Copyright Number: VA 2-335-358


💎 [Contents] Set includes a 13 inch Serrated Knife and a 10.75 inch Server
Score a Bullseye Grid for Square Slices
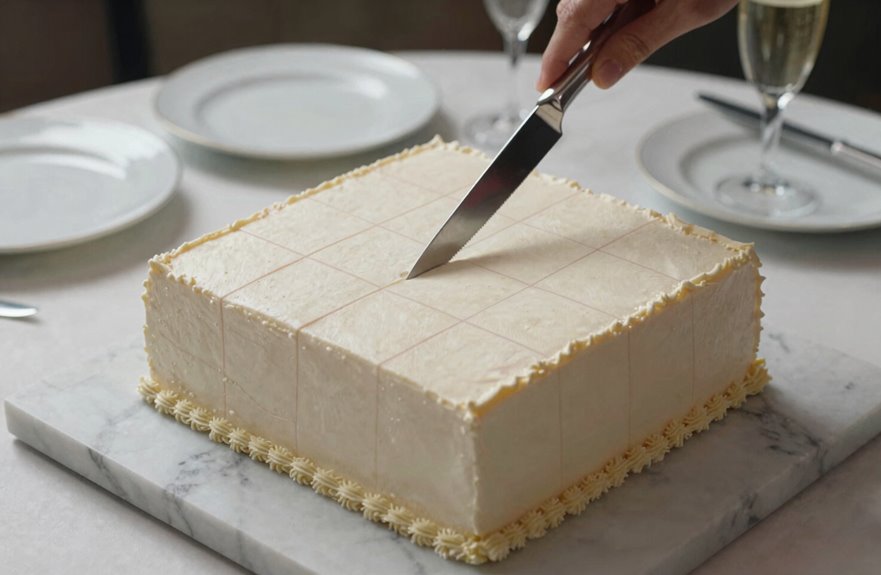
I like to picture the cake as a dartboard when I’m scoring it, which makes the task feel more like a game than kitchen work. You’ll start by making gentle marks from the center outward, creating that bullseye pattern, then turn those rings into a grid by adding straight cuts across. Think tic-tac-toe, but round and delicious. Once you’ve got those one-inch sections mapped out, you’re basically connecting the dots to get those clean, even squares everyone expects at a wedding.

Complete Set: Cake dowels for tiered cakes includes 12 white support rods and 4 cake dividers. This comprehensive kit provides all the necessary tools for creating beautiful multi-layered cakes.

UPGRADED & DURABLE DESIGN – Redesigned plates made from thicker material for enhanced strength, stability, and long-lasting use
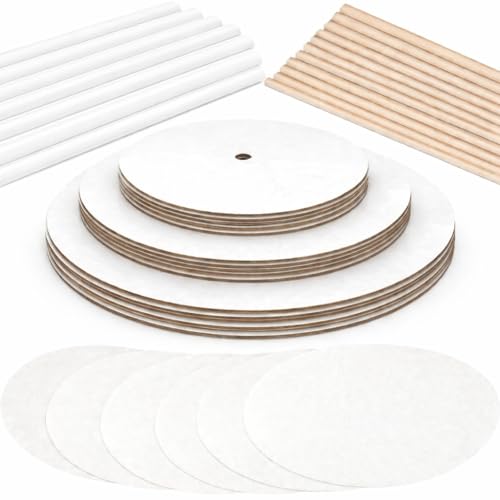
125 Piece Cake Tiering Set - Everything You Need! Comes with enough cake boards, parchment paper, bamboo dowels and plastic dowels to make five 3-tiered cakes, or even more one and two tiered cakes! Included how-to guide makes cake tiering easy and fun!
Scoring Technique Basics
I’ll usually start any round cake by measuring two inches in from that outer edge and gently scoring a circle right through the frosting, like drawing a dartboard target. That bullseye grid becomes your roadmap for clean, even slices every single time.
Here’s how I make it work:
- Score that inner circle lightly—don’t cut deep, just mark your guide
- Cut a half-circle along half the score line first, which adds stability before you commit
- Work 1″ slices from the outer edge, one side at a time, then finish the other half-circle
Watch for hidden dowels, though. Nothing ruins the moment like hitting a structural support. Dowels can easily derail your slicing process.
Grid Pattern Execution
Once you’ve got that inner circle scored, you’re ready to turn your round cake into a proper grid of neat, square-ish slices. Picture a dartboard, with that bullseye circle as your reference point. You’ll cut rings outward every inch or so, then slice across like a tic-tac-toe board. The grid pattern becomes straightforward once you see those bullseye rings.
Watch for dowels in multi-tier cakes, as hitting one will create an unpleasant crunch. Start from the center and work outward to keep edges neat while the middle is portioned. Aim for about one inch thick per slice.
Cut 1-Inch Slices and Wipe Your Knife Clean
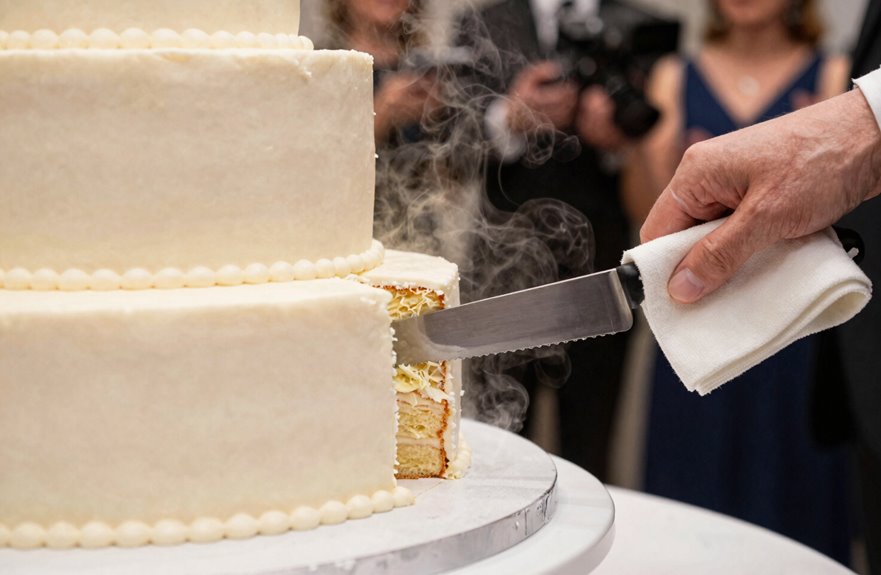
Why does the first slice always feel like the hardest? Once you’ve got your grid scored, you’re already part of the club.
Cake slicing gets easier when you follow this rhythm:
- Cut 1-inch slices from the outer edge, using that score line as your guide
- Make half-circle cuts on each side for stability, then lift that outer ring
- Wipe your blade between slices: damp towel first, then dry
Knife cleanliness is practical. That sticky frosting builds up fast, and nobody wants ragged edges on their plate. Keep a damp cloth tucked nearby as a useful tool. A sharp serrated knife with a gentle sawing motion produces clean, even slices.

Size and Package: Nagpew wedding cake cutting set includes a knife measures about 13.5''L x 1''W and a server approximately 11.4''L x 3''W. Come with a box for storage

SERVE YOUR CAKE IN STYLE - A beautiful cake deserves an equally beautiful cake cutting set. With a classy etched filigree design and shiny finish, our silver set is sure to match any elegant table setup.

Size:Cake knife is 12.59" long. Serving set 10.4'' long.
Serve Multiple Flavors Buffet-Style to Guests
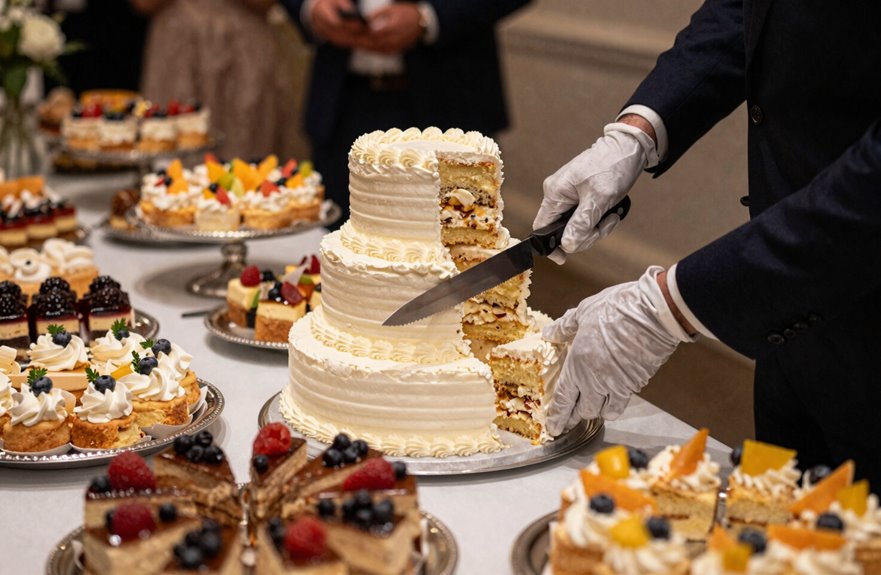
Some of the best weddings I’ve been to let guests pick their own adventure, cake-wise. Setting up a wedding cake buffet-style when there are multiple flavors makes everyone feel included.
First, remove tiers with distinct flavors before cutting, so guests can actually reach each option. Slice from different tiers, not just one, which lets people sample without hacking through every layer at once. Alternating your cutting sequence keeps each flavor flowing to the table.
You’ll want a big service area, maybe a rolling cart, to display everything without crowding. This way, your friends can mingle, compare notes on the lemon versus chocolate, and find their people through shared favorites. Dessert becomes a community moment.

Best Helper For Cake Maker: These plastic cake dowel rods are designed to separate cake tiers slightly and create a floating illusion,will add more charming to your cake.

HIGH QUALITY MATERIALS:These cake dowels for stacking are made of food grade and durable plastic, smooth surface. Easier to cut than wooden cake dowel rods.

[CAKE DOWELS STAND]: The cake dowels rods set can help you to hold the cake. Our plate stand and cake boards are used to stack tiered cake, pastries, brownies and much more. A combination of plates, dowel rods and spatulas comes with smooth surface which is reliable to use.