
I think of fairy cakes as Britain’s quieter answer to American cupcakes. They’re smaller, lighter, and require far less elaborate decoration. You’ll bake them at 350°F for about eighteen to twenty minutes, fill the cups two-thirds full, and end up with an airy, tender sponge that doesn’t compete with tea for attention. The classic version wears a quick glacé icing, but my favorite is the butterfly style: slice off the top, dig a little cavity for raspberry jam, then angle those halves back like wings with a slim buttercream line. They’re designed for afternoon tea, not stomach-stretching overload, which feels considerably more practical. Whether you’re team jam or team simple glaze, there’s room for you here. I’ll walk you through the nitty-gritty of getting that dainty crumb just right.
What Are Fairy Cakes? (Quick Definition + Cupcake Comparison)
So, what exactly is a fairy cake. Envision this: you’re at afternoon tea, china cups clinking, and there they are—tiny, perfect treats that look like they might flutter away. Fairy cakes are Britain’s gentler answer to American cupcakes. They’re a bit more refined.
Where cupcakes go big with towering buttercream and sprinkles everywhere, fairy cakes keep it light. They’re smaller, softer, and never weighed down. You’ll find simple glacé icing or just a whisper of buttercream on top. Sometimes, bakers slice off the cap, add jam, and pipe two dots of cream so the top looks like fairy wings. The result is charming without unnecessary decoration.
Serve them with tea, scones, and finger sandwiches. No expertise is required. Traditionalists add a glacé cherry or sprinkles. Either way, you’re part of a tea tradition.
Classic Fairy Cake Ingredients for a Light, Tender Crumb
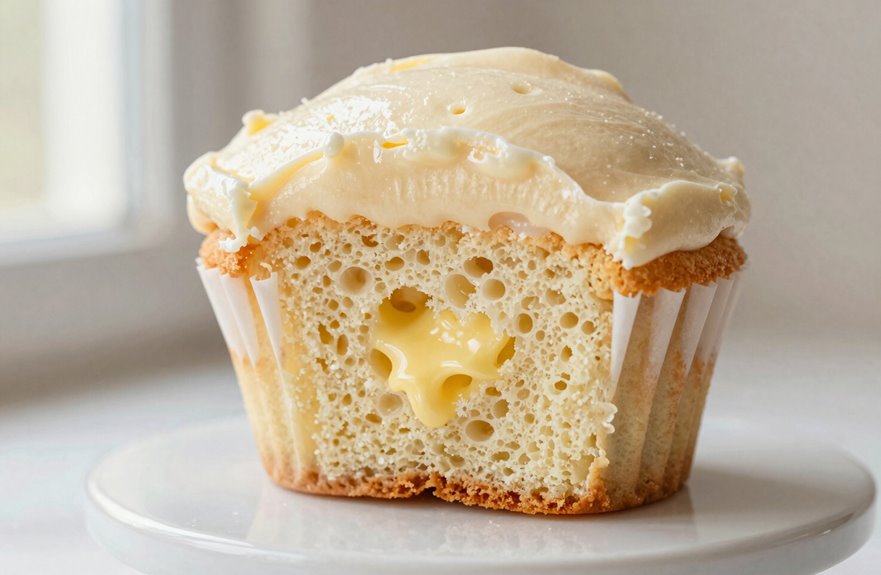
How do you get a crumb so light it practically floats? I start by creaming butter and superfine sugar—caster sugar, if I’m being fancy—until it’s pale and fluffy, almost like a cloud I’m building by hand. I’ll fold in sifted flour, a whisper of baking powder, and a pinch of salt, then add eggs, milk, and vanilla for that gentle richness. Self-raising flour works too, and I’ve used both when I’m half-awake on a Sunday morning.
Cream butter and superfine sugar until pale and fluffy, then fold in flour, baking powder, salt, eggs, milk, and vanilla for a cloud-light crumb.
The real soul here is about bringing people in. Consider what you’re really mixing:
- The sugar dissolves into belonging, smoothing rough edges between strangers at the table
- Eggs bind more than batter; they hold shared moments we didn’t plan
- Milk softens, like the patience we give friends learning alongside us
I finish with buttercream frosting, barely there, maybe a sprinkle. Nothing heavy. We’re keeping it dainty and welcoming. This cake signals an invitation. Pull up a chair, you’re already home.
How to Bake Fairy Cakes: Step-by-Step From Batter to Oven
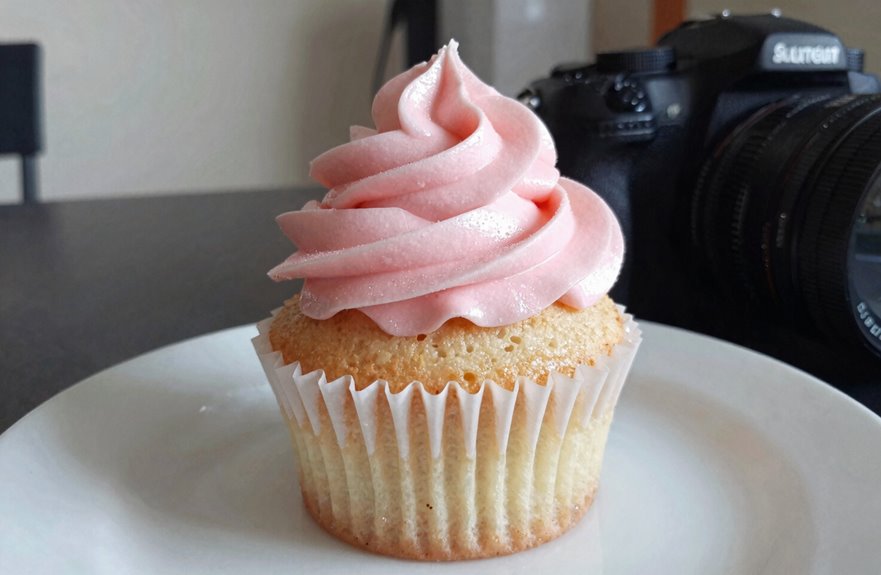
I’ll walk you through the baking temperature essentials, batter mixing technique, and oven timing tips that’ll take your fairy cakes from raw ingredients to golden perfection. This process is straightforward once you understand the fundamentals. Let’s get your oven preheated to 350°F. Once you nail these steps, you’ll have reliable results every time.
Baking Temperature Essentials
Why does temperature matter so much when you’re baking something as small and delicate as a fairy cake? Even ten degrees off, and you’ve got dry little bricks instead of fluffy clouds. That’s why I always preheat to 350°F (180°C) first, with no shortcuts.
What I’ve figured out about getting it right:
- Trust your oven, because every one runs a little hot or cool (mine runs fast, so I adjust)
- Fill cups two-thirds full, which sounds picky but prevents that sad overflow mess
- Twenty minutes is your guide, though I start checking at 18 because I’d rather peek early than mourn burnt cakes
These baking temperature essentials aren’t just rules. They’re the difference between success and failure in achieving properly baked cakes with the right texture and moisture content.
Batter Mixing Technique
Where do I even start with the batter?
First, I cream butter and sugar until they’re light and pale. Then I beat in eggs, followed by milk and vanilla, until everything’s silky smooth.
Next, I sift flour, baking powder, and salt together. Don’t skip the baking powder, that’s your lift, your airy crumb, the thing that makes these fairy cakes truly fairy-like. I fold this in gradually, gentle and steady, because overmixing kills the lightness we’re after.
I fill each cup two-thirds full, giving them room to rise into those perfect domes. The batter’s ready now, smooth and promising.
Oven Timing Tips
How soon do we get these in the oven? I’ve already preheated mine to 350°F (180°C), because waiting around for the temperature to climb wastes precious minutes. The baking powder and salt in our batter need that immediate heat to activate.
I line my tin, fill cups two-thirds full, no more, no less, and slide them in. Twenty minutes usually does it, golden tops, clean toothpick.
What I’ve learned:
- Check early at 10 minutes if your recipe’s different; denser batters fool us
- The warm, vanilla smell indicates you’re nearly done
- Cool completely on a wire rack, or you’ll face a soggy bottom
We’re in this together, figuring it out batch by batch.
The Traditional Glacé Icing (And When to Use Buttercream)
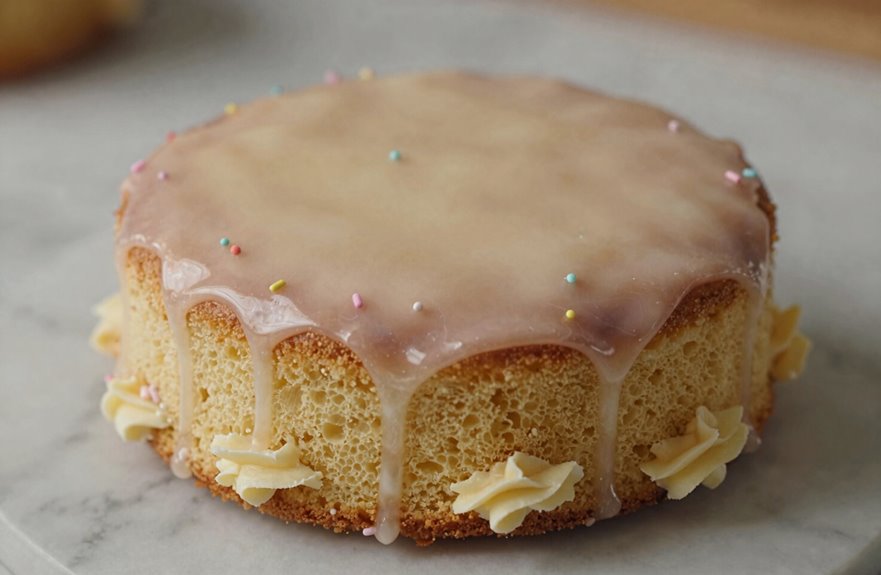
I’ll walk you through the two classic ways to finish your fairy cakes. Glacé icing, that simple mix of icing sugar and hot water, gives you that traditional, glossy shell that cracks gently when you bite in. Buttercream, the lighter British kind rather than the heavy American version, brings a creamier, more modern feel that works well when you want something more indulgent. Your choice depends on whether you prefer that old-fashioned tea-room elegance or something more substantial. Consider your occasion and flavor preferences to select the best option.
Glacé Icing Basics
Why does something so simple feel almost magical when it works. That’s glacé icing for me: just icing sugar and hot water, stirred until silky. I dissolve about 200g sugar in a tablespoon of just-boiled water, and watch it transform into a mirror-smooth glaze that sets hard and fast. It dries clear and shiny, so I use it when I want delicate colors to glow on light fairy cakes. It won’t give you that fluffy cloud of buttercream, but that’s okay. We’re not always going for rich. We’re going for crisp.
- Your kitchen mistakes belong here too.
- There’s no single “right” way to top a cake, just your way.
- Every drippy glaze teaches you something worth knowing.
I reach for glacé icing when I need speed, shine, and subtlety. Save buttercream for when you’re craving that thicker, creamier bite.
Buttercream Alternatives
The choice between glazes is where fairy cake personality really shows up. I reach for glacé icing, just icing sugar and a splash of hot water, when I want that thin, glossy shell that dries hard and neat. It’s the classic finish, light and barely sweet, perfect for afternoon tea where elegance matters more than drama.
But sometimes, I crave something gentler. That’s when I swap in a lighter buttercream, softer than the American stuff we’re used to. It pipes beautifully, adds creaminess, and feels more generous somehow. Neither option is wrong. Glacé icing sets fast, making it great for packed lunches, while buttercream stays plush and requires eating soon after application. I pick based on mood and who’s coming to tea.
Choosing Your Finish
So how do I actually pick between finishes? I start by asking myself what kind of moment I’m creating. When I’m after that quiet, tea-time feeling, the kind that makes you feel like you belong in a cozy kitchen somewhere in England, I reach for glacé icing. I mix icing sugar with just a splash of hot water, stirring until I get that glossy, pourable glaze. It’s lighter, less sweet, and feels more proper sitting beside a cup of Earl Grey.
Buttercream works too, though I keep it thinner than those piled-high American cupcakes. I want my fairy cakes small and dainty, the kind you pop whole without embarrassment.
- Your choice signals what kind of gathering you’re really building
- Glacé icing invites simple sprinkles and quiet conversation
- Buttercream allows bolder piping, if that’s your comfort zone
Butterfly Fairy Cakes: The Jam-Filled Winged Variation
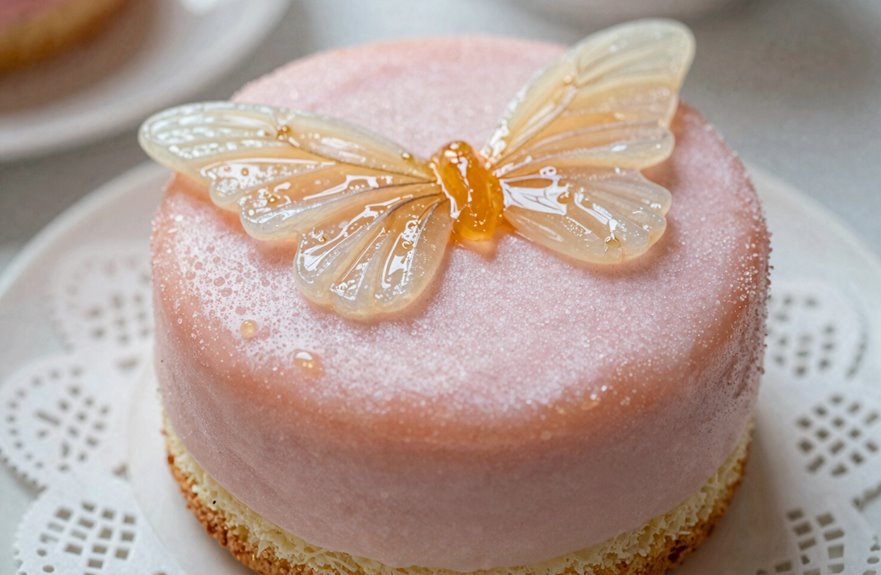
Nostalgia hits me every time I spot these little winged beauties on a tea tray. Butterfly fairy cakes, sometimes called butterfly cupcakes though they’re more delicate, are my favorite jam-filled variation.
I bake small vanilla fairy cakes with no excessive decoration, then slice off their tops. I scoop a small cavity, about two teaspoons deep, and spoon in raspberry or strawberry jam, depending on what’s available. I cut each top in half, angle them like wings, and pipe a slim curve of buttercream down the middle.
They’re lighter than American cupcakes, which suits the afternoon tea tradition perfectly. The frosting stays simple and light; just glacé icing or a thin layer of buttercream works well. You can choose any jam you prefer. These cakes are elegant and dainty, making them consistently popular with guests.
Serving Fairy Cakes: Afternoon Tea and Party Ideas
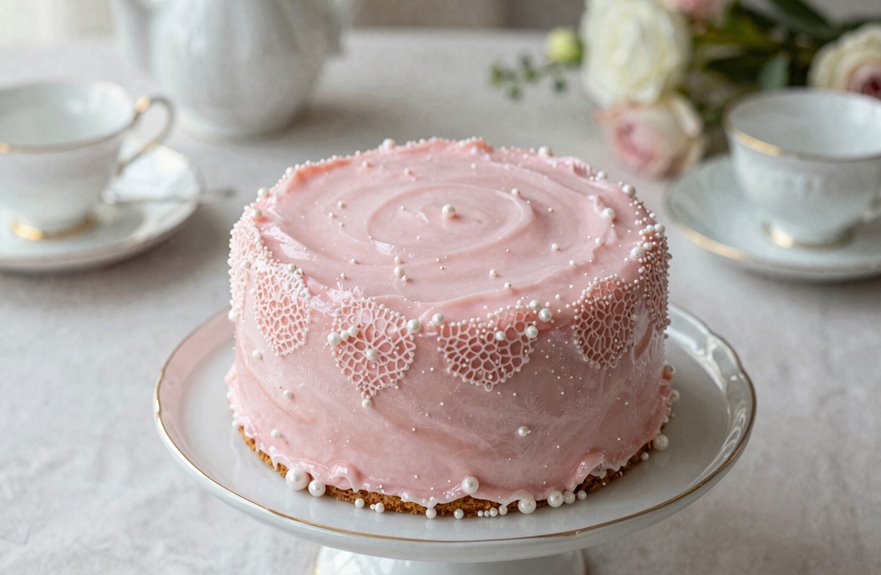
Where exactly do fairy cakes belong on your afternoon tea table? They slip in perfectly after the sandwiches, those little savory bites, and right before you reach for the scones. It’s that sweet middle ground, where nobody’s rushing; you’re just settling in.
I bake a standard batch of twelve, nothing fancy, just a lined muffin tin and that light glaze, maybe a cherry on top if I’m feeling it. The smaller size means you’re not overwhelmed, just welcomed.
What I’ve learned about making people feel at home:
- Set them out on a mixed plate, savories and sweets together, so everyone finds their own comfortable spot
- Skip the heavy frosting; a simple glacé signals approachability
- Pour the tea first, always, and let guests linger
Afternoon tea works because small cakes create space for guests to relax and connect, one bite at a time.
Why Your Fairy Cakes Turned Dense (And How to Fix It)
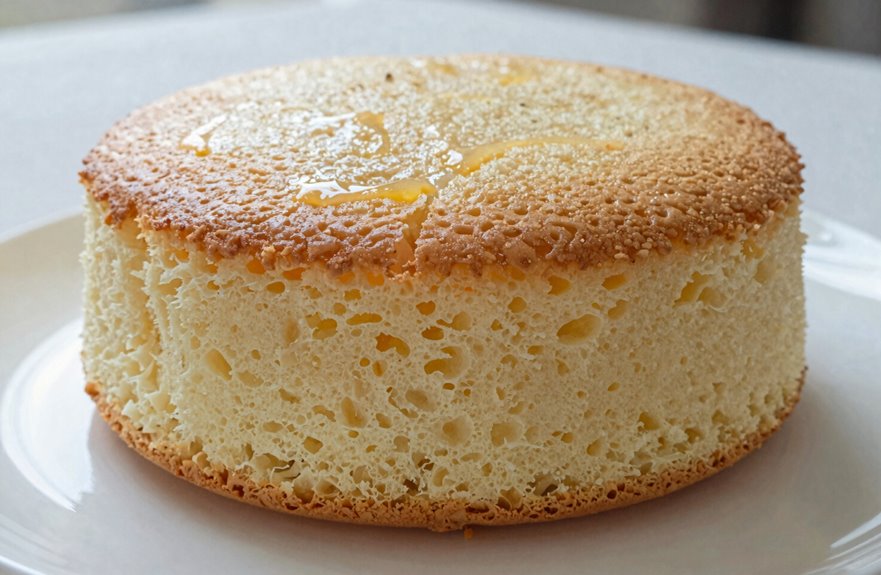
How often have you pulled your fairy cakes from the oven, expecting that perfect little dome, only to find them heavy as stones in your hand. There are usually a few culprits worth investigating.
First, check your baking powder. If it’s been sitting in the cupboard since last year, toss it. Old leavening agents simply don’t lift like they should. Then look at your mixing technique. Overdoing it develops gluten, which turns your crumb tight and dense. Mix until just combined, no more.
Too much flour weighs things down, so measure carefully, sometimes sifting if the recipe suggests it. Creaming is equally important. Beat butter and sugar until pale and fluffy, as skipping this step removes crucial air incorporation. Finally, bake at 350°F, testing early with a toothpick to avoid overbaking.
Fairy Cake Troubleshooting: Texture, Timing, and Storage
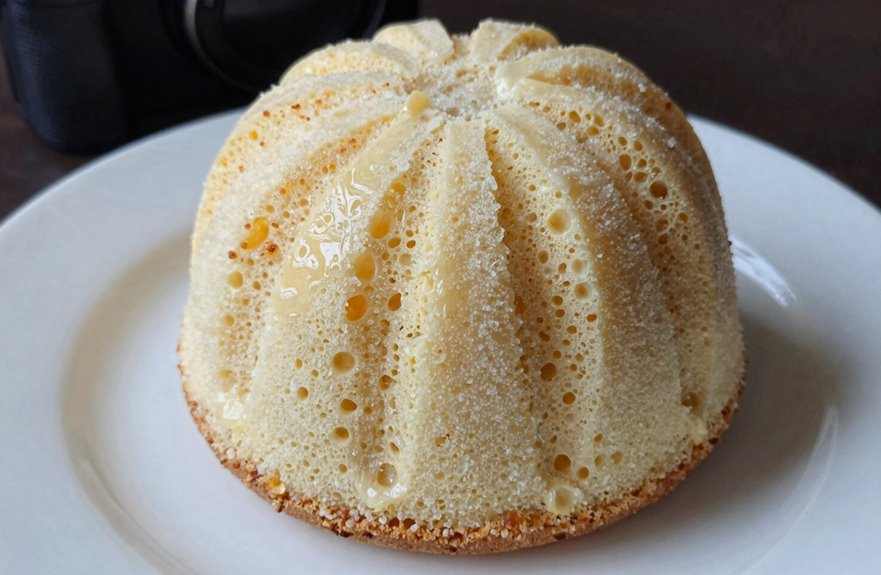
Sometimes I’ll pull a batch from the oven, and they look perfect until I bite in and the texture’s wrong. The crumb is dense, dry, or weirdly hollow. These issues are fixable.
They look perfect until I bite in—then the crumb is dense, dry, or weirdly hollow.
Cream your butter and sugar until it’s light and pale. This creates your foundation. Then fold in sifted flour gently. Too much mixing produces tunnels or a sunken middle. Check your cakes at 18–22 minutes with a toothpick; overbaking destroys the tender crumb. If your oven runs hot, that’s a common culprit.
- Your instincts matter more than the timer, since every oven performs differently
- Proper storage preserves quality for a day or two
- A sunken cake still represents effort and practice
Keep them airtight for a day or two, or freeze for later use.