
Cake rise comes from three things working together: tiny air bubbles trapped while mixing, carbon dioxide from baking powder or soda, and steam that puffs up in the oven. When butter and sugar are creamed together, thousands of air pockets are incorporated into the batter, similar to inflating a balloon before an event. Leavening agents then react with moisture and heat, and steam becomes particularly active around 212°F, pushing the cake upward. Room temperature ingredients help too, since cold butter does not incorporate properly. The critical factor is keeping those bubbles intact while everything sets, which requires gentle folding and restraint with the mixer. Understanding this balance explains why cakes rise successfully or fall short.
What Makes Cake Rise: The Complete Mechanism
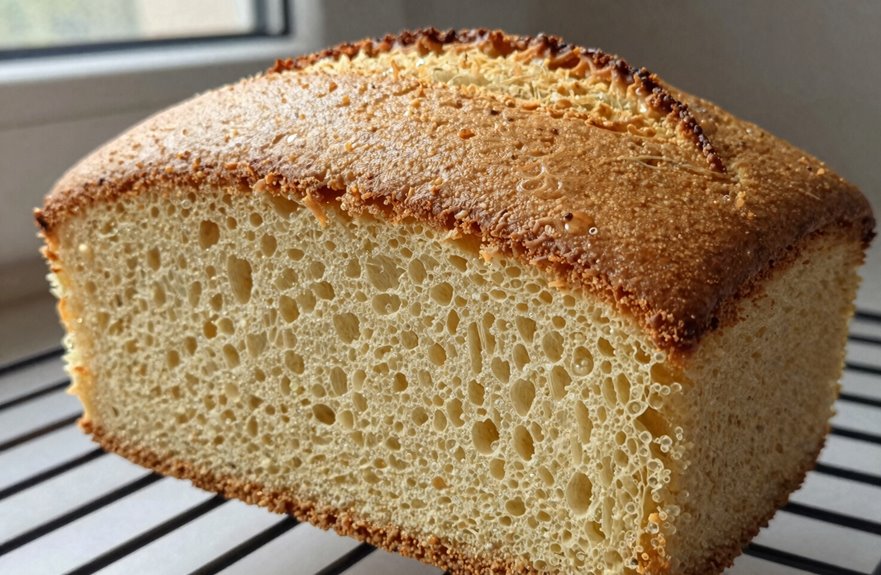
First, baking powder serves as the primary leavening agent, releasing carbon dioxide when it meets heat and moisture. Those tiny bubbles get trapped in your batter, initiating the rising process. Steam then expands from all that liquid (eggs, milk, butter) as temperatures increase. Together, they push upward, building your cake’s height.
Your batter needs structure to hold everything in place. Proteins from eggs and gluten from flour provide this necessary framework. Temperature control is critical. Too hot, and the structure sets before rising. Too cool, and you’ll lose all that lift. Adjusting your oven temperature and baking time will give you consistent results.
How Leavening Agents Make Cake Rise
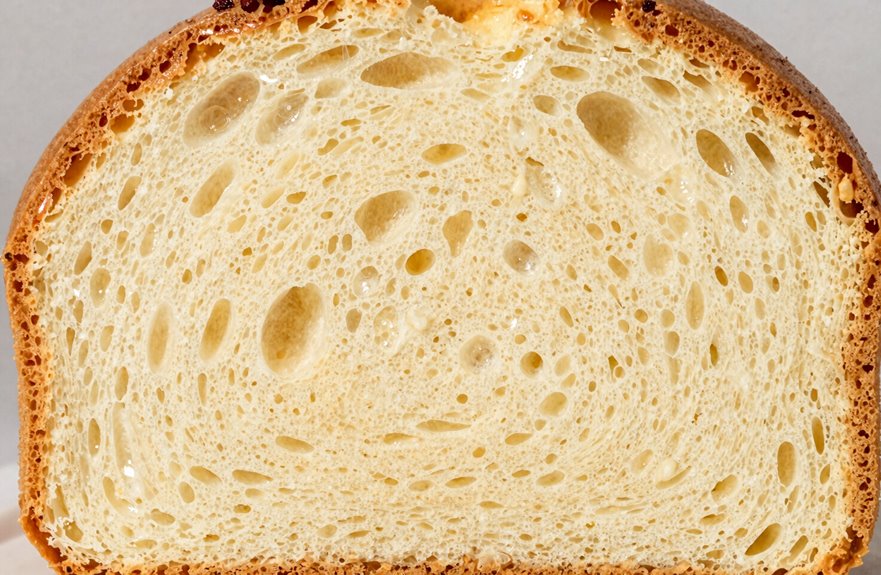
I’ll walk you through how leavening agents actually do their magic, starting with the chemical reaction. Baking soda and powder, those little workhorses, create carbon dioxide bubbles that puff up your batter. Mechanical air incorporation, such as creaming butter and sugar or whipping egg whites, builds the initial bubble structure those gases can expand into. Together, these two processes, chemical and mechanical, create the lift we’re chasing, and I’ll break down exactly how they interact in your mixing bowl and oven.
Chemical Leavening Process
Why do some cakes puff up tall and proud while others stay flat as a pancake. Staring through an oven window during baking raises this common question.
Chemical leavening relies on baking soda and baking powder to create leavening gas, carbon dioxide bubbles that expand your batter like tiny balloons. Baking soda requires an acid buddy, like buttermilk or vinegar, to activate. Baking powder is self-contained, with both acid and base already included, reacting to liquid and heat.
The leavening gas gets trapped in your batter’s structure, pushing upward before heat sets everything in place. Too much leavening produces gaping holes or a collapsed cake. Too little results in a dense, flat product. Precise measurement of these leavening agents determines your final cake structure.
Mechanical Air Incorporation
The magic of a towering cake isn’t just chemistry in a bowl. It’s the air I’m working in with my own two hands. Mechanical air incorporation is my secret alongside chemical leavening.
When I cream butter and sugar for three to four minutes, I’m forcing thousands of tiny pockets into the fat. That batter aeration is the foundation everything else builds on. Whip whole eggs for seven minutes, and I’ve got a foam so stable it practically stands at attention.
These air bubbles work as teammates with my baking powder. The mechanical ones start expanding first, buying time while chemical leavening kicks in. Too much mixing though, and I’ve popped my own hard work. Fragile bubbles collapse, leaving me with a dense crumb that affects the cake’s texture and appeal.
Baking Powder vs. Baking Soda: Which to Use?
How do I know which one to grab when I’m staring at my pantry, half-awake, already covered in flour? Baking powder contains both acid and base, activating twice, once when wet and again when heated, so it’s my go-to for cakes and light batters. It delivers reliable leavening without extra ingredients. When I spot yogurt, buttermilk, or vinegar in a recipe, I reach for baking soda instead. It needs that acid to create CO2 and rise properly. Using the wrong one results in ruined cakes with metallic, soapy flavors and sad uneven tops. The recipe will guide you. Match your acid to your alkali, and your baked goods will rise properly and consistently.
How Room Temperature Ingredients Help Cakes Rise
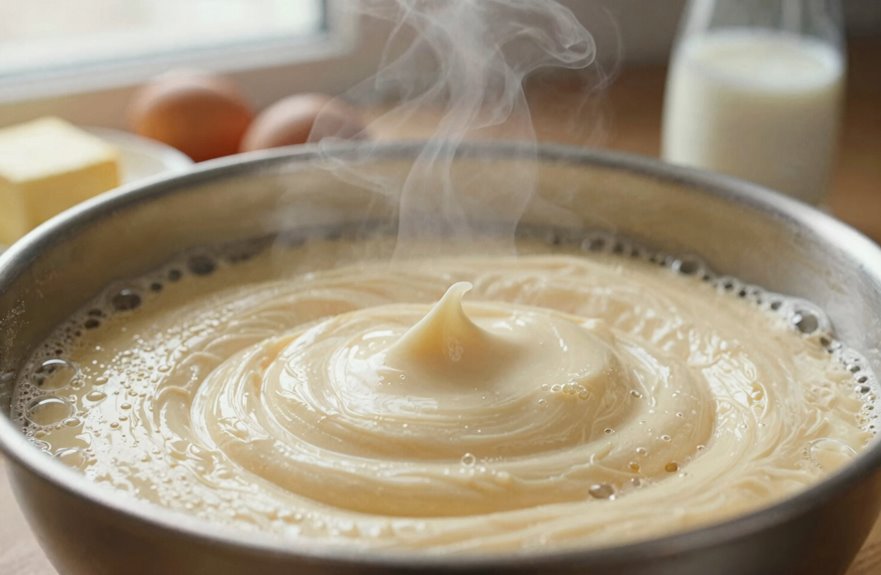
I’ve spent years ignoring the “room temperature” note in recipes, yanking cold eggs straight from the fridge and wondering why my cakes turned out wonky. The science behind this instruction is legitimate and worth following.
When butter sits at room temperature, about 68–72°F, it blends evenly with other ingredients instead of resisting incorporation. That smooth mixing creates better aeration, with tiny air pockets that expand as your cake bakes. Cold butter stays chunky, and you lose that lift.
Room temperature butter blends evenly, creating tiny air pockets that expand for a better rise—cold butter stays chunky and you lose that lift.
Same goes for eggs and dairy. At room temperature, they emulsify properly, helping trapped air expand smoothly during mixing and those crucial early baking minutes. Your leavening agents release gases more effectively too.
Cold ingredients slow everything down, giving you dense spots and uneven rises. The 30-minute wait produces measurable differences in cake structure and rise. Waiting for room temperature ingredients is a practical step that directly improves baking results.
How Creaming Butter and Sugar Creates Air
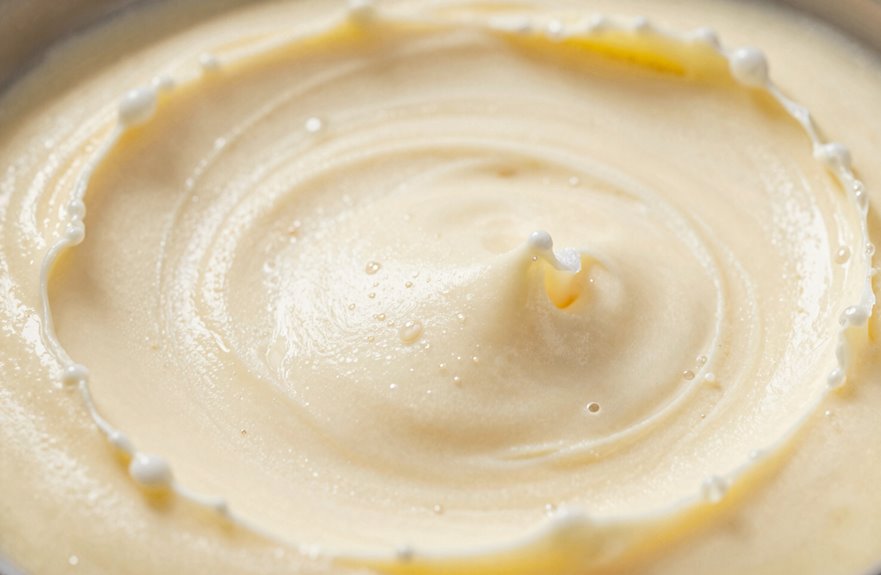
My old hand-me-down mixer used to wheeze and rock across the counter, but that ten-minute creaming ritual taught me more about cake science than any cookbook. When you’re creaming butter and sugar, you’re not just mixing. You’re forcing air into that fat, beating until it turns pale and fluffy. Those tiny bubbles are trapped air, your secret weapon for cake rise.
Room-temperature butter matters. Too cold, and you get dense crumbs; melted, and you lose the structure entirely. The sugar crystals cut into the butter, creating pockets that expand in the oven’s heat. I usually cream for three to five minutes, watching for that light, almost cloud-like texture. Overdo it, though, and you’ll collapse everything.
How Eggs Trap Air for Extra Lift
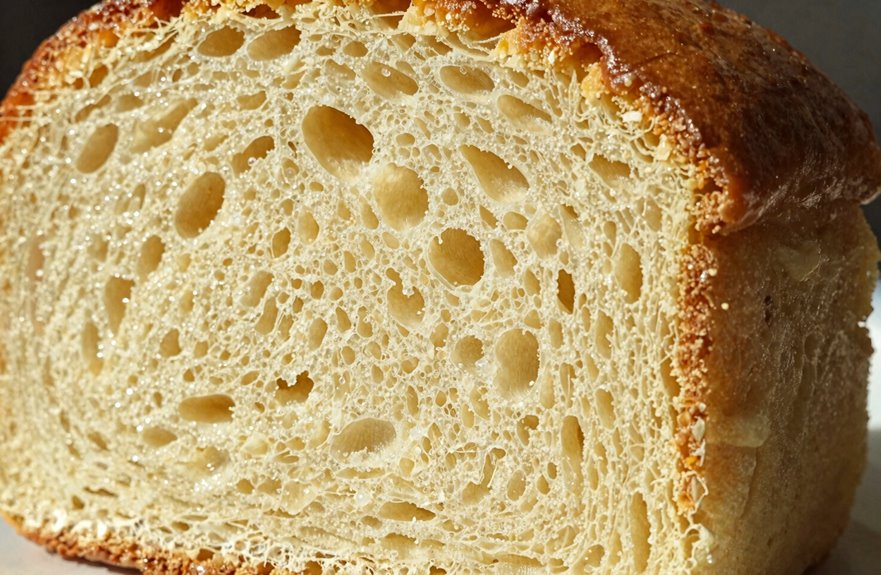
I’ve always thought eggs are the unsung heroes of a fluffy cake. When I whip them, sometimes with a bit of sugar, about two tablespoons per egg, they transform into a gorgeous, pale foam that practically doubles in volume, trapping air like tiny balloons waiting to expand in the oven. Room-temperature eggs work best here, around 65–70°F, because cold yolks just won’t fluff up the same way. Once I rushed with fridge-cold eggs and my sponge came out flatter than a pancake at a sad diner. Room temperature is essential for optimal volume and texture.
Egg Foam Structure
Why do some cakes practically float off the plate while others sit there like dense little bricks? The answer starts with egg foam.
When I whip egg whites, their proteins unfold and stretch, creating a viscoelastic network that traps air cells like tiny balloons. These bubbles expand as heat hits the batter, giving me that gorgeous lift. I’m not just adding volume early; I’m building a foundation that works with my leavening to push the cake even higher.
Overmixing after adding those whipped eggs is where things go wrong. The foam collapses, and I’m back to brick territory. When executed correctly, heat coagulates those proteins into a gel that locks around each air cell, preserving every inch of height achieved through the whipping process.
Whisking Technique Matters
How exactly do I get those eggs to do the substantial work? It’s all in how you whisk them. You want those air bubbles trapped and stable, not overworked and deflated.
Here’s my go-to rhythm:
- Start with creaming. That fat and sugar dance builds your aerated foundation.
- Whisk eggs properly. Steady, purposeful strokes incorporate volume without collapsing your foam.
- Finish by folding. Gentle turns preserve that trapped air when you marry wet and dry.
Overdo it? You’ll watch your cake sink. Underdo it? Dense and forgettable, like my first attempt, which was a brick.
The sweet spot lives between those extremes. When you nail it, you feel it. Light, foamy, and ready. That rise comes from proper technique executed at each stage.
Room Temperature Importance
Ever pull an egg straight from the fridge and wonder why your batter resists mixing? Warm eggs are essential for loftier cakes. Warmer yolks and whites whip faster, creating fuller aeration that fills your batter with tiny air pockets. That extra volume matters for rise and structure. Reduced viscosity helps build a silky emulsion with butter and sugar, trapping those bubbles in a stable network that won’t collapse in the oven.
| Fridge Egg | Room Temp Egg (~70°F) | The Result |
|---|---|---|
| Thick, sluggish whites | Flowy, cooperative texture | Faster whipping |
| Stubborn fat separation | Smooth emulsion with butter | Even crumb structure |
| Limited air incorporation | Maximum aeration, fuller volume | Taller rise |
| Flat, dense layers | Proper expansion, stable bubbles | Bakery-worthy height |
Let eggs sit out 30 to 60 minutes, or warm them gently in water. Avoid overheating, as it thins your batter and destabilizes the emulsion you’ve built. This simple step produces noticeably taller cakes with better crumb structure.
When to Fold vs. Beat: Keeping Air in the Batter
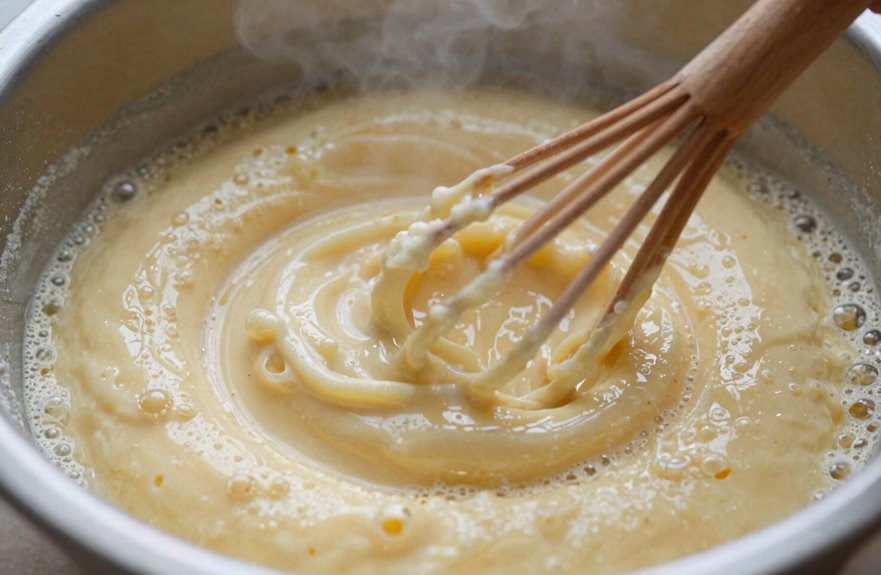
What separates a towering sponge cake from a sad, flat pancake? It’s all in how you handle the air, folding, and batter together.
Here’s my go-to method for keeping things light:
- Cut through the center with your spatula, gentle and deliberate
- Rotate the bowl, slow and steady
- Lift the batter over itself, repeating until just combined
Stop the second flour streaks disappear. Overmixing causes you to lose those precious bubbles created during mixing. When adding whipped whites or cream, fold in portions. Stages matter because you’re building a structure where every bubble contributes to your cake’s rise. Patience at this step directly determines your final result.
How Steam Makes Cake Rise in the Oven
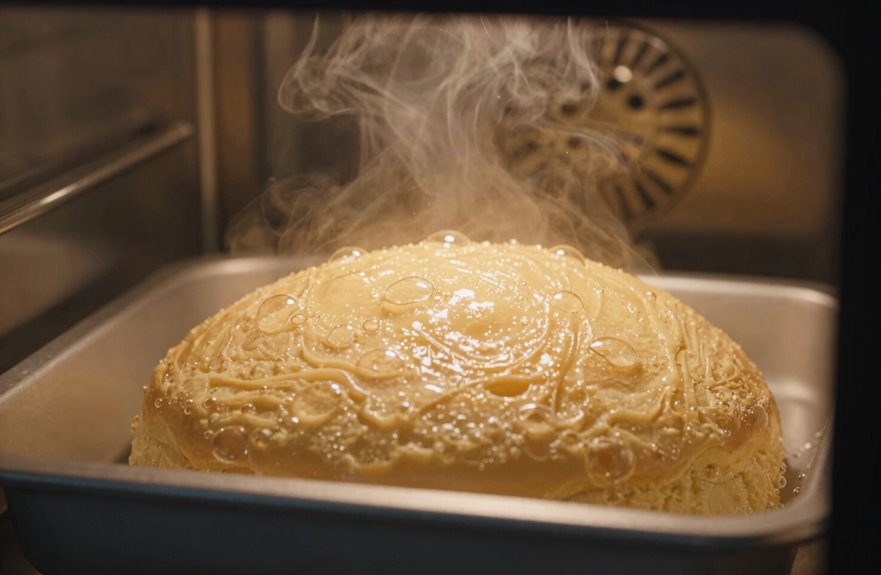
Once I’ve got that batter folded just right, there’s another kind of lift waiting in the oven that depends on steam. Water in eggs, milk, and butter begins to activate around 140°F, creating early, tiny bubbles. The significant rise occurs at 212°F, when steam production intensifies and pushes the batter upward.
Oven temperature requires careful control. If it’s too hot, the crust seals before the steam rise completes its job, resulting in a sunken middle. The right pan, even heat distribution, and sufficient liquid are essential. These conditions produce the tall dome structure you’re after.
How Proteins and Starches Set Cake Structure
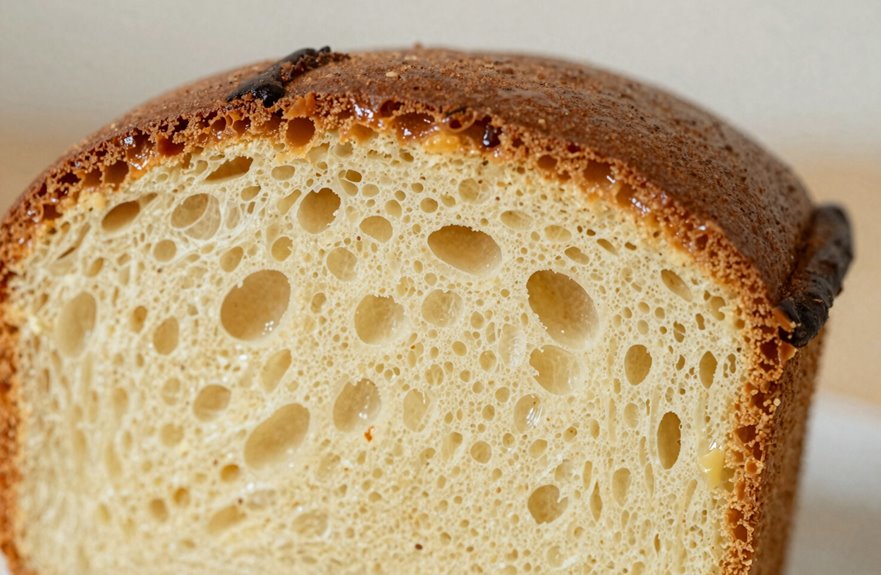
While steam’s busy pushing my batter upward, I’ve got another process happening behind the scenes that’ll literally hold everything together.
Here’s how my cake finds its shape:
- Gluten formation kicks in when my flour meets liquid. Those stretchy proteins trap air bubbles, giving my batter the backbone it needs.
- Protein coagulation takes over as heat builds. Think of my egg proteins firming up, locking that expanded structure in place.
- Starch gelatinization finishes the job. My flour starches absorb moisture and swell, adding that lovely resilience we all want.
Getting these three to work together is essential for baking success. Mess up the balance with too much heat applied too fast, and cakes collapse into dense, disappointing results. Execute properly, and you’ll achieve a crumb structure worth sharing.
How Oven Temperature Shapes Your Cake
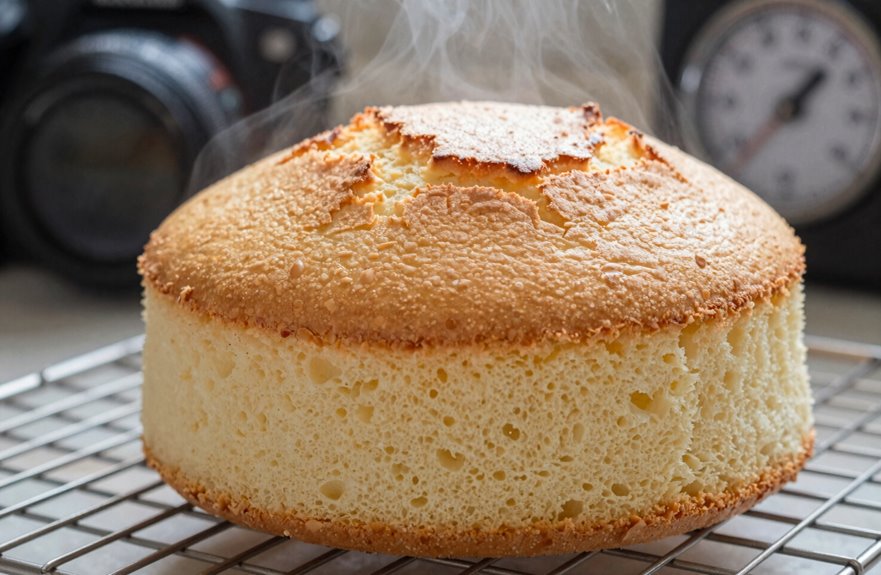
Oven temperature isn’t just a number; it’s the difference between a proud, tall cake and a sunken one. When heat spreads unevenly, you’ll get that dreaded dome in the middle, or worse, edges that set too fast and trap air that bursts later, leaving you with a crater. Getting the timing right, around 325°F for slower, steadier baking, means proteins and starches can do their job while steam lifts the batter evenly, producing the flat top desired in most cake recipes.
Heat Distribution Effects
How does your oven actually talk to your cake? Think of heat distribution as the oven’s whispered instructions. When it’s just right, around 325 to 350°F for most cakes, it guides your batter upward evenly. Oven temperature is half the conversation, and the other half is listening to how your cake responds.
Here’s what I’ve discovered about getting that beautiful rise:
- Position your rack so heat wraps your pan, not just blasts it from below. This is your bake consistency secret.
- Match your pan size to your recipe; too small and the center domes then sinks.
- Trust your eyes, but also your nose. Uneven browning signals you need to move the pan.
Getting consistent results requires paying attention to these details, one cake at a time.
Temperature Timing Balance
Getting heat into your oven is only part of the story. What really matters is when that heat does its work. Oven temperature controls everything: when steam builds, when the batter sets, and how tall your cake grows. Too hot, and the edges set early, trapping moisture inside. Too cool, and you get a wild rise that collapses later. I usually aim for 325°F (163°C) for slower, steadier baking.
| Temperature Zone | What’s Happening | Why It Matters |
|---|---|---|
| 140°F (60°C) | Water starts evaporating | Early steam release begins |
| 212°F (100°C) | Steam generation peaks | Maximum rise occurs |
| Uneven heat | Outer sets before center | Sunken middles, doming |
| 325°F (163°C) | Slow, even baking | Controlled, uniform crumb |
Even heat distribution matters too. Uneven temperatures create lopsided cakes with structural problems.
Dome Versus Flat Rise
Why does one cake bake up like a gentle hill while another stays flat as a pancake? The answer lives in how heat moves through your batter.
To achieve a flat top, focus on these three factors:
- Drop your oven temperature to around 325°F. Slower heat lets the whole cake set together, not just the edges.
- Mind your pan/bakeware size. Too much batter depth means the center stays liquid while rims seal early.
- Check your rise mechanics. Even heat distribution helps steam escape gradually, keeping things level.
When edges cook first, the center has nowhere to go but up. Matching temperature to pan size, using shallower batter and gentler heat, produces the flat top needed for stacking layers.
What Your Pan Size Does to Cake Height
Ever wondered why your cake sometimes looks like a volcano and other times like a frisbee. The answer is simple: your pan size controls everything.
When you pour batter into a wide, shallow pan, it spreads thin and rises evenly. But squeeze that same batter into a smaller tin, and your batter rise shoots straight up, desperate for space. It’s all about pan-to-batter ratio. Fill your pans only halfway, maybe two-thirds full if you want a taller cake. Too much batter in too small a space causes uneven heat, wonky edges, and a sinking center. Matching your pan size to your recipe determines the difference between a flat, dense cake and one with proper, even rise.
What Causes Cake Doming and How to Stop It
Pan size shapes your cake’s height, sure, but it doesn’t guarantee a flat top. I’ve battled doming more times than I care to admit, that frustrating hump where edges set too fast while the center puffs up later.
Pan size shapes your cake’s height, sure, but it doesn’t guarantee a flat top. I’ve battled doming more times than I care to admit, that frustrating hump where edges set too fast while the center puffs up later.
- Check your oven temperature. Too hot and edges stiffen prematurely; too low and the center rises unevenly. Steady, moderate heat prevents uneven setting.
- Mind your pan size/shape. Overfilling a small, deep pan traps rise in the middle, so match batter volume to dimensions carefully.
- Control batter aeration. Overmixing traps excess air that expands into domes. Mix just until combined, keeping things light but not overworked.
These three factors keep cakes flat and stable, ready for stacking without structural issues.
How Baking Powder Freshness Affects Rise
How often do you check the date on your baking powder? I used to skip this step until a flat birthday cake taught me better.
Baking powder freshness directly controls your cake rise. Fresh powder contains reacting agents that spring to life with moisture and heat, releasing carbon dioxide bubbles that lift your batter. Old powder quietly loses potency, leaving you with a dense, disappointing crumb.
I now test every container, even newly opened ones, by dissolving a pinch in hot water. No fizz means reduced leavening power. Time to replace it. Each recipe counts on a specific amount of fresh powder to reach its intended height, so stale ingredients throw off the whole chemistry.
Checking dates, testing freshness, and replacing when needed ensures your cakes rise to the proper height and develop the texture your recipe requires.
Why Cakes Collapse and How to Fix Dense Results
Fresh baking powder can’t save you from every collapse. Dense cakes happen to all of us, and they’re fixable once you know what’s going wrong.
Three culprits usually cause the problem:
- Overmixing beats in too much air that deflates later, leaving that sad sunken center
- Wrong oven temperature; too hot sets edges fast while the middle stays gooey, then collapses
- Weak leavening, missed by a few months, that just can’t push your batter up
Cakes also fall from heavy-handed folding or pans that crowd an uneven oven. The solution requires mixing gently, checking your powder monthly, and using an oven thermometer. These steps will improve your baking results.
Common Mistakes That Stop Cakes From Rising
I’ve definitely pulled a flat, sad cake from the oven and wondered what went wrong. Usually, it’s one of three culprits: expired baking powder that’s lost its punch, an oven running hot or cold (I’ve learned the hard way that 350°F on the dial rarely means 350°F inside), or batter I’ve beaten to death trying to get it smooth. These mistakes are sneaky because they feel like you’re doing everything right until you’re not. Let’s look at how each one sabotages your rise and, more importantly, how to stop it before it starts.
Expired Leavening Agents
Why do our cakes sometimes fall flat when we follow the recipe exactly? I’ve been there, staring at a dense, pale disappointment, wondering what went wrong. Often, it’s our leavening that’s betrayed us.
Here’s what I’ve learned about checking freshness:
- Test your baking powder with a quick fizz. Drop some in hot water, and if it doesn’t bubble enthusiastically, toss it.
- Mark your containers with purchase dates, because leavening loses potency even when sealed tight.
- Replace before big bakes. That anniversary cake isn’t the time to gamble on questionable ingredients.
Freshness matters significantly. A quick check prevents failed batches. Your cakes, and your guests, benefit from this attention to detail.
Incorrect Oven Temperature
Even when my leavening is fresh and my batter looks perfect, cakes fall flat because ovens don’t maintain consistent temperatures. Oven temperature is the sneaky culprit behind so many baking disasters.
If an oven runs too hot, the edges set before the center can fully rise, trapping everything in place like a bad haircut. Too cold, and the whole bake time stretches out, leaving the cake dense and sad. An oven thermometer is essential because the dial readings are often inaccurate.
Hot spots cause uneven rise, domed centers, or that sunken middle. Checking actual temperature, not just following recipe times, is the difference between a cake worth sharing and one that needs frosting to hide flaws.
Overmixed Cake Batter
How often do we stand there with a hand mixer, thinking more mixing equals more fluff? I’ve been there, watching the batter spin, convinced I’m helping it along. Overmixing wrecks batter aeration in three ways:
- It traps too much air, then collapses during baking, leaving us with dense, squat cakes
- It breaks delicate bubbles we’ve worked so hard to create, causing deflation before the oven even warms up
- It triggers excessive gluten development, which toughens the crumb and restricts that beautiful rise we want
Mix until just combined now, flour streaks and all, then gently fold in any final ingredients. Your cake will rise tall and proud as intended.