A diaper cake is a centerpiece made from rolled diapers stacked in tiers to look like a real cake, except you cannot eat it. I make them for baby showers using about 96 size 1 diapers total: 45 on the bottom, 36 in the middle, and 15 on top, all held together with rubber bands and hidden ribbons. You add a stuffed animal topper, tuck in some teething rings or socks between layers, and create a gift that is actually useful. New parents appreciate them because they require a constant supply of diapers. I will show you exactly how to roll them so they do not unravel halfway through the party.
What Is a Diaper Cake (And Why New Parents Love Them)?
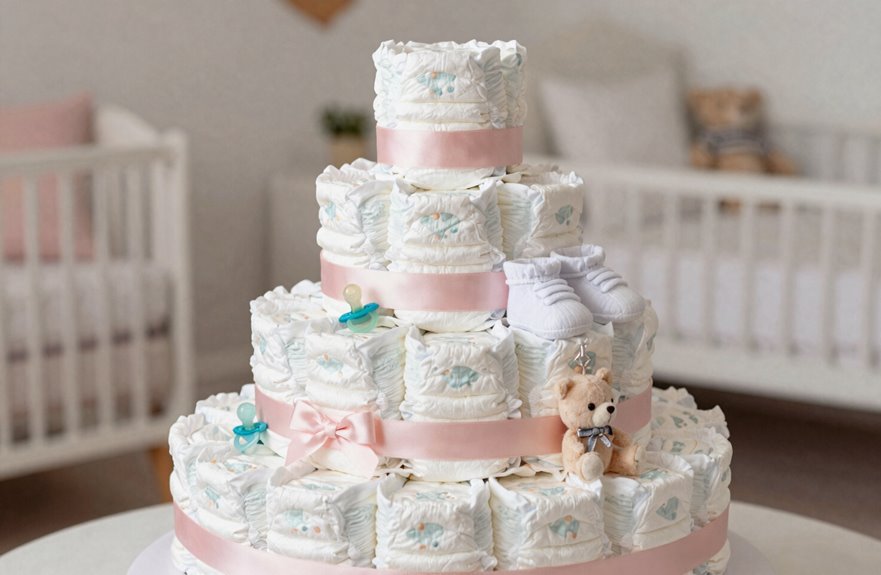
Ever wonder what gift makes new parents smile before the baby even arrives. A diaper cake is that clever, edible-looking centerpiece made from rolled diapers stacked in tiers. Think of it as practical magic disguised as celebration.
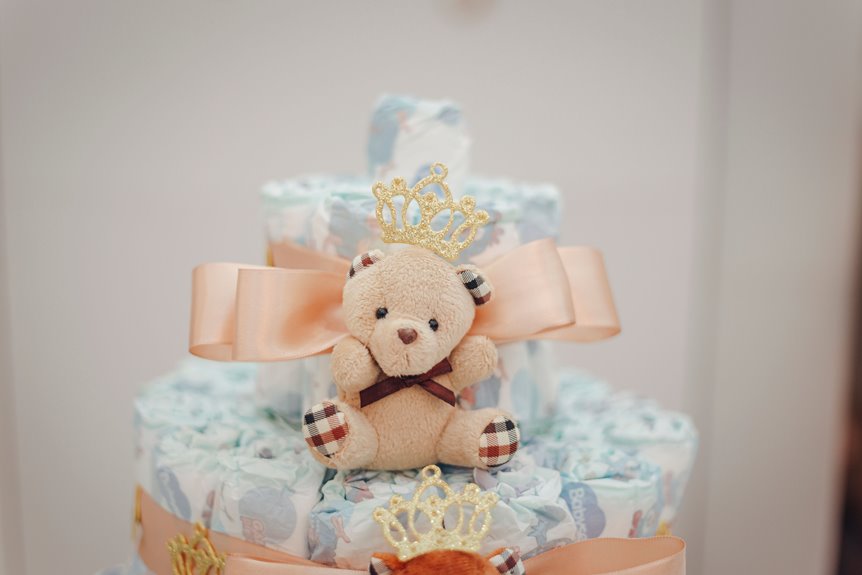
When I first spotted one at a baby shower, I did a double-take. Ninety-six size 1 diapers (fifteen on top, thirty-six in the middle, forty-five on the bottom), all rolled and banded into a three-tiered showstopper with a stuffed elephant perched on top. That’s the kind of thoughtfulness new parents remember.
You’re not just giving diapers. You’re giving something beautiful they’ll actually use. New parents appreciate gifts that combine visual appeal with practical utility, which is exactly what a diaper cake delivers.

SKIN-SAFE: Fragrance Free, Hypoallergenic, and dermatologically approved by the Skin Health Alliance. Free of parabens, elemental chlorine, and latex*.


EXCLUSIVE DESIGNS: Make diaper time more fun with new and exclusive Sesame Street character designs
Diaper Cake Supplies: Your Complete Checklist
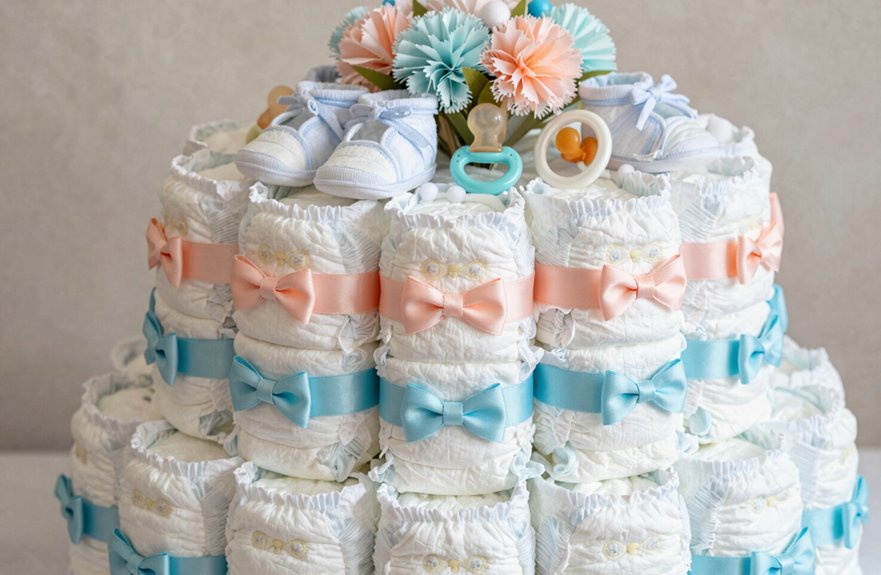
Before I roll my first diaper, I lay everything out on the table because you don’t want to discover you’re short seventeen rubber bands halfway through. For a three-tier cake, I grab 96 size 1 diapers (45 for the base, 36 middle, 15 top), plus plenty of rubber bands; clear ones work best. I need ribbons to hide those bands at each seam, and a cake stand makes everything look polished. For my elephant theme, I add a stuffed elephant topper, maybe a balloon on a stick, and tuck in small baby gifts between layers. Some folks skip rolling entirely, forming wheels instead, which is a valid approach. Having everything ready keeps the stress low and the fun high.


Open-ring style so rubber bands open easily with one hand

The rubber bands are made from premium natural rubber, therefore biodegradable, not to hurt our environment. The rubber bands are highly stretchable and durable, easy to wrap bundles.
Roll Diapers That Hold Their Shape
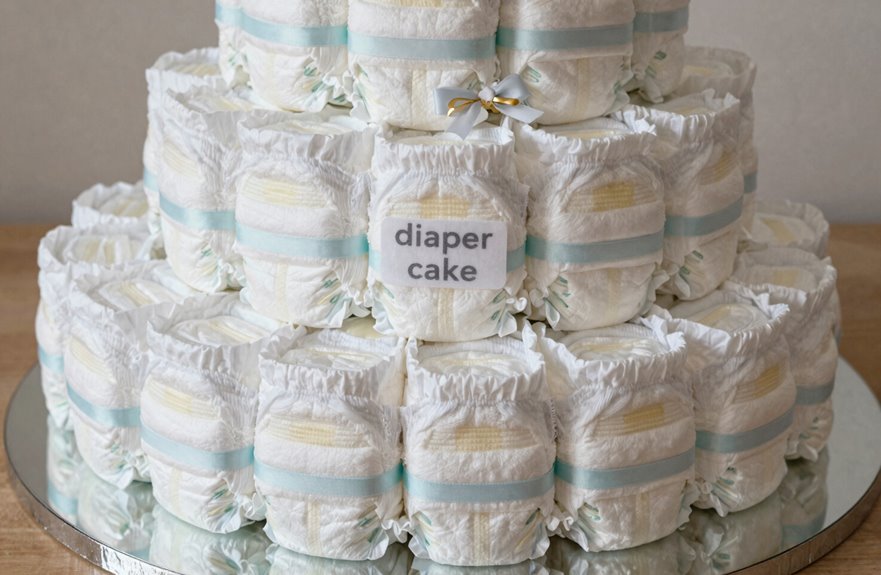
How do you get a diaper to stand up straight without flopping over like a sad burrito? I’ve been there, friend, and the secret’s simpler than you’d think. I roll each diaper lengthwise, snug as a sleeping bag, and pop a rubber band around it. This creates an instant cylinder that holds its shape.
Here’s what works for me:
- Roll from the box end for consistency
- Secure with one rubber band per diaper
- Group three rolls together, banded tight
- Prep everything on the couch during Netflix time
I learned this the hard way. Trying to roll while building gets messy fast. Now I make all my rolls first, like an assembly line, so when I start stacking tiers I’ve got uniform little soldiers ready to go. This approach prevents shifting and ensures each tier sits level.

What You Will Get: You'll receive 2 rolls of pink ribbon, 2 roll of lace ribbon, 1 double-sided printing card-stock cutout toppers, 2 double-deck cream bow tie, 3 pink artificial flowers, sufficient quantity to ensure you decorate the diaper cake(Diaper not included).

Package Included: You will receive 1glitter welcome girls cale topper, 1 pink ribbons and 1 pink bows printed ribbon, 3 pink bows decor, 2 pink artificial floral decor, 8 pink bow swirl garlands banner

What You Will Get: You'll receive 2 rolls of pea green ribbon, 2 rolls of gold ribbon, 1 roll of white lace ribbon, 2 double-sided printing card-stock cutout toppers, 1 double-deck cream bow tie, 6 artificial leaf, sufficient quantity to ensure you decorate the diaper cake(Diaper not included).
How Many Diapers Per Tier: Exact Counts
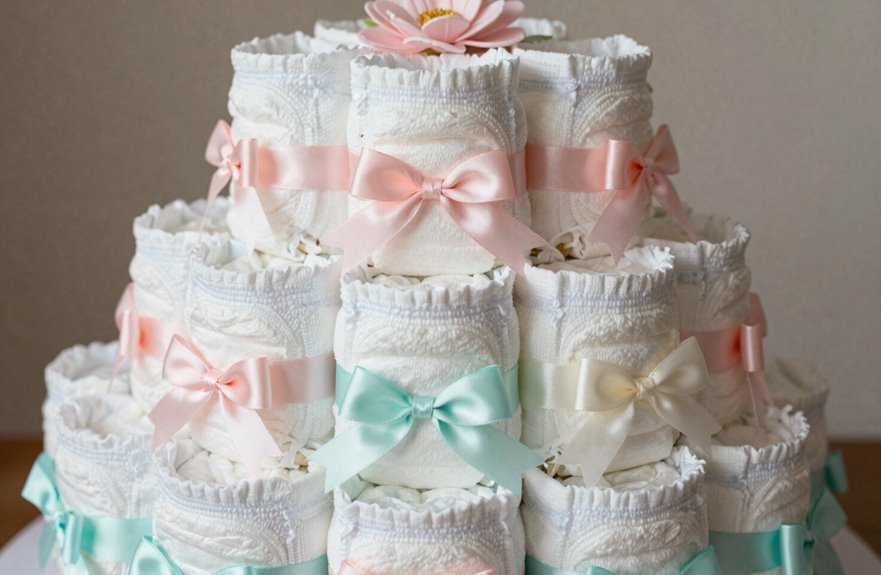
So you’re staring at that mountain of 96 diapers, wondering where to even start. Here’s how I break it down, tier by tier, so we both stay sane.
| Tier | Diaper Count |
|---|---|
| Top | 15 |
| Middle | 36 |
| Bottom | 45 |
I roll each one long-ways, rubber band snug, then build from the ground up. The bottom tier starts with three diapers around a center diaper in triangle style, then I circle outward until I hit 45. Middle tier repeats the process with 36. Top tier finishes with 15. You’ll stack them later, but for now, just focus on these numbers.

What You Will Get: You will get 2 white satin ribbons (each is 3*180 inches in size), 2 wildflower print ribbons (each is 1.5*180 inches in size), 2 flower theme baby shower cards, 1 pink double sided bows 2.7*2.3 inches, 12 fabric wildflowers decor, definitely can meet with your decoration needs.

Package Included: You will receive 23pcs jungle animal diaper cake decorations including 14 safari animal cutouts cake toppers, 1 safari diaper cake topper, 3 green bows and 5 eucalyptus decor for diaper baby shower party supplies

【Package Included】:You will get 14 piece cake toppers cards in different and 14 bamboo sticks. These woodland birthday decoration cards are so chic and funny that it makes your birthday party popular.
Build the Bottom Tier Without Collapse
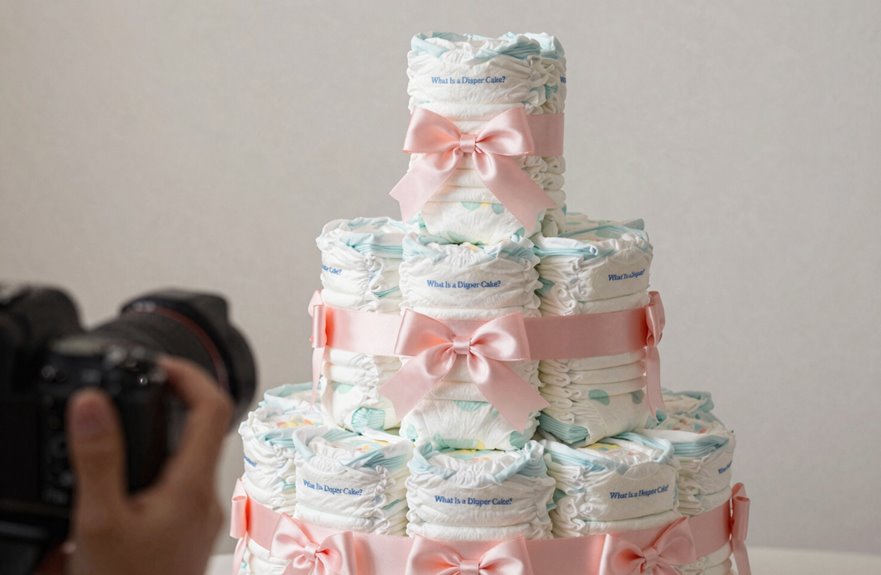
I’ll grab three diapers and start rolling, long-ways, real tight, like wrapping a tiny sleeping bag. Then I bind them with a rubber band, and that’s my sturdy core ring. No wobble, no stress.
Roll three diapers tight, bind with a rubber band—your sturdy, wobble-free core ring ready to build around.
Here’s how I keep it solid:
- Roll straight from the box, no fancy prep needed
- Tuck those messy ends inward for a clean look
- Add four rolled diapers around that center triangle I made
- Keep circling outward till it feels right to me
I place one center diaper, triangle-style, then surround it with four more. I keep adding, round and round, until my bottom tier’s big enough. Yours may look different, as there’s no single right size. I’ll hide those rubber bands later with pretty ribbon so nobody sees my secrets.

Bring Winnie’s Magic to Life: Inspired by the Hundred Acre Wood, this 3-tier winnie tree cupcake stand adds a touch of whimsy to your Winnie birthday or baby shower decorations, turning your dessert table into a playful Winnie Bear wonderland

ELEGANT & CLEAN DESIGN Enhance your dessert table with a simple and elegant cake stand. Perfect for birthdays, weddings, baby showers, and special events.
The little cowgirl is on the way cake topper is made of glitter paper, the glitter is not getting everywhere/on everything, great quality paper with beautiful shimmer
Stack Middle and Top Tiers That Stay Put
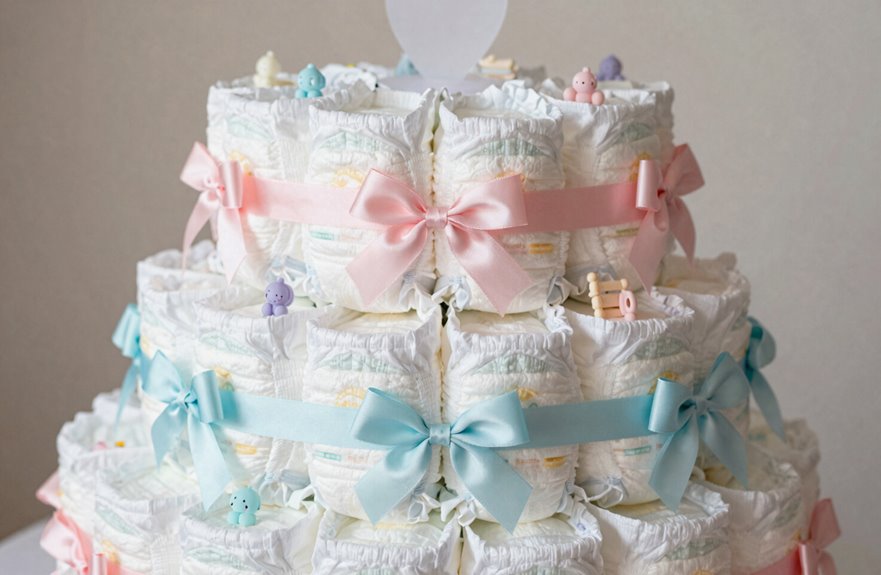
I’ll stack the middle tier using that same rubber-band method from the bottom. I’ll test-fit it first to make sure those 36 diapers hit the right height before committing. Once I’m satisfied with how it sits, I’ll lock it in place with a secure stacking trick so nothing wobbles when someone bumps the table. Then I’ll create that cute little top tier with only 15 diapers and finish it off with a stuffed elephant for added visual interest.

Huggies Size 1 Diapers: 128 Snug & Dry Baby Diapers, size 1 (8-14 lbs), packaging may vary

SKIN-SAFE: Fragrance Free, Hypoallergenic, and dermatologically approved by the Skin Health Alliance. Free of parabens, elemental chlorine, and latex*.

Set of coordinating flannel blankets. Measures 30x30 inches.
Tier Assembly Method
Once you’ve got that sturdy bottom tier finished, you can move forward to the middle tier.
I start with three diaper rolls, wrap them tight with a rubber band, and place that center diaper in a little triangle to anchor everything. Then I build my ring of surrounding rolls around it, just like the tier below.
Here’s what keeps me on track:
- Roll tight, band tight; no wobbles allowed
- Test-fit the middle tier on bottom before committing
- Adjust diaper count if things feel off
- Stack carefully, keeping everything secure and stable
Eyeball the fit first. Too loose? Add diapers. Too snug? Remove one or two. Build the structure one layer at a time.
Secure Stacking Technique
How do you make sure your middle tier doesn’t go sliding off the bottom like a runaway pancake. Rolling diapers beforehand prevents problems later. Form each tier by circling rolled diapers around a center roll, like building with rings, then tighten rubber bands to hold everything snug.
Before adding the top, place the middle tier on the bottom to check alignment. Catching wobbles now prevents problems after decorating. I once eyeballed it, and my elephant topper sent the whole cake tilting embarrassingly right at the baby shower.
The triangle-centered diaper anchors surrounding rolls beautifully. Conceal rubber bands with ribbons, securing joints with hot glue, but never on diapers themselves. Size tiers with your stuffed centerpiece in mind to keep everything balanced. Proper preparation ensures stability throughout assembly and display.
Cover Rubber Bands With Custom Ribbons
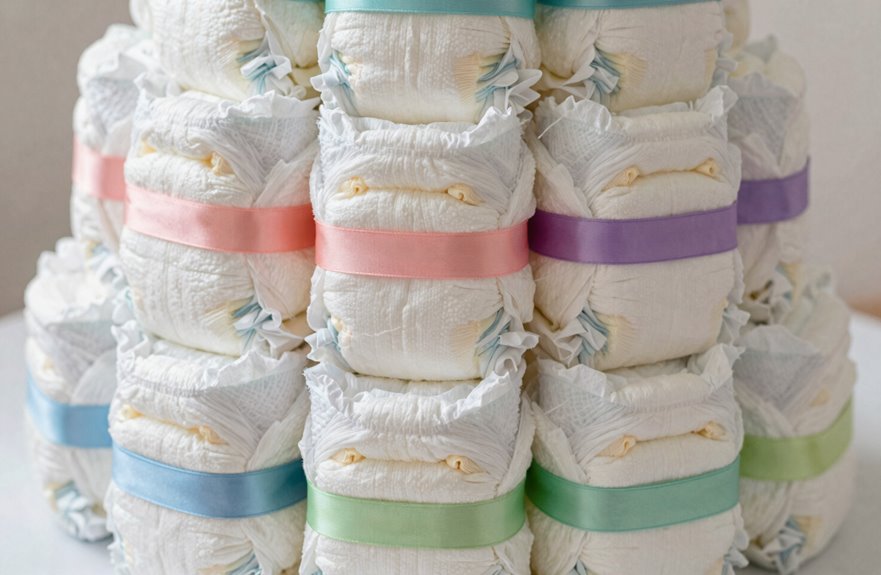
I’ll show you how I pick ribbons that match the nursery theme, usually about 1.5 inches wide. Hot glue at 375°F works best; just a tiny dot at the seam, nothing fancy. You can layer two or three ribbons, maybe a satin base with a grosgrain accent, which hides those rubber bands completely while adding visual interest. If your first wrap looks uneven, a quick adjustment with a butter knife fixes everything before the glue sets.
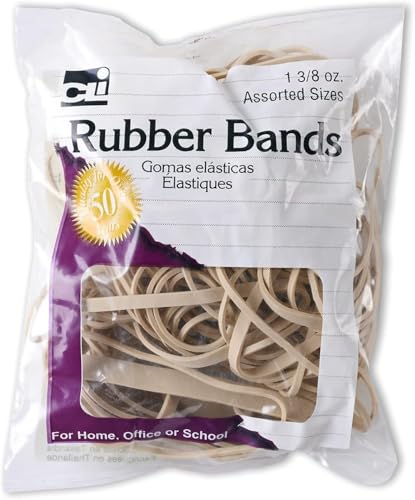

Abundant quantity: about 1000 packs clear soft elastic braiding rubber bands, adequate to use for a long term

1/2-pound bag of assorted rubber bands in Red, Blue, and Yellow
Ribbon Selection Tips
Now that we’ve got those diapers stacked and secured, you’re probably wondering how to make those rubber bands disappear. This is where your diaper cake really starts looking like a celebration centerpiece.
Wrap multiple ribbons around each tier’s seam, layering them until those elastic bands are completely covered. Here’s what works best:
- Start with a base ribbon around the circumference to set your foundation
- Add a secondary ribbon, slightly overlapping, for full coverage
- Layer different widths and colors for that fancy treble ribbon look
- Coordinate everything with your elephant theme and nursery colors
Secure the ribbon seams with a tiny dab of hot glue, applied only to the ribbon itself, never touching the diapers. Your three tiers will look professionally polished.
Glue Application Method
Where exactly should that hot glue go so you don’t end up with a sticky mess on someone’s diapers? The best approach is to apply glue right on the ribbon’s seam, never touching those precious rolls. You’ll want to work after forming all your diaper rolls, covering those rubber bands completely before stacking tiers together.
| Tier Position | Ribbon Placement | Best Ribbon Width |
|---|---|---|
| Bottom tier | Full wrap around | 1.5 to 2 inches |
| Middle tier | Slightly overlapped | 1 to 1.5 inches |
| Top tier | Double-check coverage | 1 inch or layered |
Building a treble ribbon look, three ribbons stacked tight, hides every elastic band while adding that polished pop. This step transforms your cake from a cute attempt to a professionally finished diaper cake.
Layered Ribbon Styles
How do you take a basic diaper cake from “nice try” to “who made this?” The secret is in the ribbons: layered, stacked, and hiding every last rubber band.
I wrap rubber bands around each tier, then cover them with multiple ribbons for that seamless, bakery-fresh look. This is how I build dimension without overwhelming the design:
- Start with the treble effect: I pick three distinct ribbons, align their seams, and create a rich border, kind of like frosting layers.
- Keep it safe: I never let glue touch diapers; hot glue goes ribbon-to-ribbon only, at the seams.
- Match your tiers: I’ll run the same ribbon sequence on bottom, middle, and top so everything feels connected.
- Remember the payoff: Ribbons hide those ugly bands while adding color, texture, and visual impact.
You’re crafting something everyone will gather around.
Diaper Cake Themes for Every Nursery
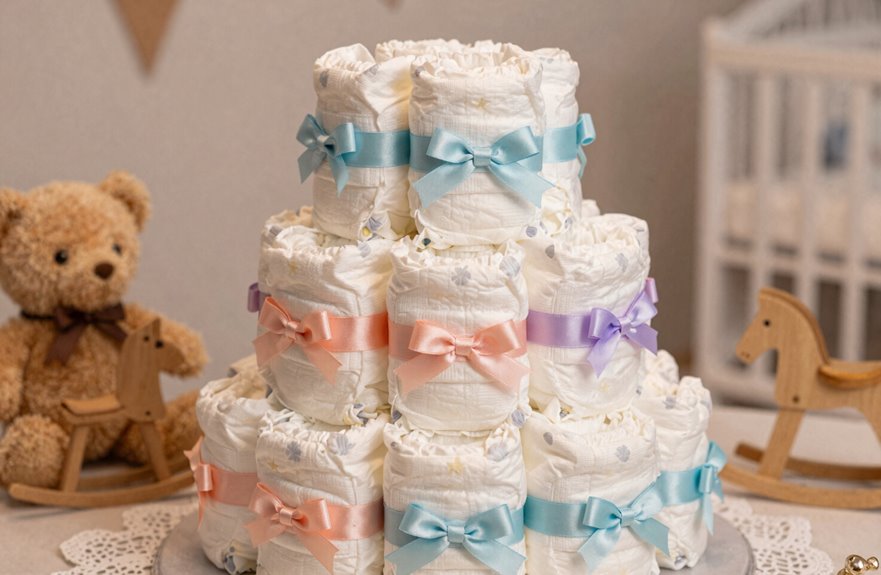
Why settle for plain when you can match the nursery perfectly? Diaper cakes let you join the celebration fully, creating something that feels like it belongs right there in the baby’s room.
For an elephant theme, I start with soft grays and gentle yellows, wrapping each tier in ribbon that echoes the crib bedding. A stuffed elephant perches on top, maybe with a balloon on a stick for height. The result is a centerpiece that guests actually gather around.
Woodland creatures, nautical stripes, floral gardens. I’ve seen them all work beautifully. The key is picking colors and small decorations, like that elephant, that communicate “this baby is already loved” without being overwhelming.
Whatever theme speaks to you, there’s a way to build it, tier by tier, into something welcoming.
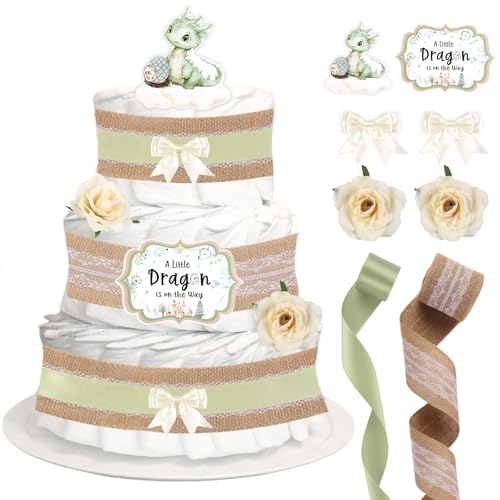
What You Will Get: You'll receive 2 rolls of green ribbon, 2 roll of lace ribbon, 2 double-sided printing card-stock cutout toppers, 2 double-deck cream bow tie, 2 champagne artificial flowers, sufficient quantity to ensure you decorate the diaper cake(Diaper not included).

What You Will Get: You'll receive 2 rolls of black&white Halloween theme grosgrain ribbons, 1 roll of black ribbon, 1 roll of black & white checkered ribbon, 4 Halloween theme double-sided printing card-stock cutout toppers, 3 double-deck black bow tie, 3 black artificial flowers, 12 halloween 3d bats wal stickers, sufficient quantity to ensure you decorate the Halloween diaper cake(Diaper not included).

What You Will Get: You'll receive 2 rolls of pastel orange & blue Halloween theme grosgrain ribbons, 1 roll of orange ribbon, 1 roll of blue ribbon, 4 Halloween theme double-sided printing card-stock cutout toppers, 3 double-deck light blue bow tie, 3 blue artificial flowers, 12 halloween 3d bats wal stickers, sufficient quantity to ensure you decorate the Halloween diaper cake(Diaper not included).
Personalize Your Cake With Extra Gifts
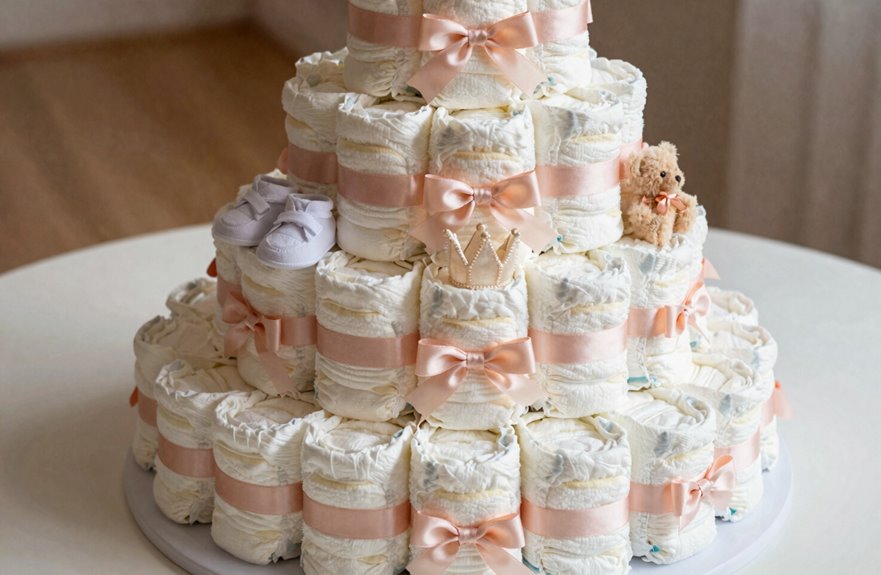
I love taking a diaper cake from cute to unforgettable, and stuffing it with surprises is my favorite part. I always hide little treasures between those 96 rolled diapers. Think teething rings tucked in the middle tier, or a soft rattle peeking out from the bottom. You’re building something personal here.
Hide tiny treasures between diaper rolls to turn a cute cake into an unforgettable, personal gift.
What works beautifully:
- Tuck onesies or socks between diaper rolls for hidden gems
- Attach mini balloons on sticks around each tier
- Add themed touches, like tiny elephant charms for a safari vibe
- Slide gift cards into ribbon folds, snug and secret
I use hot glue only on seams, never the diapers themselves, so everything stays safe for baby. Your instincts will guide you; there’s no wrong way to show you care.

JUNGLE SAFARI THEME: Features adorable wild animal characters including a lion, elephant, hippo, tiger, giraffe, and zebra to create a fun jungle atmosphere for your baby shower

You will receive: 1 roll of 2-meter long linen ribbon, 6 mini jungle plush animal dolls, 5 artificial eucalyptus leaves, 10 green bows, and 1 pack of glue. This is the perfect diaper cake set for cute jungle animal shower decorations

POOH BEAR STUFFED PLUSH: Kids Preferred presents this super soft, cute, charmingly detailed stuffed animal. Babies, toddlers, and kids love this classic and collectible comfy friend.
Transport and Display Like a Pro
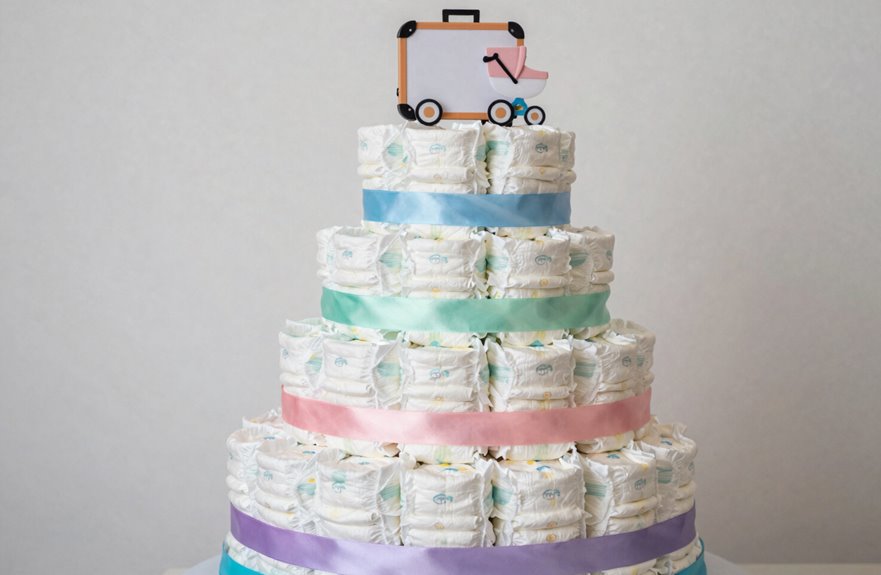
Where do you even begin when it’s time to move this thing? A sturdy stand saves you from wobbling disasters. Secure those tiers with extra rubber bands, and always use a flat surface.
Before you show it off, cover those bands with ribbons or fabric. This transforms the appearance completely. Add a stuffed animal topper, maybe an elephant if you’re matching nursery vibes, and you’ve got something that belongs on a Pinterest board.
What You Fear | What Actually Happens
—|—
Tiers sliding apart | They don’t, if you secure them right
Rubber bands showing | Hidden by ribbons, zero stress
Decoration disasters | Stable base holds everything
Transport anxiety | Flat surface equals smooth ride
It looking homemade | Thematic topper equals instant impact
With proper securing techniques and a stable base, you can transport and display your creation without complications. The thematic topper provides the finishing touch that elevates the overall presentation.
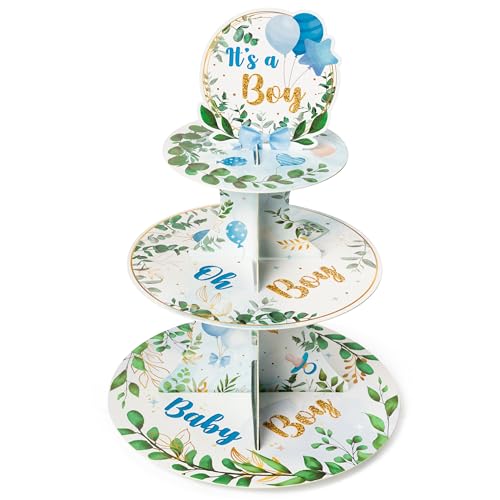
Package Includes: You will get 2 cake stands, 3 round trays, 1 cake tower, boy baby party decorations supplies have enough space to meet your needs for a variety of food diversified placement to show your party presents the best visual effect
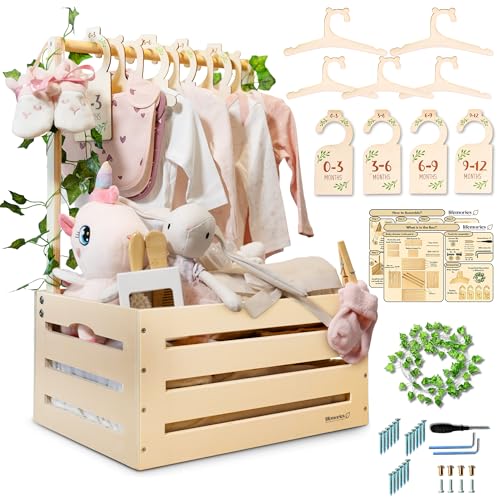
SHOWSTOPPING BABY SHOWER GIFT – Be the star of the baby shower with this adorable wooden crate closet! Designed to store clothes, toys, and baby essentials, it's the perfect photo-worthy centerpiece that moms-to-be will treasure forever.

diaper raffle box:there is 1 piece of diaper raffle box and 50 pieces of diaper raffle tickets for baby shower in each package, which can be put into use in combination to provide you with both decorative and practical functions